Spraying a Cabinet
Okay, so you’ve become adept at spraying pieces laid flat on your spray finishing turntable. But now you’re ready for the big time: spraying a cabinet. And that can be a bit daunting the first time; tackling vertical surfaces, confined interiors, gables, dividers and so on.
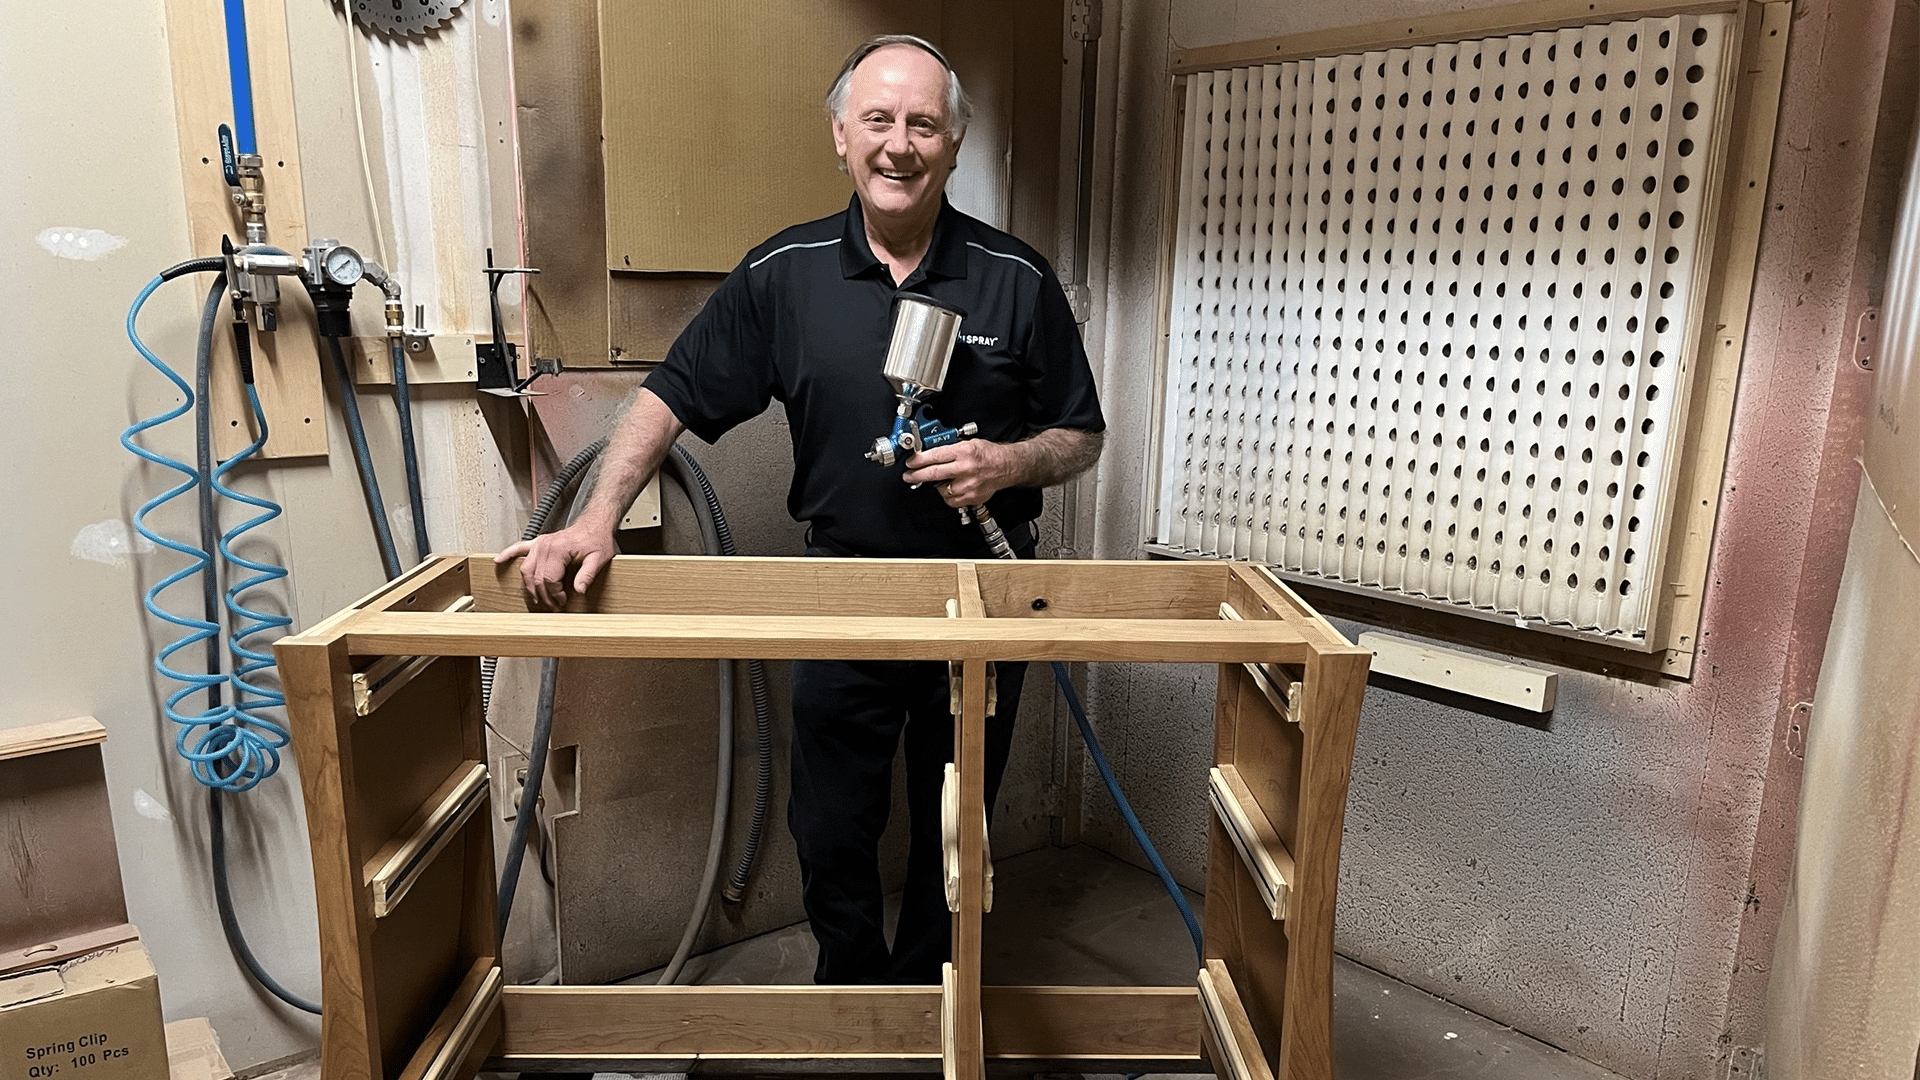
So here’s the deal: follow along with me as I take you through spray finishing a credenza, one step at a time. By the time you’ve read this article and watched the two-part accompanying video series, I think you’ll know what’s needed to succeed in spraying cabinets.

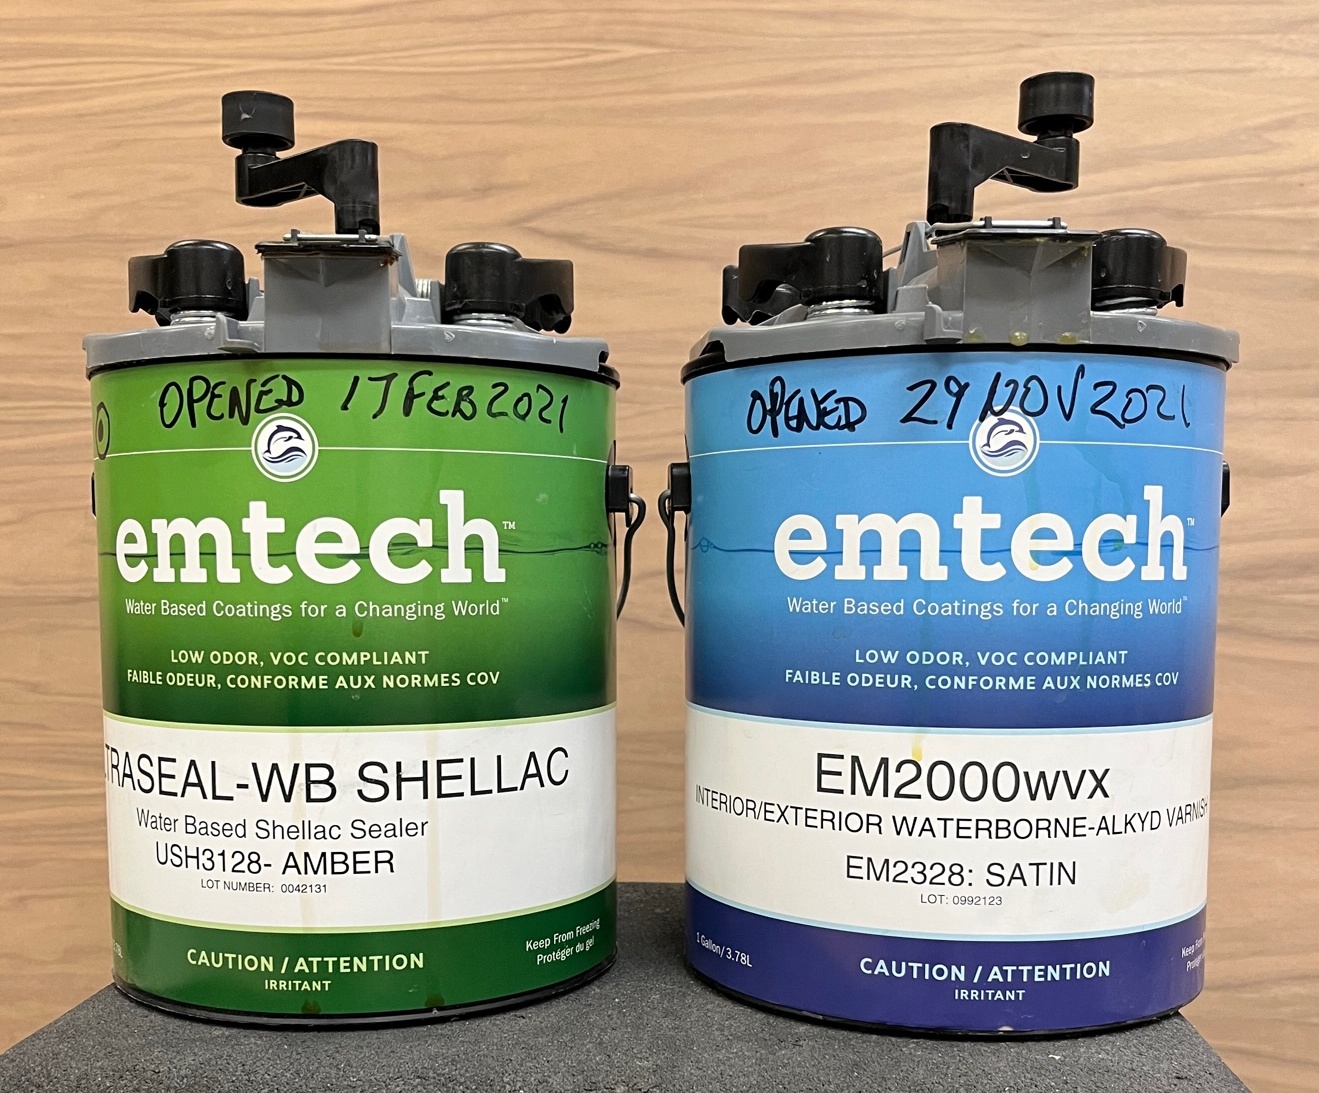
Select your finish
Just as with all things in life, if you don’t have a plan, you won’t be successful. That same adage applies to finishing. Establish your objectives for the piece, then select the finishing products that will get you the finish you’re aiming for. Here’s a recent video of mine where I discussed this topic. Then install the optimal aircap set onto your spray gun for your chosen finish. Because each finish will have a different viscosity (think: thickness…), there’s an aircap size that’ll work best.
In my case that was the 1.3mm set for both the seal coat and topcoat products I had chosen. And to make it easier for spraying in and around the confined areas of your cabinet, consider mounting 3M’s PPS to your spray gun; here’s my article on this topic.
Oh, and whatever you do, don’t do the rookie mistake I did by not having a large enough cup on my gun; I ran out of finish just before laying down the first seal coat!
Ready your cabinet for finishing
There’s two issues to consider here: overspray and mobility.
First, break down the cabinet into its individual components. In my case, this was: the cabinet carcass, top, back, drawer boxes and drawer fronts. Not only will this make it easier to finish the cabinet and give you best results, but it will also be more efficient. Some furniture makers finish nearly everything before assembly. Although I don’t subscribe to that philosophy, I see no harm in it.
On my case, by removing the top and back, it made it that much easier for me to get my spray gun into the best position for spraying the inside. Regarding hardware, I recommend removing drawer pulls and handles; hinges and drawer slides are another issue. In most cases I simply tape them over.

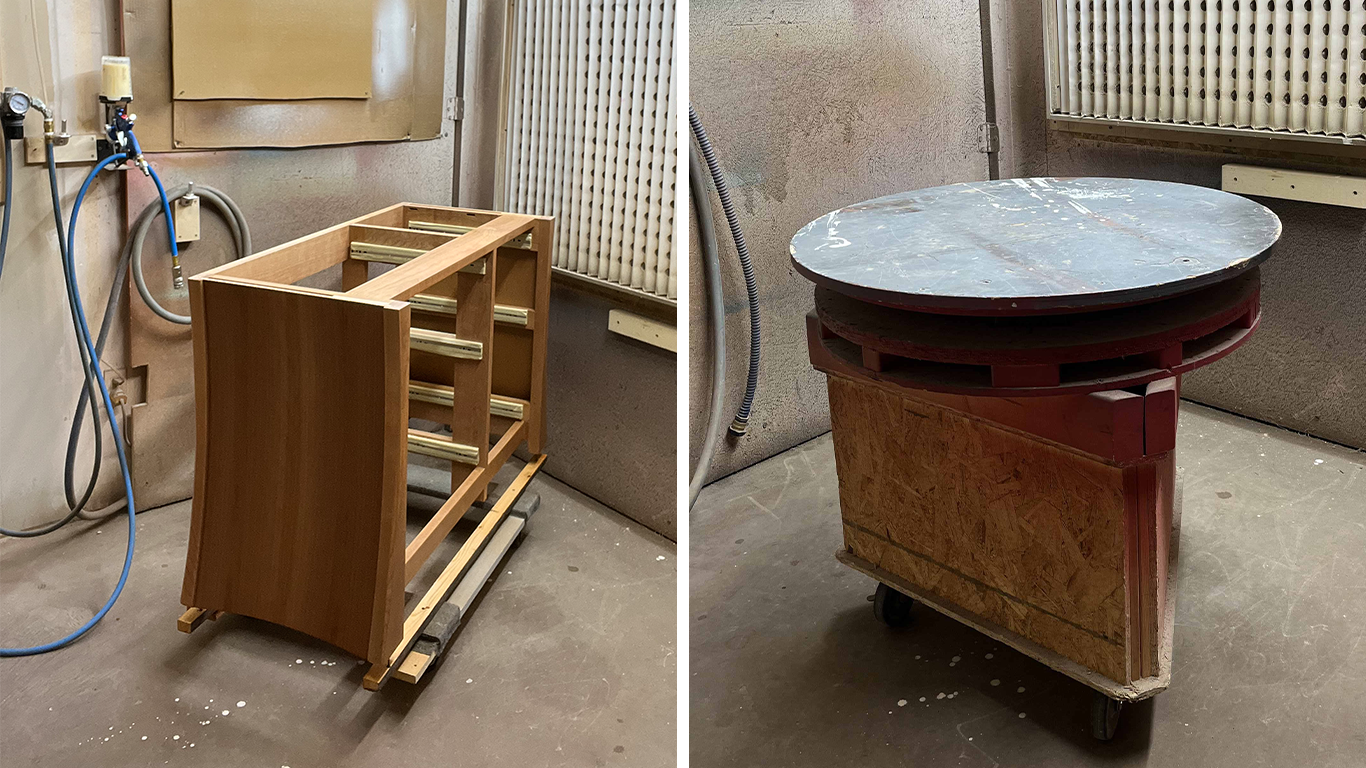
Next, mount your cabinet to a mobile cart. The above photo shows the moving cart I modified by adding two strips of hardwood to support the legs. I could have also used my mobile shop cart and screwed the cabinet carcass to it from the underside. Although that system would have been perhaps too top heavy, it would have elevated it for more comfortable spraying. Note as well that I inserted a long screw into the underside of each of the corner posts, to facilitate getting at the lower sections.
The Spraying Process: Focus on Being Efficient and Effective
I suggest you apply a seal coat first in all cases, even if you’re going to stain the piece. For staining, thin your seal coats to between 3 and 6% solids; for clear finishes such as I did on this cabinet, I forego thinning the seal coat. Once you’ve sealed everything, the topcoats will then come next.
Interior, First… then the Exterior
I’ve always found that spraying the interiors (for seal coats as well as the topcoats) results in less overspray, so that’s where I start first. Think ahead about the route you’ll take your spray gun on, so that you’ll be more efficient and better able to limit overlapping and overspray. Doing so will make it easier for you to apply the correct as well as equal amounts of finish on all areas and surfaces. I’d even go so far as to recommend you do a dry practice run first, which will help you figure everything out before spraying.
Once I’ve dealt with the interior, I move onto the exterior. And because I always want to end off finishing the “money” parts of whatever I’m spraying, I plan my spraying route accordingly. In the case of this cabinet, that meant starting at the back left corner, working my way across the back, then the first gable, across the front and ending off with the last gable. I follow the same procedure for the topcoats as I’d developed for spraying the seal coat.
I’m also always willing to adjust my process if I think of a better way to do it as I go along. Flexibility is key to success! And don’t forget to control your hose to ensure you don’t drag it over any areas you’ve already sprayed.

Sanding between Coats
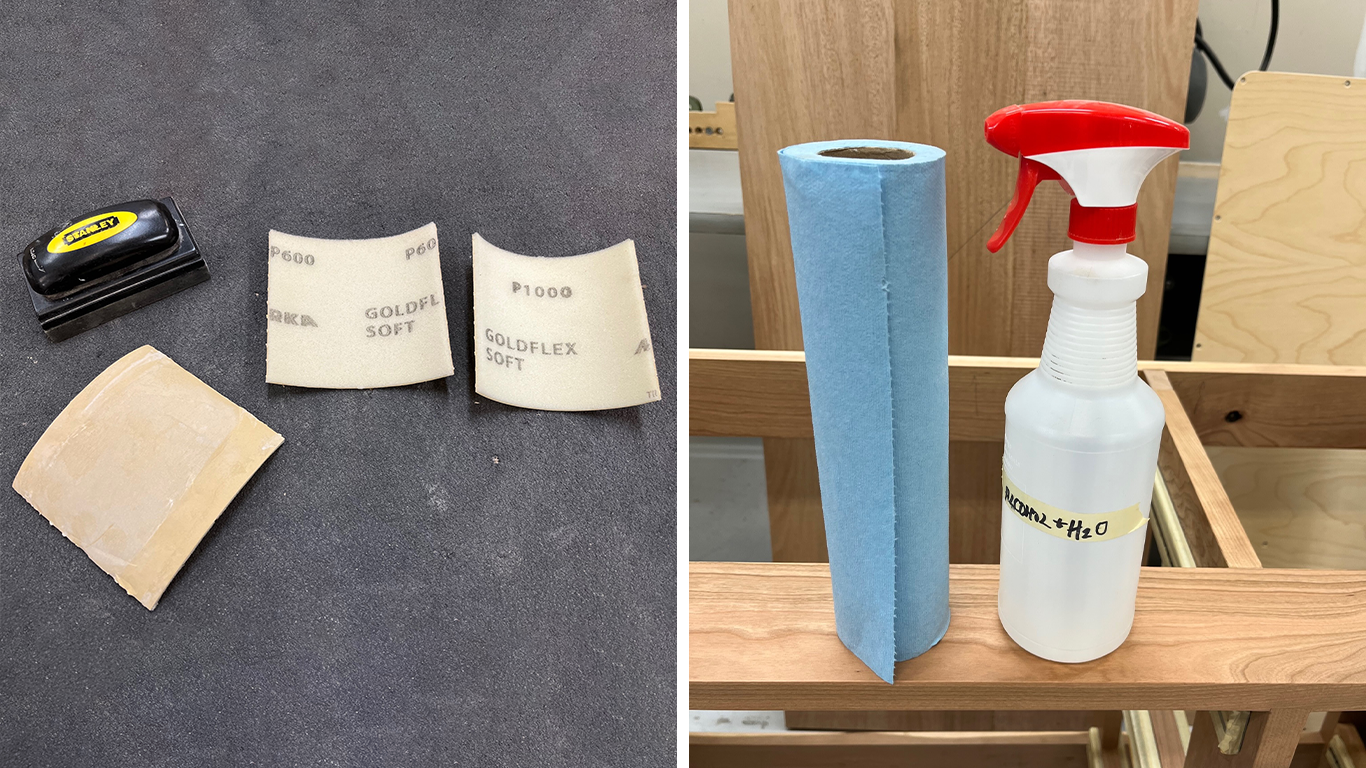
I usually apply 2 seal coats, and usually need to sand only after the 1st one. I use a foam-backed sanding pad for this purpose; P400 for the interior and P1000 for the exterior. I vacuum the surfaces off then wipe them down with a 50/50 mixture of denatured alcohol and tap water. Rub down the mixture with a lightly spritzed shop cloth; never spray it directly onto the piece. As regards sanding after the second seal coat, unless there’s any problems (drips, runs, sags, errant dust or hair…) with the surface, I won’t waste time doing any further sanding. None. Nada.
Finish the Remainder of the Pieces
The remaining pieces – at least in the case of my cabinet – were flat and therefore required no special support fixtures and were very straightforward to finish. But for the drawer boxes, I did my usual: applied one coat of sanding-sealer, followed by a simple paste wax rubbed in with #0000 steel wool.
I hope that this article and accompanying video series helps you achieve professional results spray finishing cabinets. Let me know if you have any comments or questions. I’m here for you.


