How to Spray Paint your Cabinets with a 2 Qt. Pressure Pot
Many woodworkers would love to spray their own projects, and spraying cabinets is a particular area of interest. If you’ve ever received quotes for painting cabinets, you were likely shocked at how expensive that service can be. That’s the funny thing about a DIY mentality, because high cost becomes high value for the new skillset you learn.
Here, a primered cabinet (light gray color) gets the first coat of medium gray Urethane Trim Enamel. It’s water cleanup, but with urethane additives for added durability. It lays down particularly well, especially when sprayed with the right equipment.
Step 1: Work Inside to Out
I like to spray cabinets starting on the inside. This way, I’m not bumping into a freshly painted surface as I lean in to spray. Then progress to the face frame of the cabinet, and finally the outside of the cabinet box. Carefully consider which sides will be exposed, as you may choose to skip certain side panels to save material.
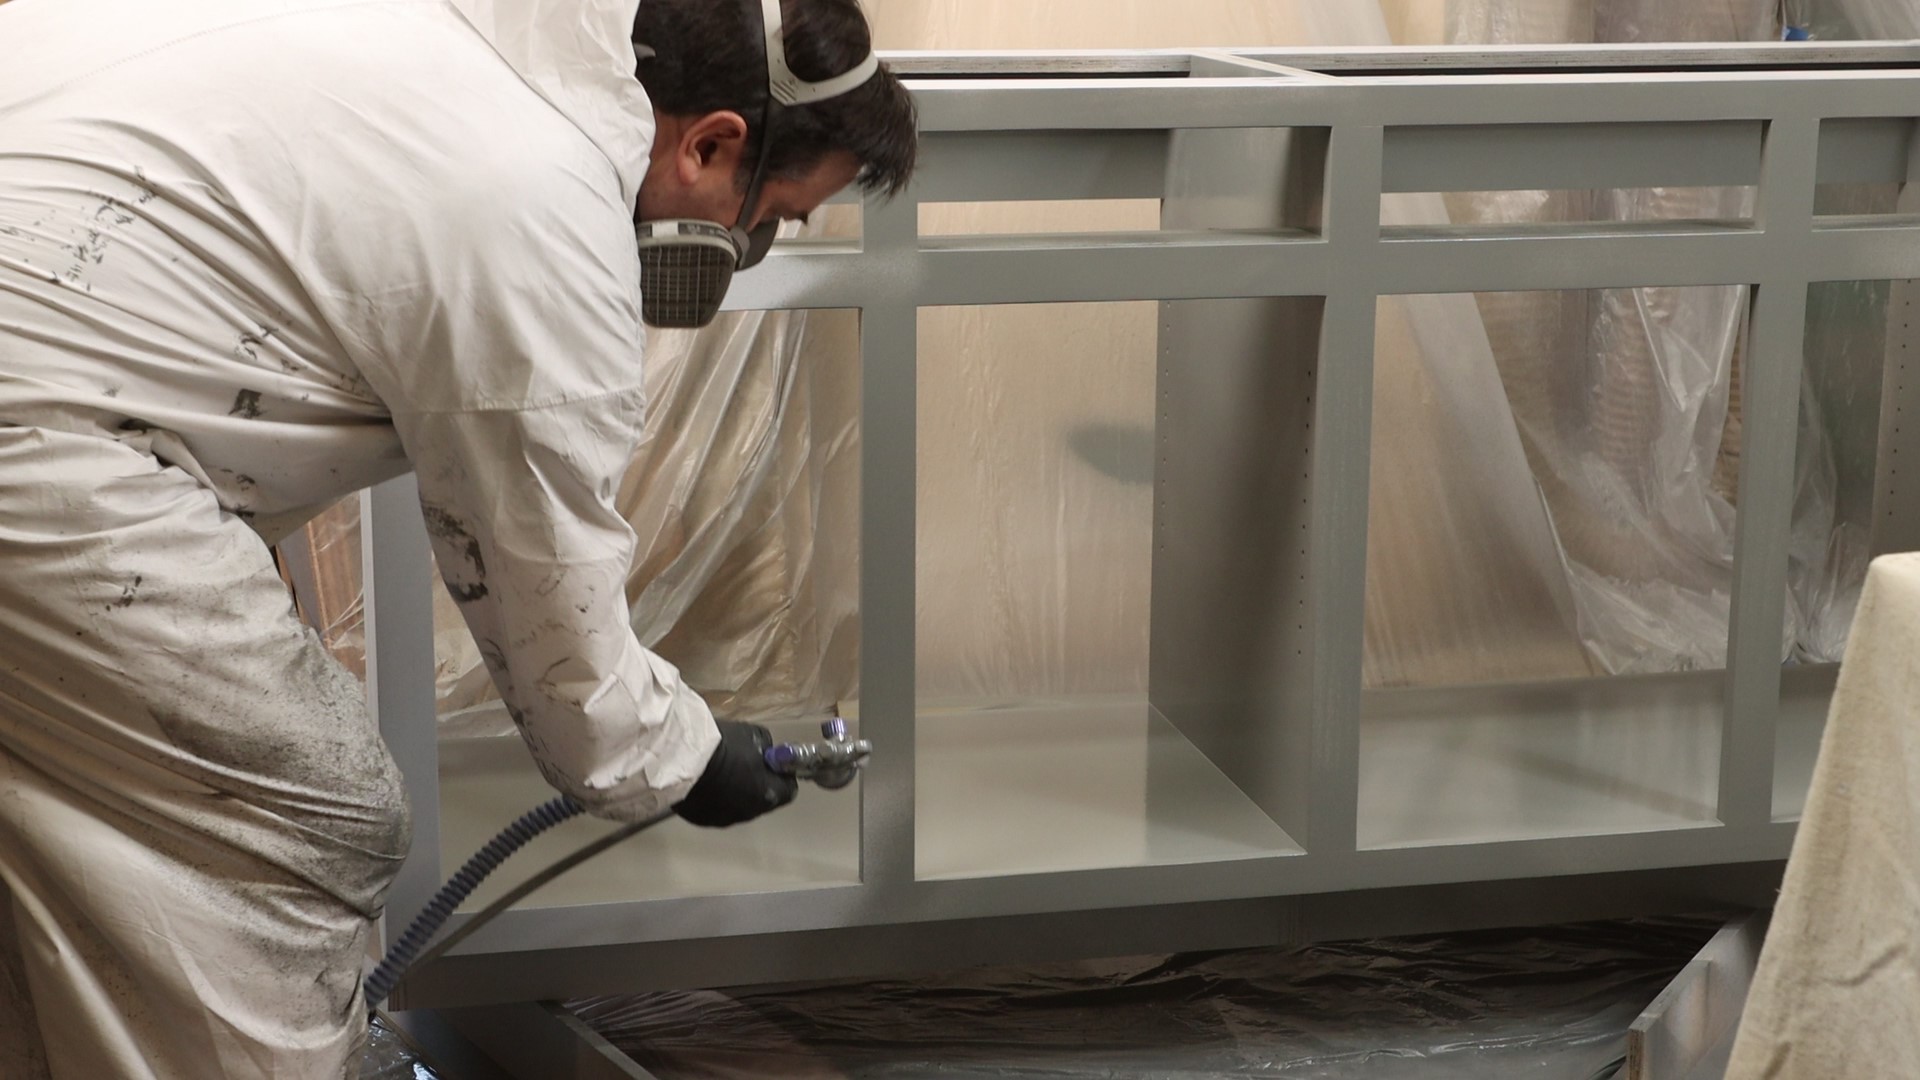
Step 2: A Pressure Pot for Everyone
There are lots of options when it comes to HVLP sprayers, but I can’t imagine a nicer setup for cabinets than a T70 gun and a 2 Qt. pressure pot. While you can certainly spray cabinets with a T70 gun and your favorite turbine unit, a pressure pot adds versatility for bigger jobs. Not only can you simply focus on spraying, and not worry about running out of paint, but it lets you spray at any angle desired – even upside down!
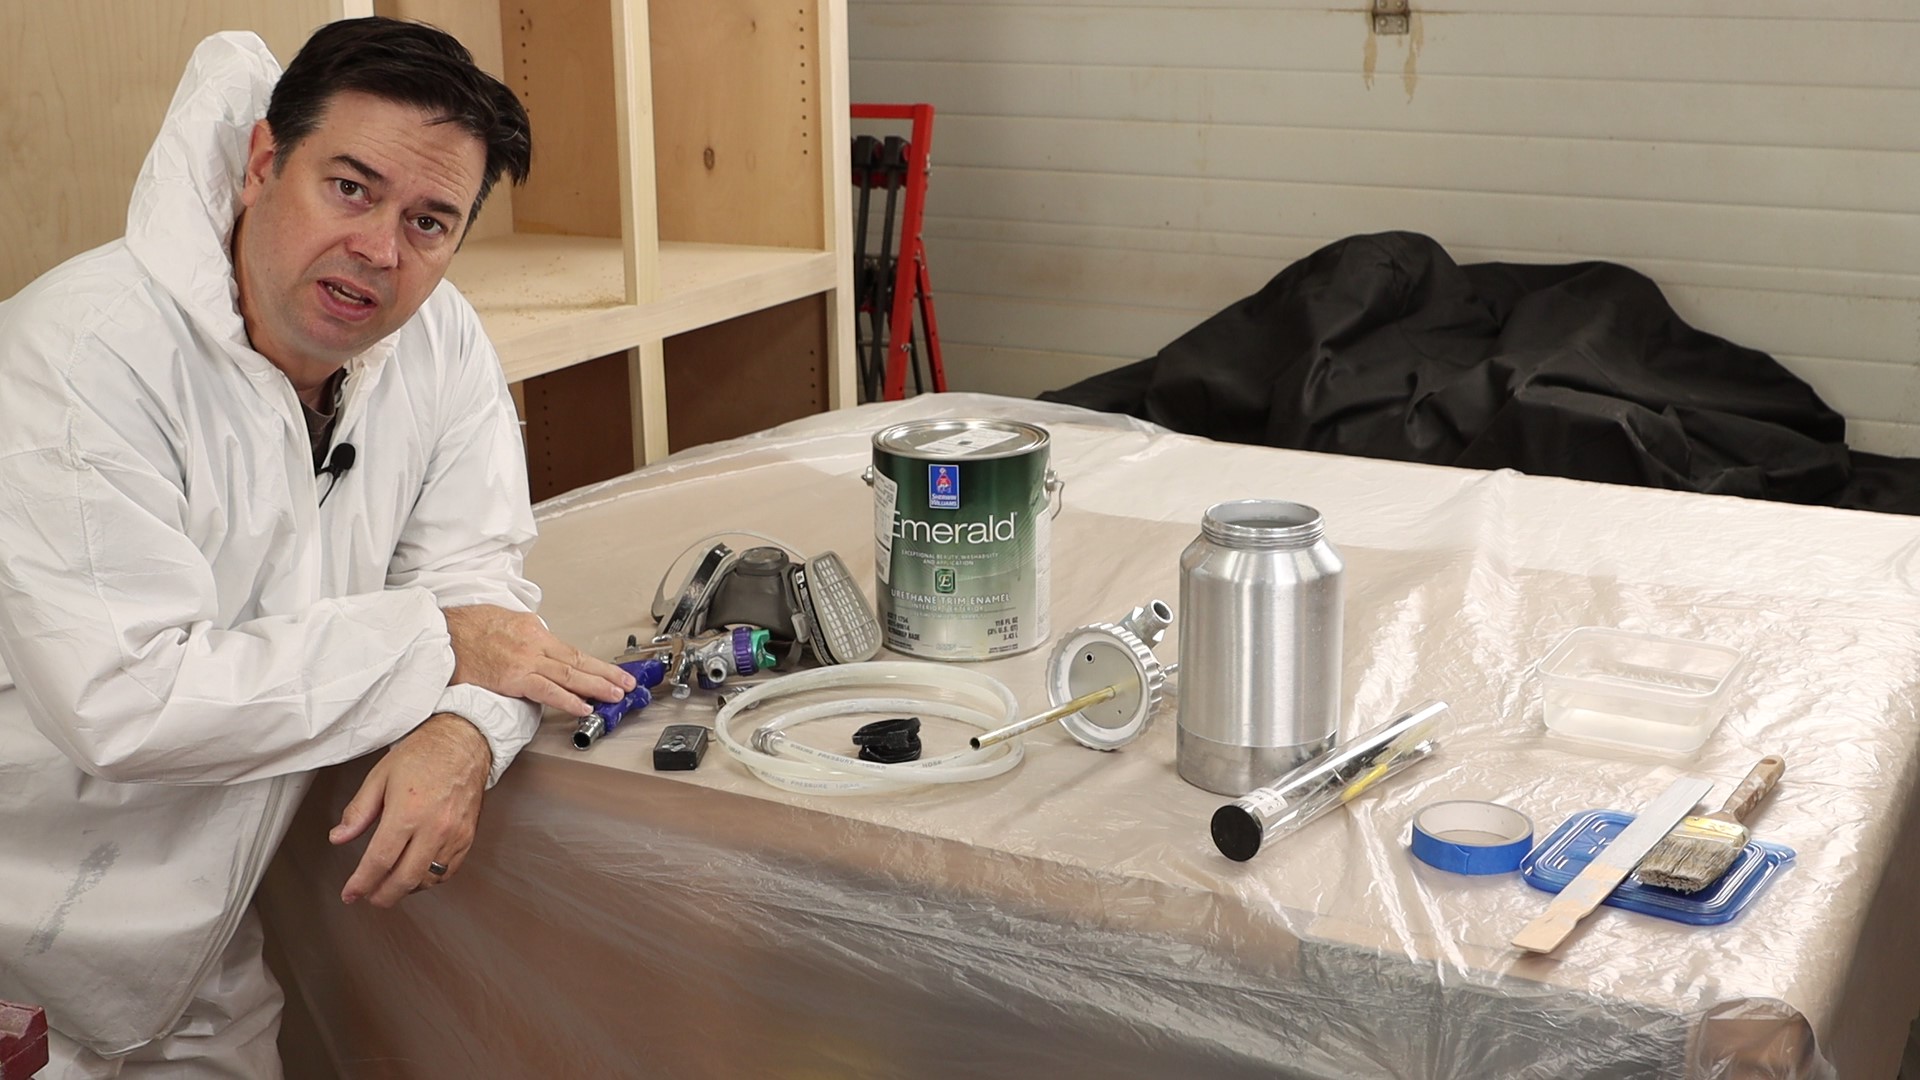
Step 3: No Pressure, But You Need This
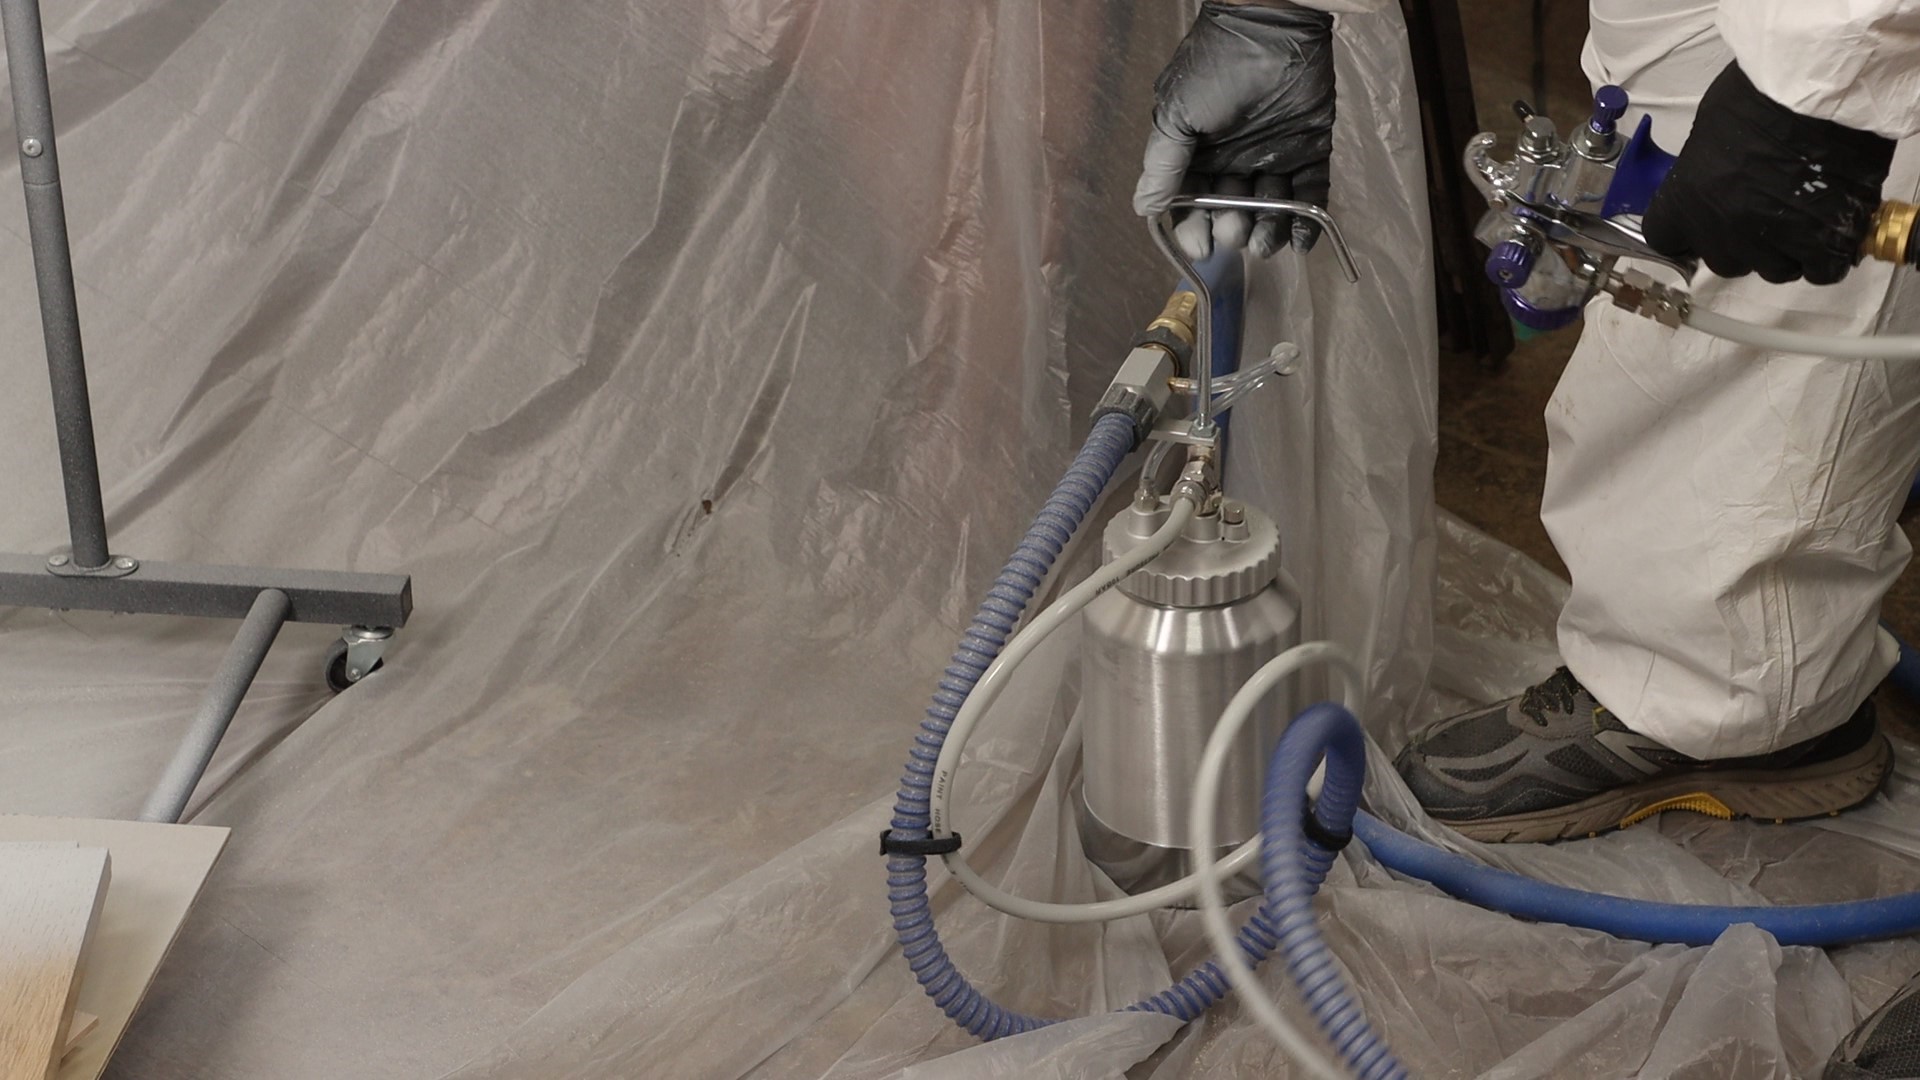
The parts of the pressure pot kit are the 6’ fluid hose, lid and handle assembly, 2 Qt. aluminum pot, and velcro straps. You’ll also want a 6’ flexible whip to complete the setup. Another optional accessory that I highly recommend is a wireless remote control. It looks like a key fob for your car, and lets you power the turbine on and off remotely.
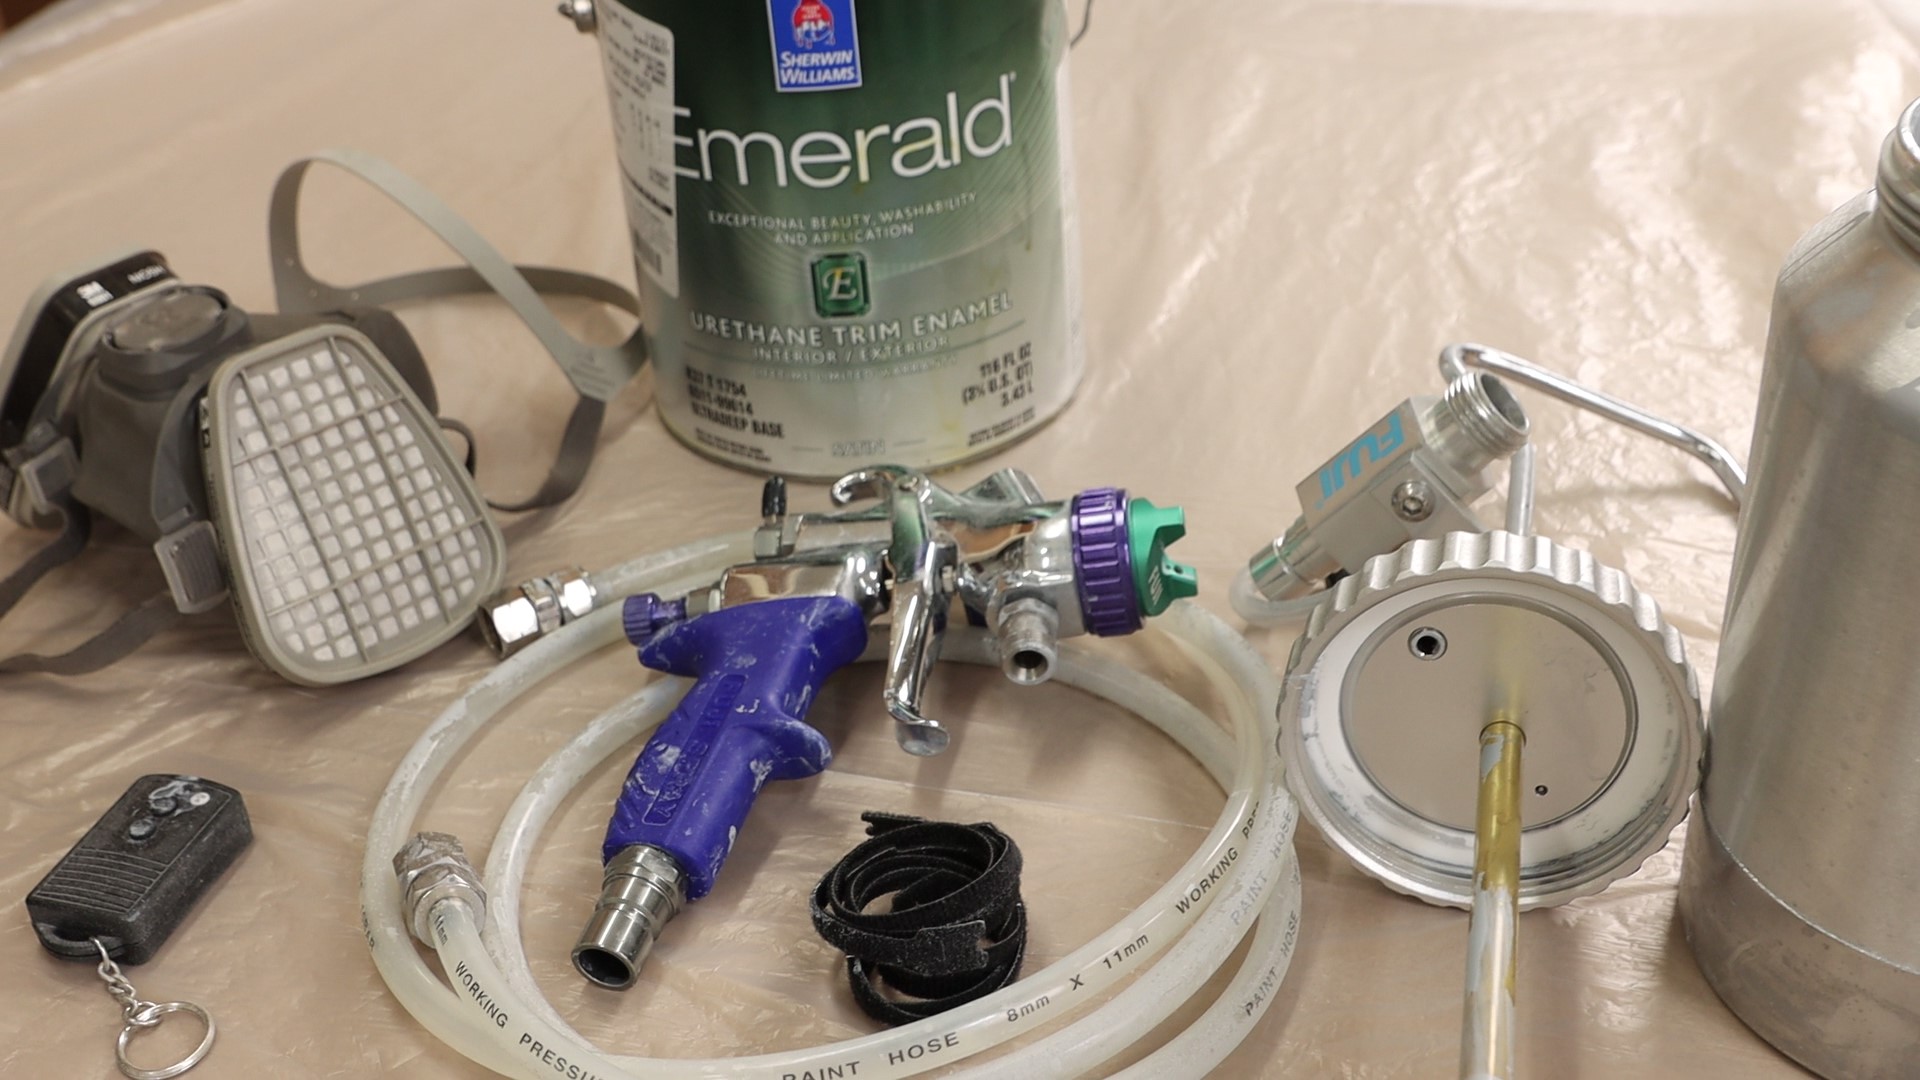
Step 4: New Duds for the T70
The T70 HVLP spray gun looks different without the normal 900cc cup. It’s not needed here, because the fluid hose from the pressure pot attaches directly to the fluid coupler. This gives you a distinct advantage when spraying large jobs, because you’ll only be holding the light gun and hoses. By the way, I’m using a 1.8mm air cap set, which is a good choice if you don’t want to thin the paint too much.
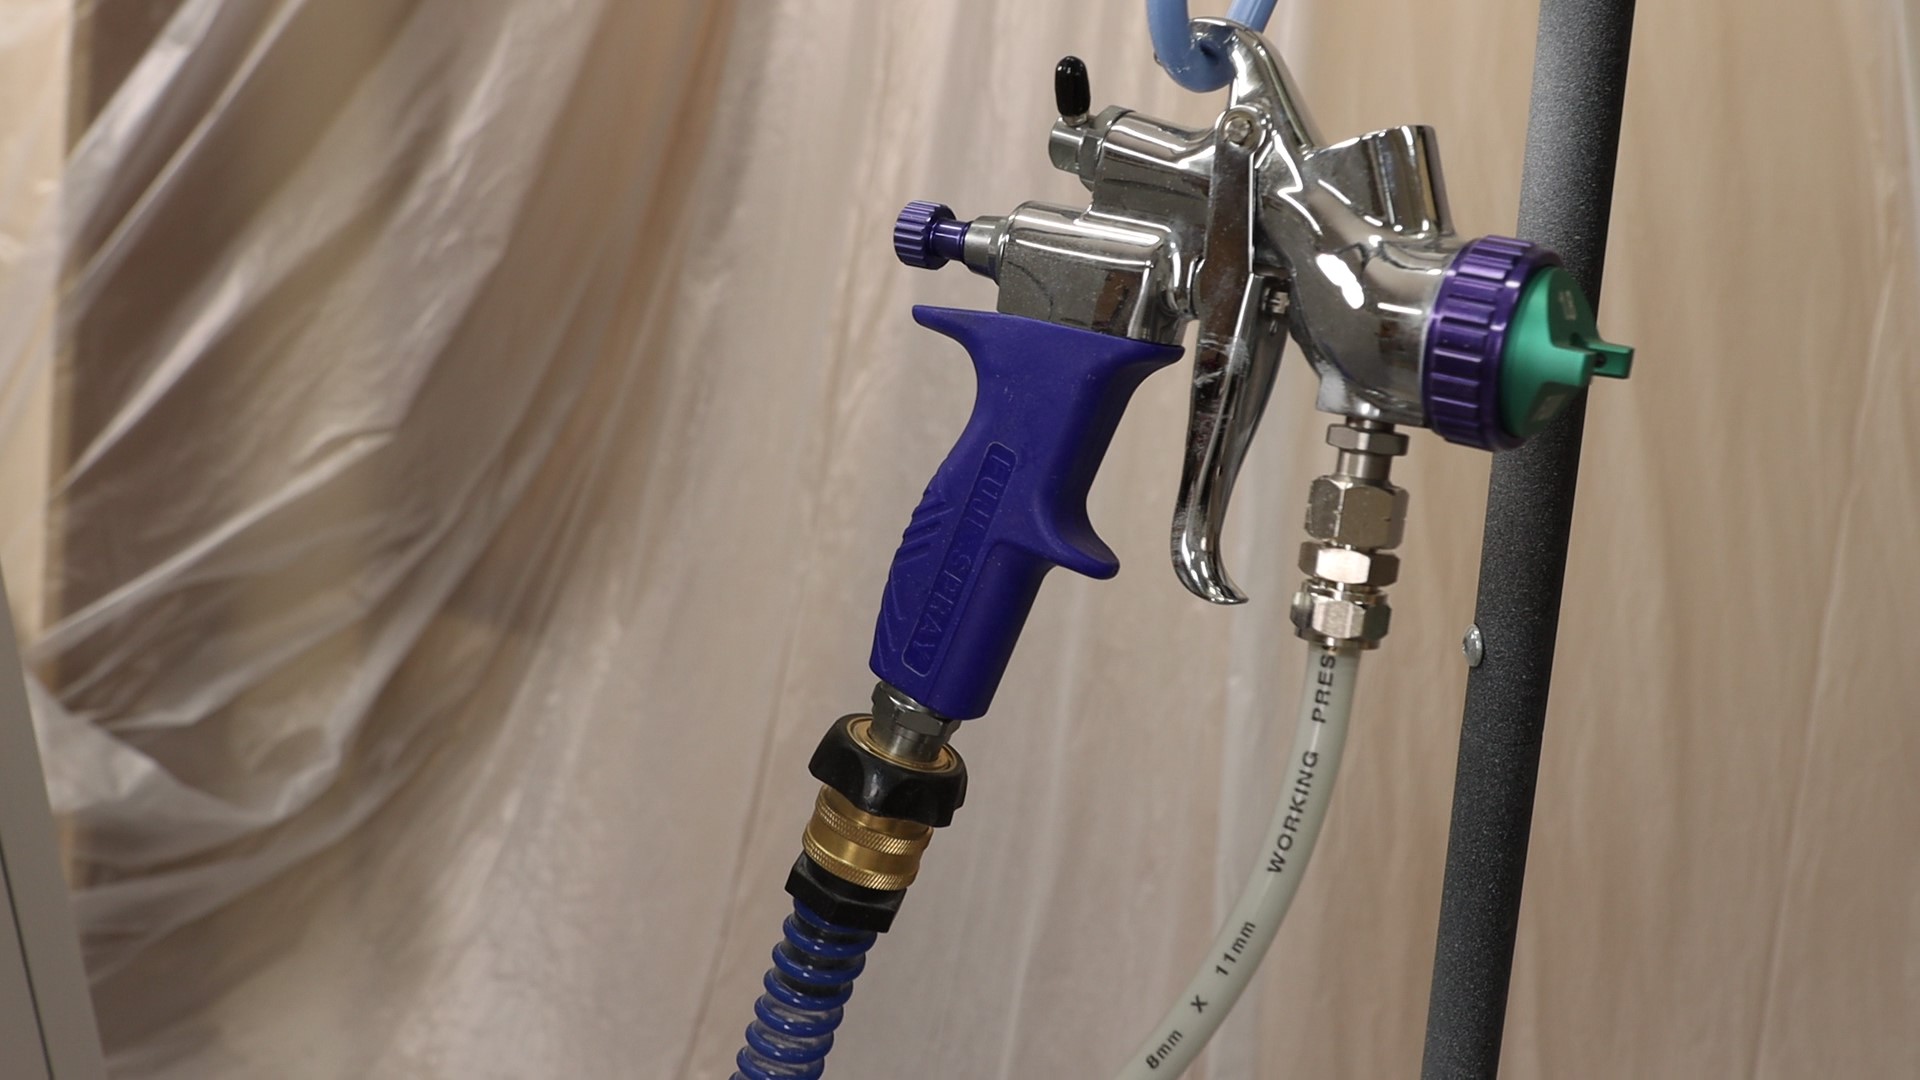
Step 5: Take a Load Off
The 2 Qt. pressure pot can rest on the floor, or hang from a wall hook in your spray station. The spray gun will feel lighter and more nimble than a typical setup, which improves ergonomics on those long days. Plus, it’s a great feeling to focus on your work, and forget about running out of paint. You’ll spray for miles with the 2 Qt. pressure pot.
Step 6: Know Your Viscosity
Fluid viscosity is a hot topic in the finishing community, and it might be the single most important metric for success. There are objective ways to measure this, like a #4 Ford viscosity cup. I like to have a flow-out time of 50-60 seconds for this Emerald Urethane paint (Q5 Turbine with 80% air pressure and a 1.8mm air cap set).
There are also subjective things you look for. One is how quickly the paint flows up the fluid tube, towards the gun. If it slowly but steadily marches along, your viscosity is likely good. If the fluid stalls, or seems very slow to reach the gun, your paint is too thick.
Step 7: Watch the Tracings
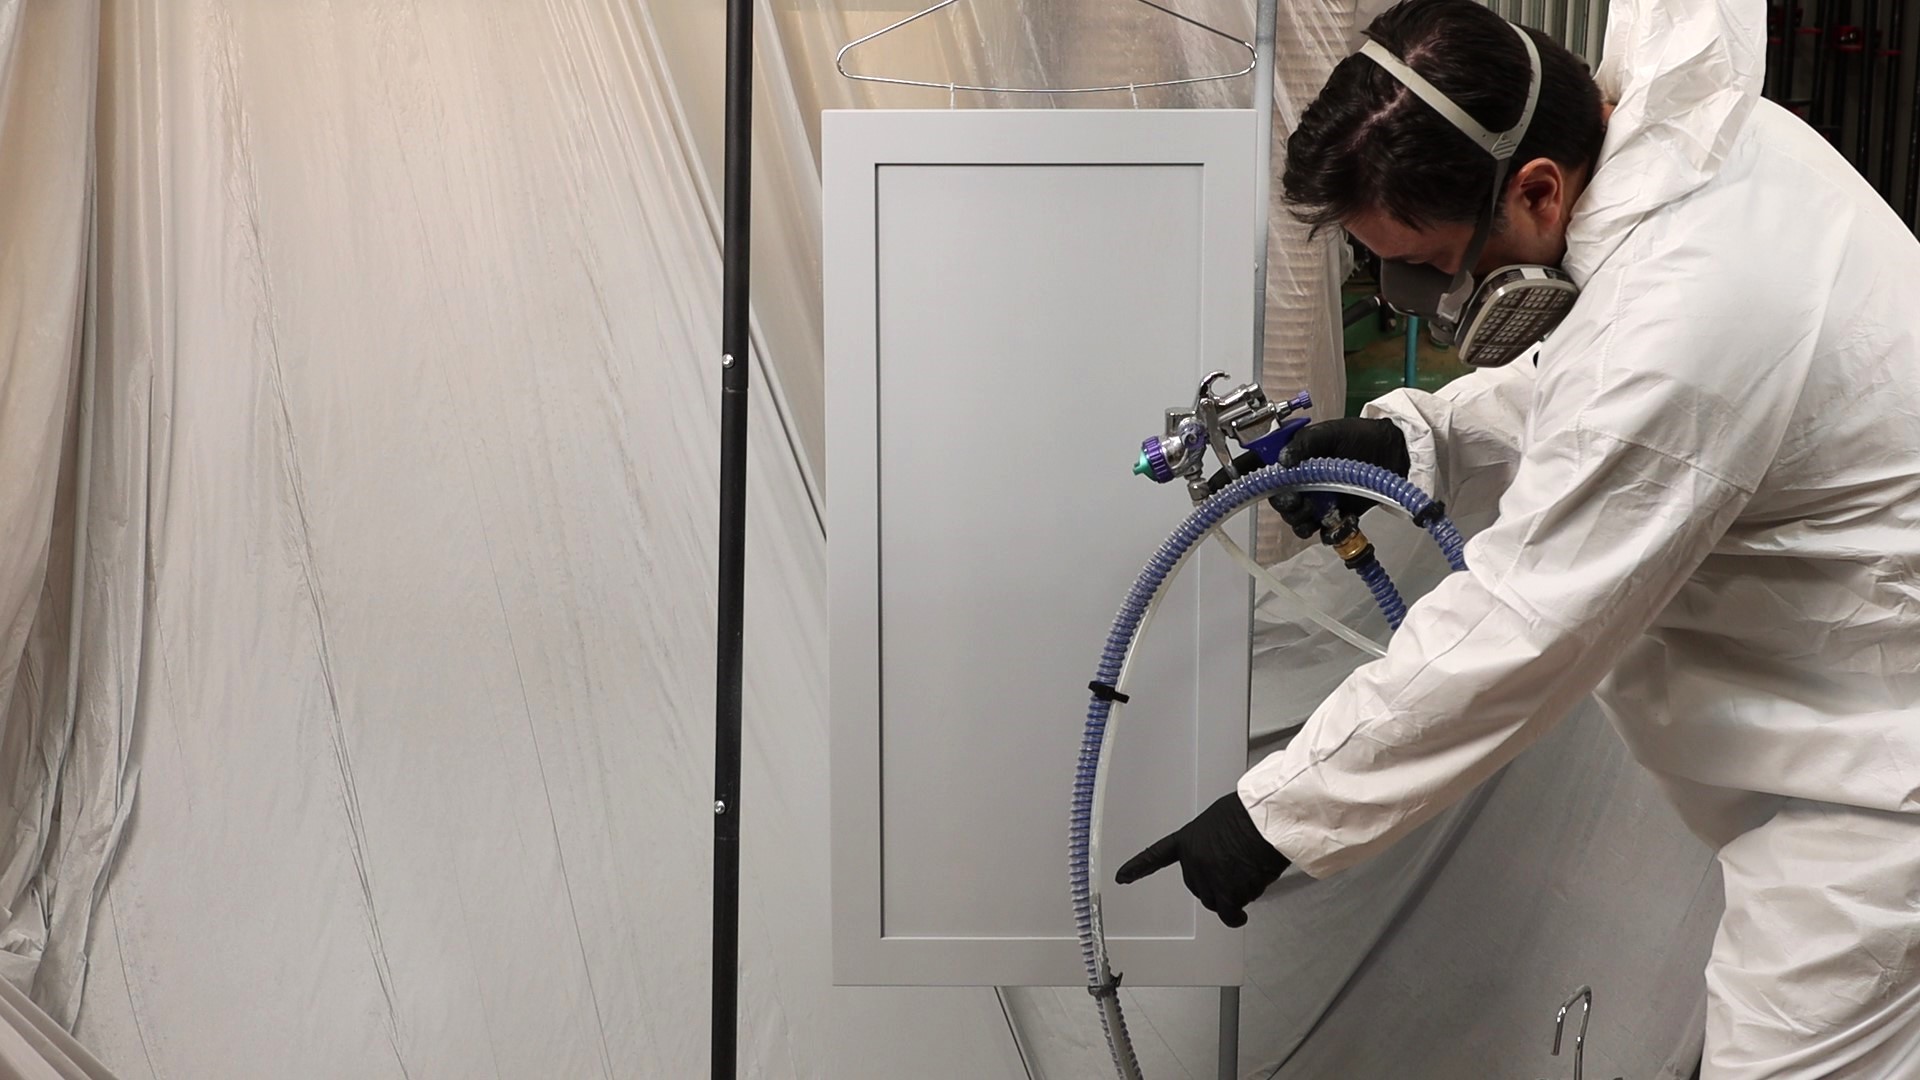
Another subjective measure is the way the paint flows off a stir stick. Here, the Emerald paint seems to lay on top of the paint in the bucket, and this would be too thick to spray with HVLP equipment. I thinned the paint slightly – gradually adding up to 10% water – until the tracings off the stir stick disappear within a second or so.
When spraying clear finishes like lacquer and shellac, I can usually estimate how much the product needs to be thinned. Thick paints and urethane blends should always be measured with a viscosity cup. You’d be amazed how much the flow rate changes with each splash of water added to this paint.
Step 8: Filter, Filter, Filter
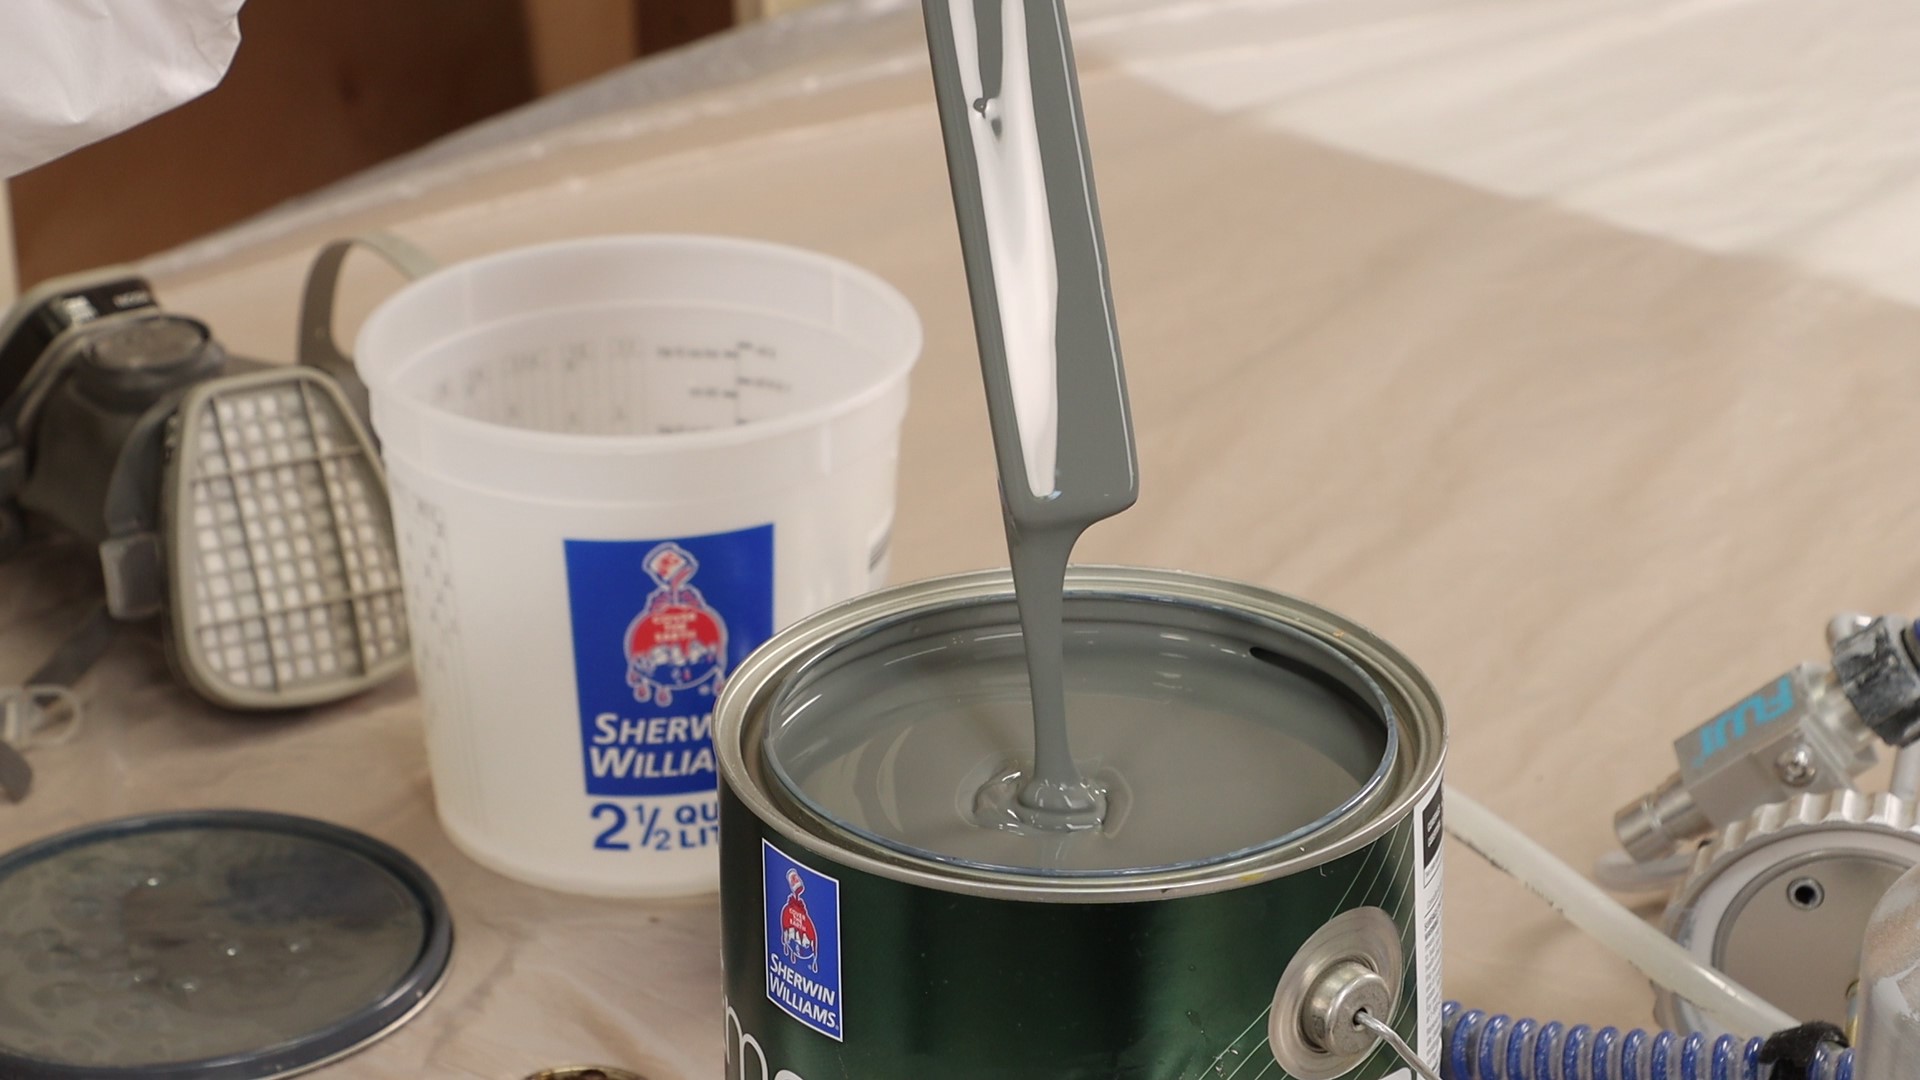
Once the paint is thinned in a separate container, and mixed thoroughly, be sure to pour it through a strainer. This simple step will eliminate spraying problems before they even start. I’m constantly saying it:
always screen or filter anything that goes into the cup and the pressure pot is no exception.
Step 9: Get Ready to Spray
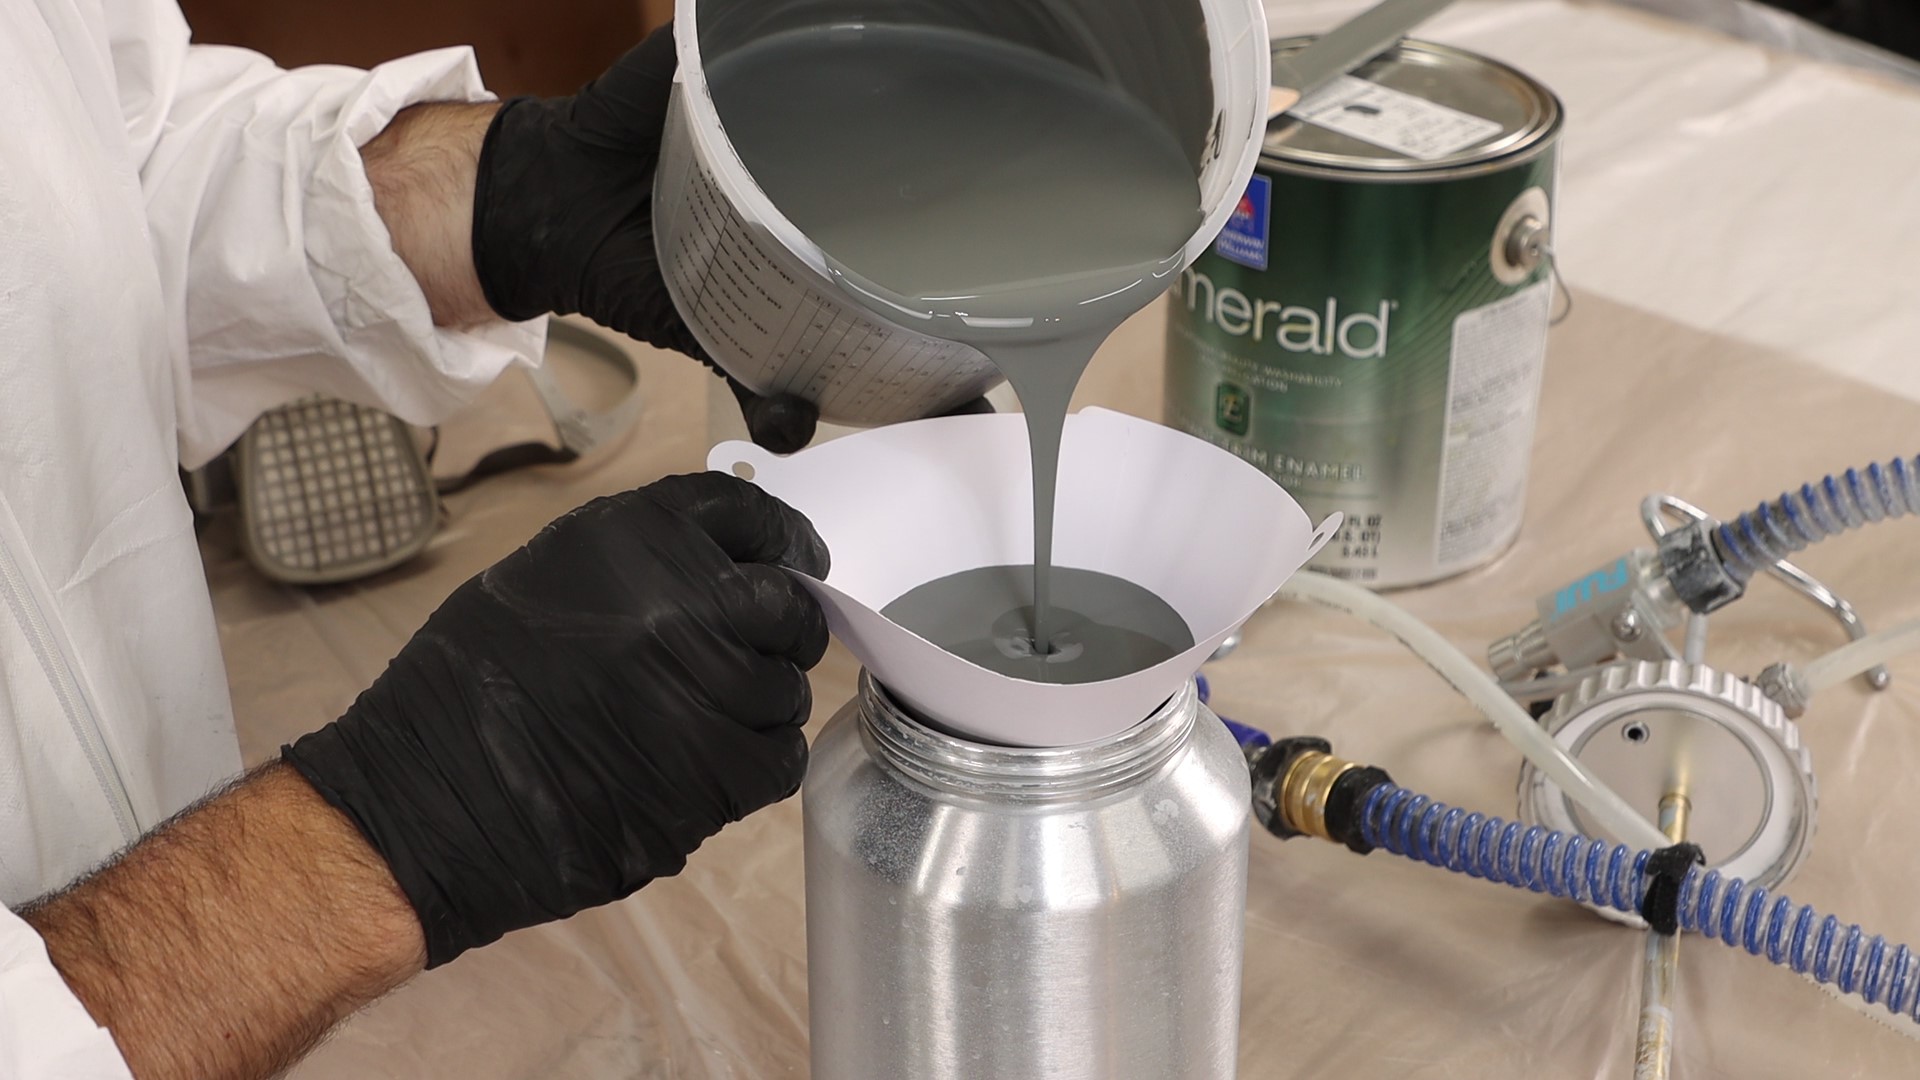
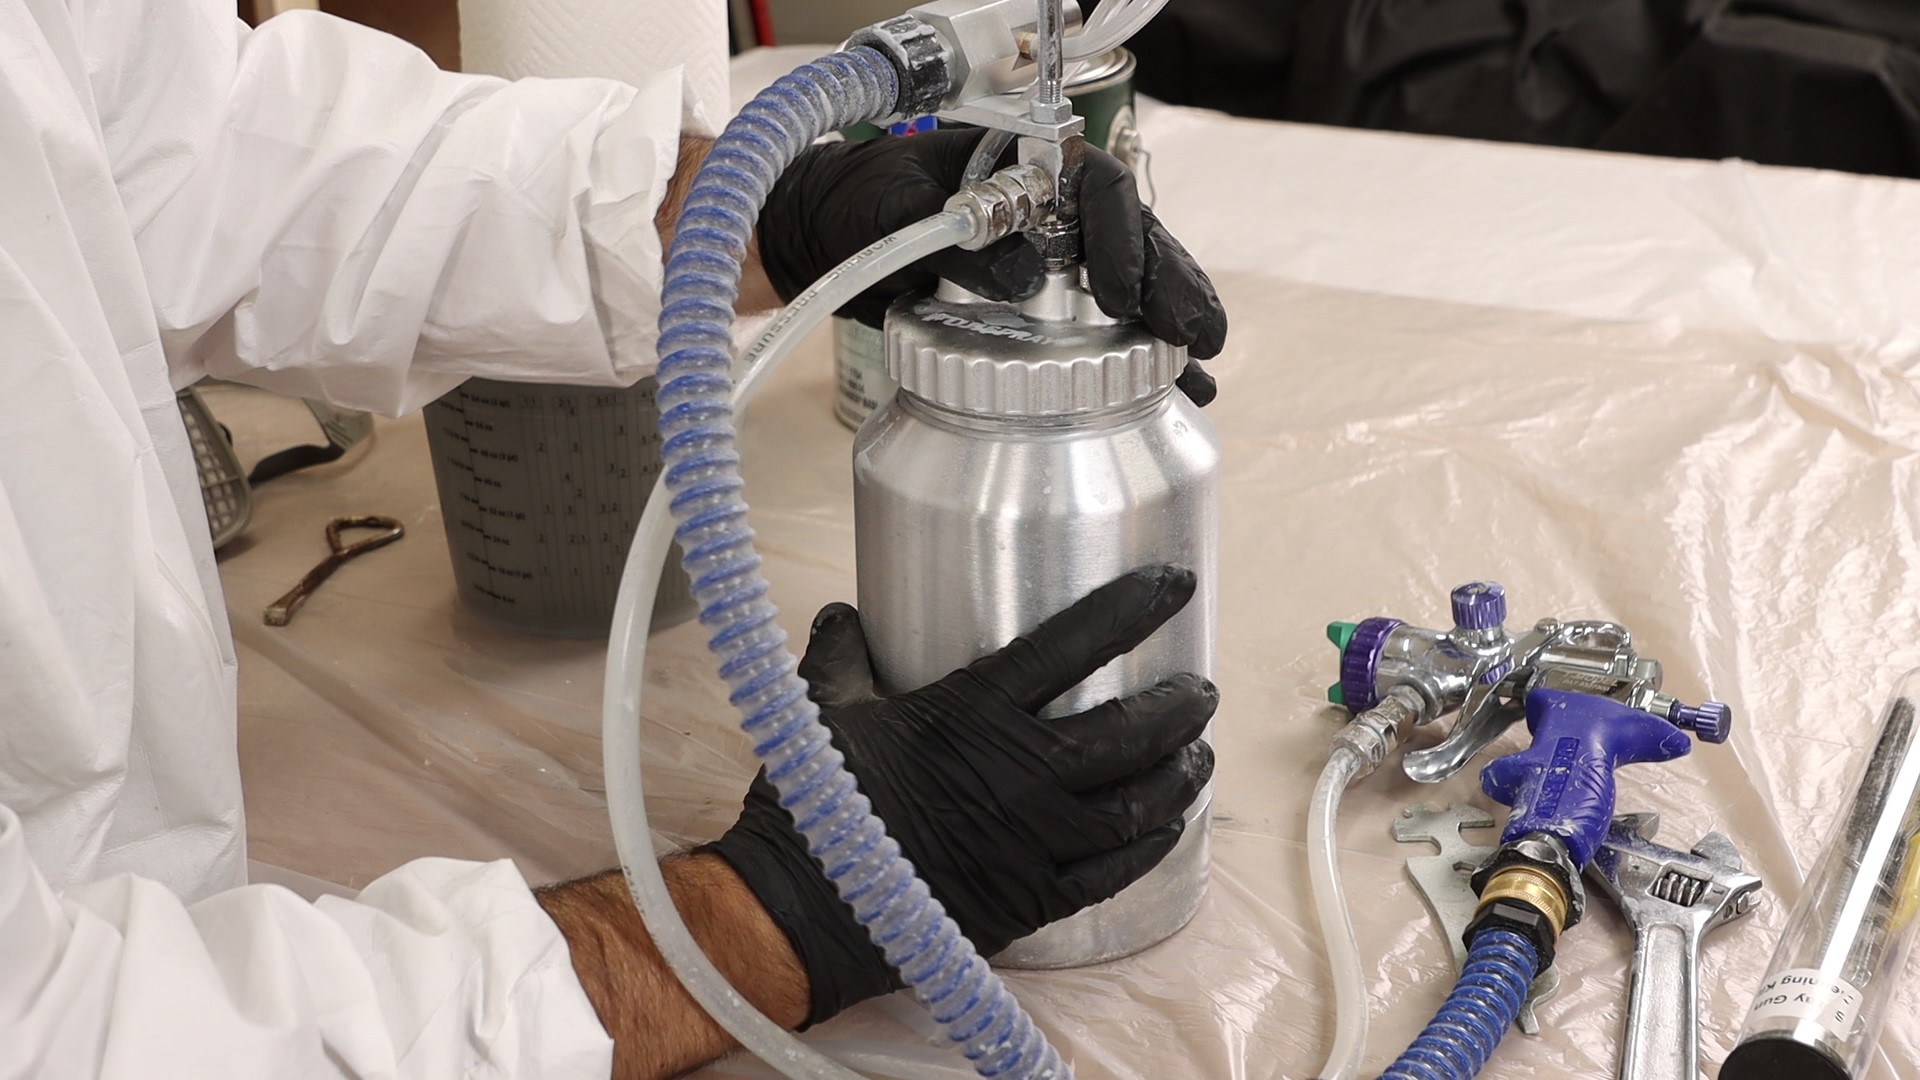
Screw the lid on this sturdy half-gallon pressure pot, and give the fittings a quick check before you set out to spray your project. The thin fluid hose and blue flexible whip make this a nimble setup, perfect for spraying inside cabinet boxes.
Step 10: Close the Bleeder Valve
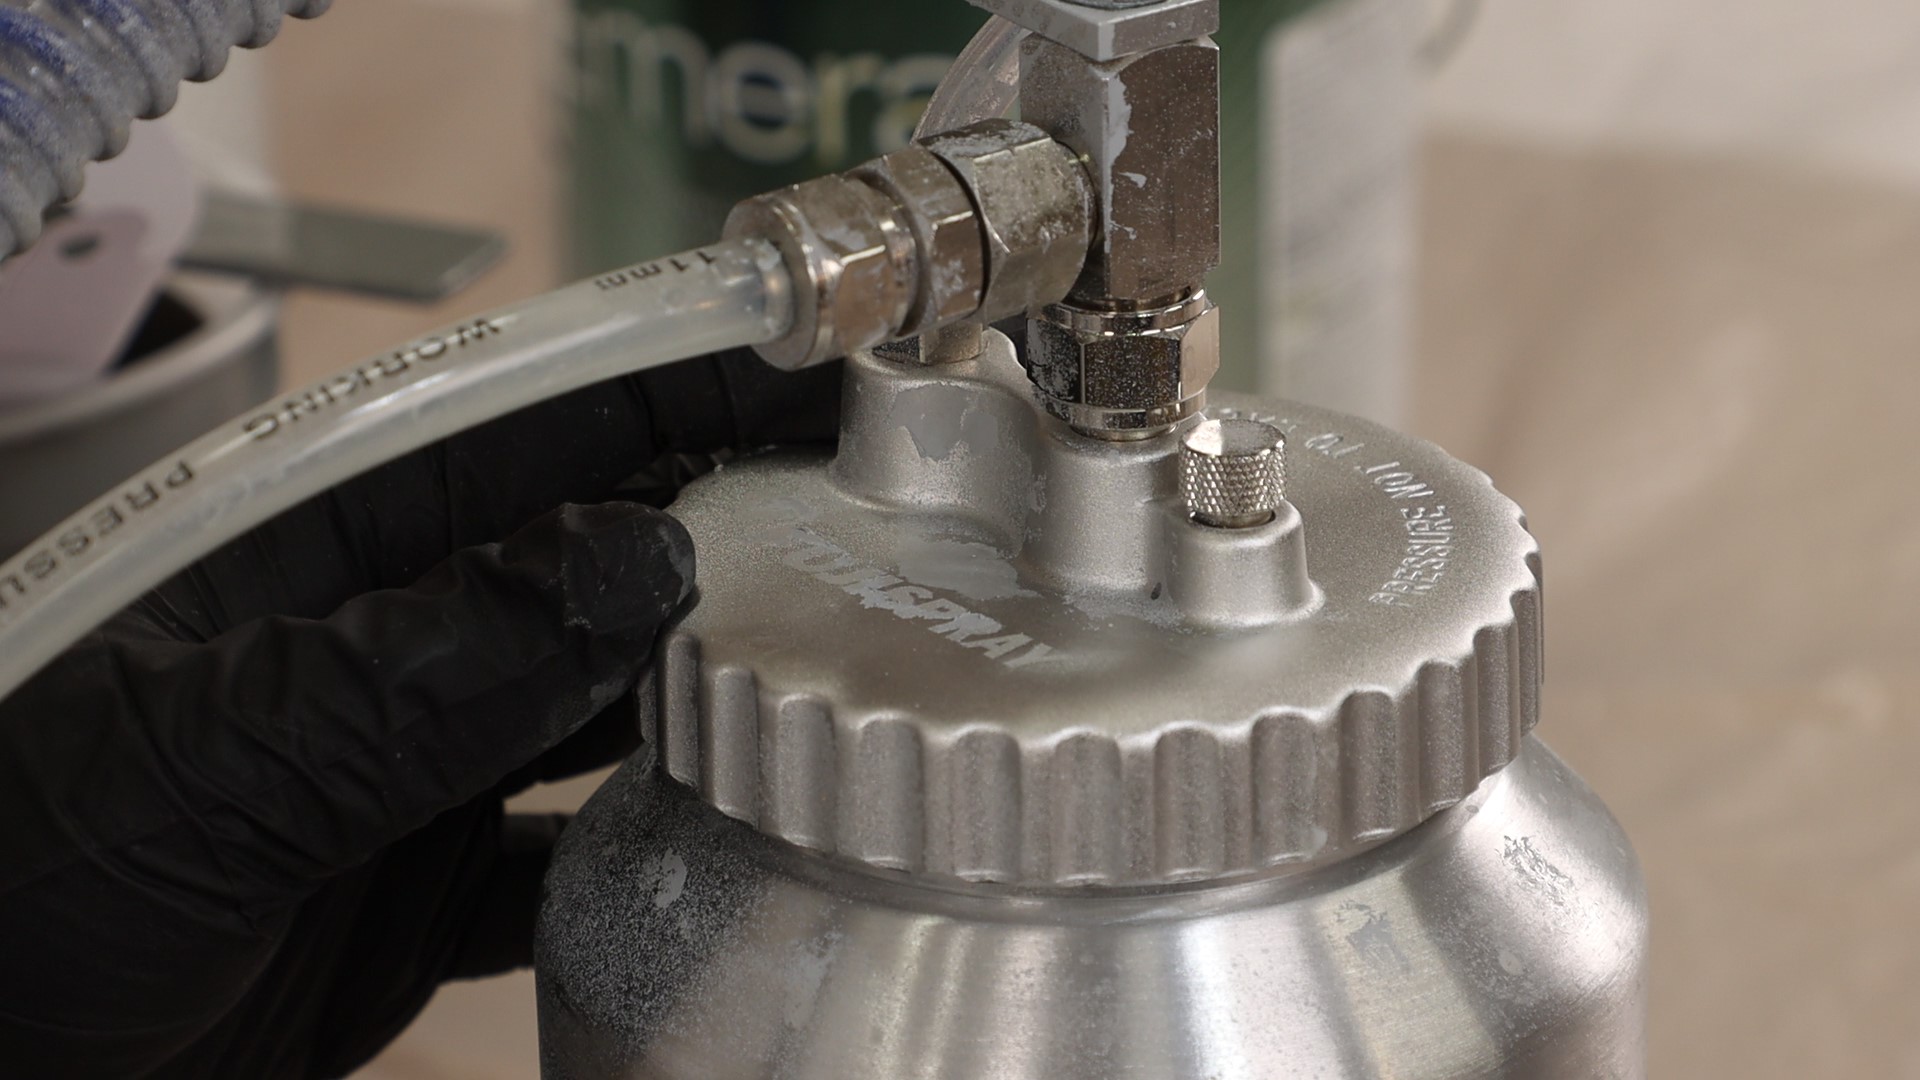
Before making the final connection, take a second to confirm the knurled bleeder valve is closed. This thumbscrew valve is handy to release pressure when opening the lid, but it needs to be snug when you set out to spray. Having this valve closed lets your 4 or 5 stage turbine unit build adequate pressure for spraying.
Step 11: It’s a Snap to Setup
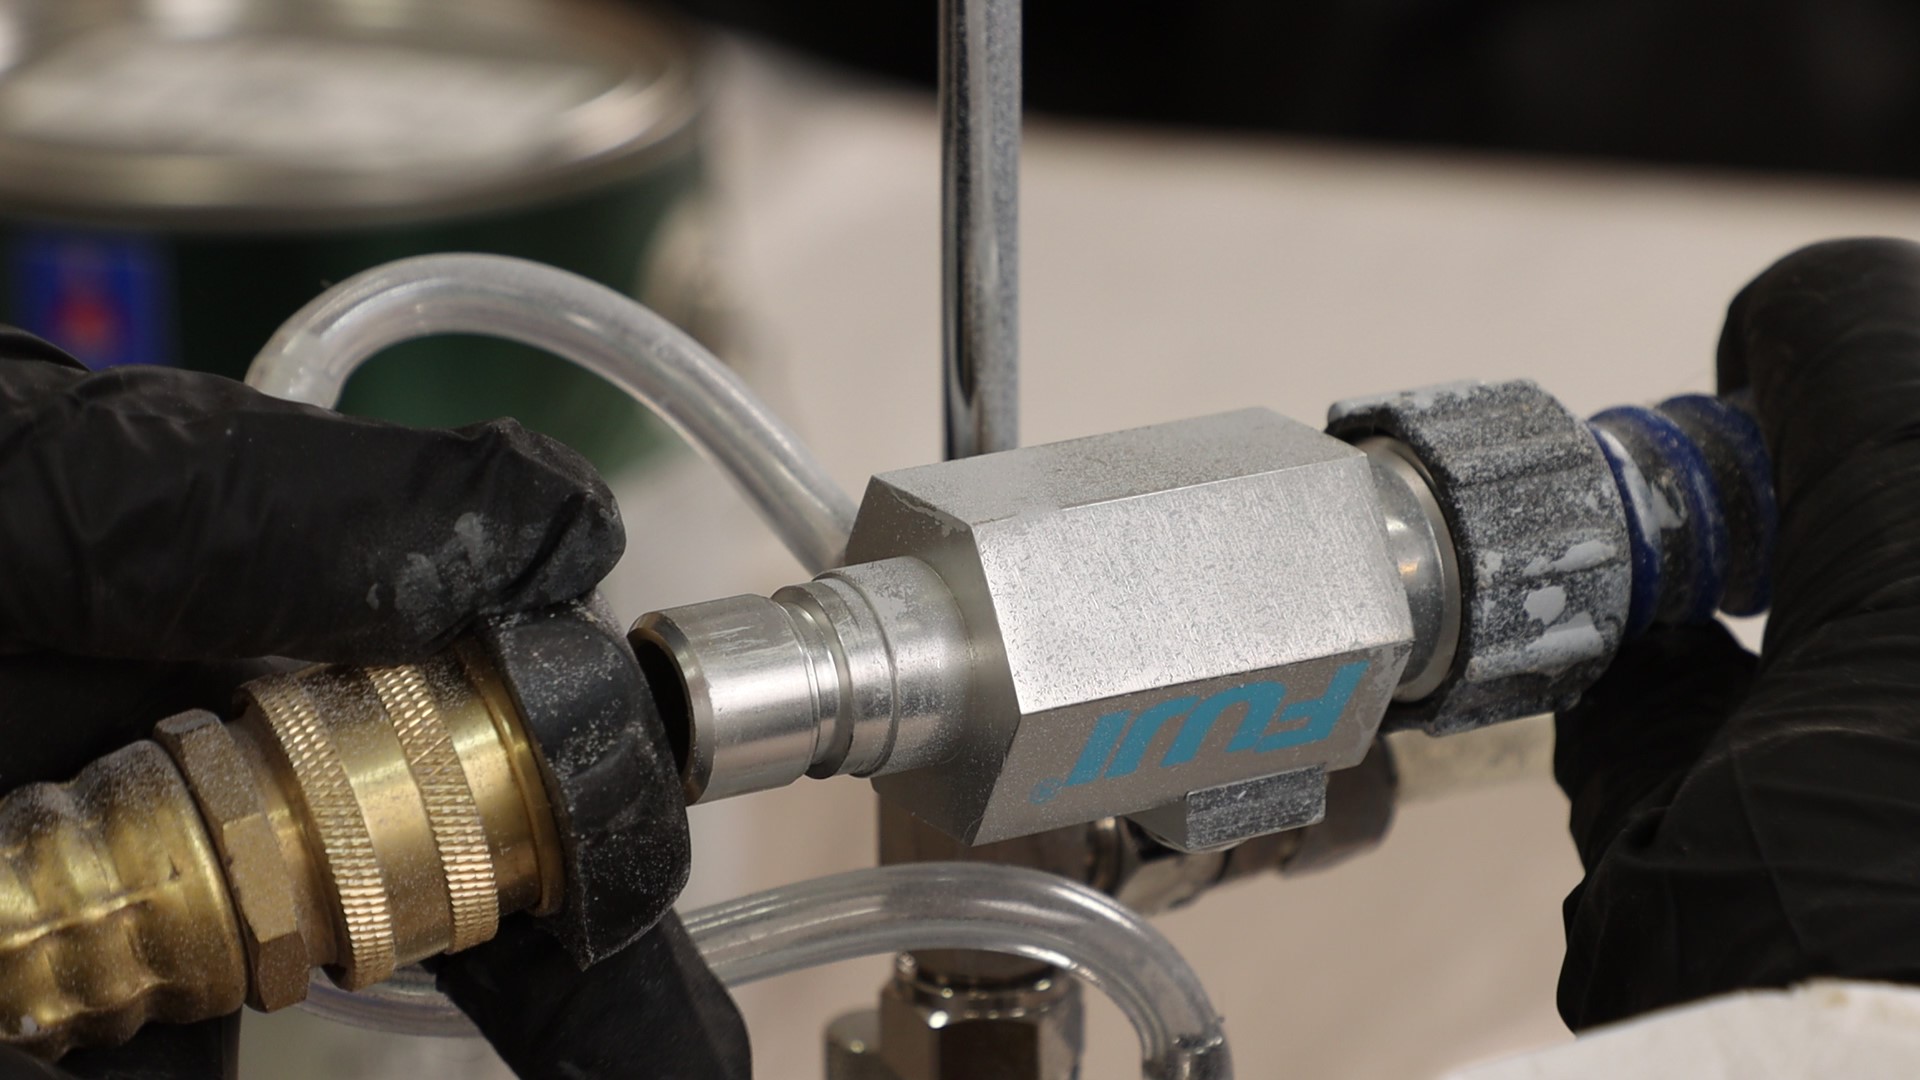
The pressure pot lid assembly has a manifold to neatly route the fittings. Simply thread the flexible whip on one side, and snap on the quick-release air hose fitting on the other. Remember, there’s no paint in these large hoses, they just supply clean, warm air to the sprayer.
Step 12: Hang in There
I like to hang cabinet doors from a rolling coat rack. If you install small threaded hooks on the edge of your doors, it works well. Just place the hooks at the top of the upper doors, and at the bottom of the lower doors, and you’ll never see the holes.
I still can’t decide what I like best about using the 2 Qt. pressure pot – the light and nimble sprayer, or the fact that I can spray at any angle. Tilt the T70 gun left or right, or even upside down, and enjoy continual positive fluid pressure. Now that’s a huge advantage over most HVLP sprayers.
Step 13: I’m a Fan of Your Work
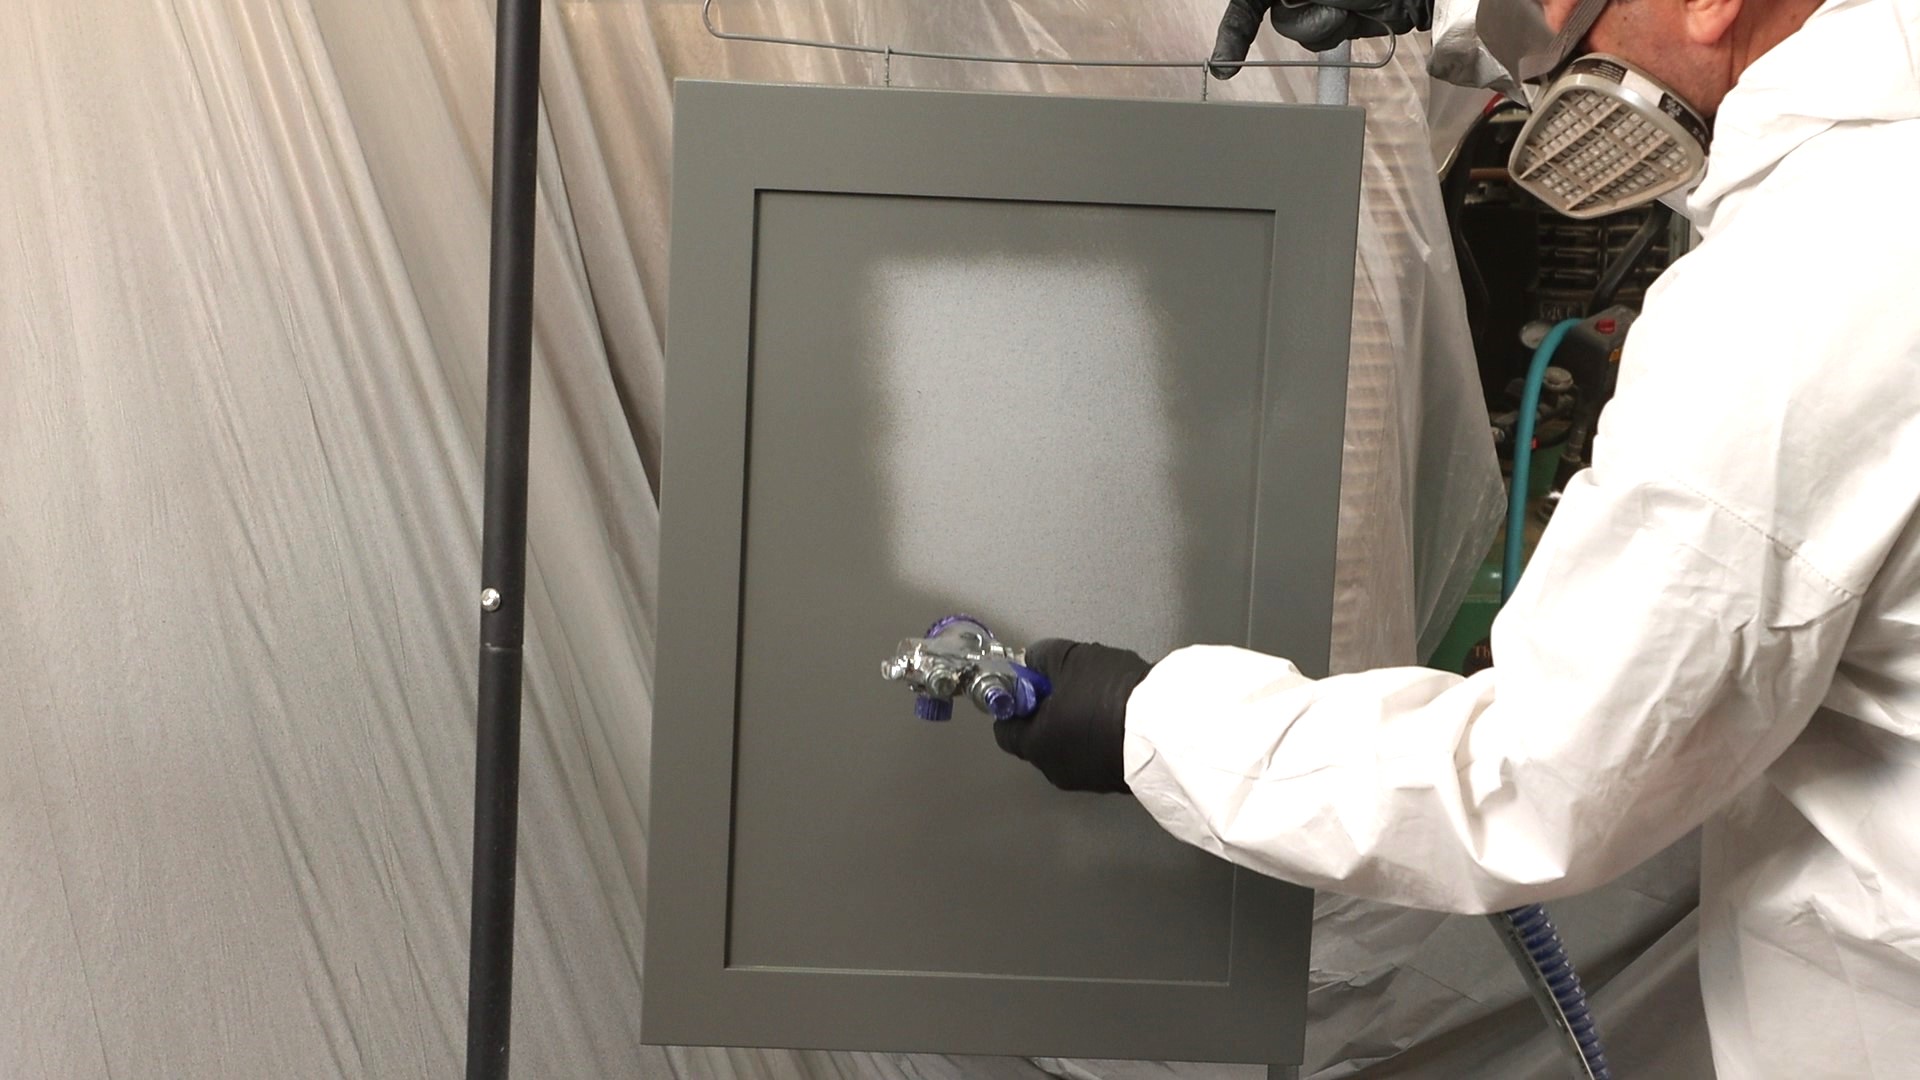
Dial in the fan width control for the object you’re spraying. For large, flat surfaces like cabinet doors, I run the fan pattern nearly wide open. Note how the Velcro straps, included with the pressure pot kit, neatly tether the fluid hose to the 6’ whip.
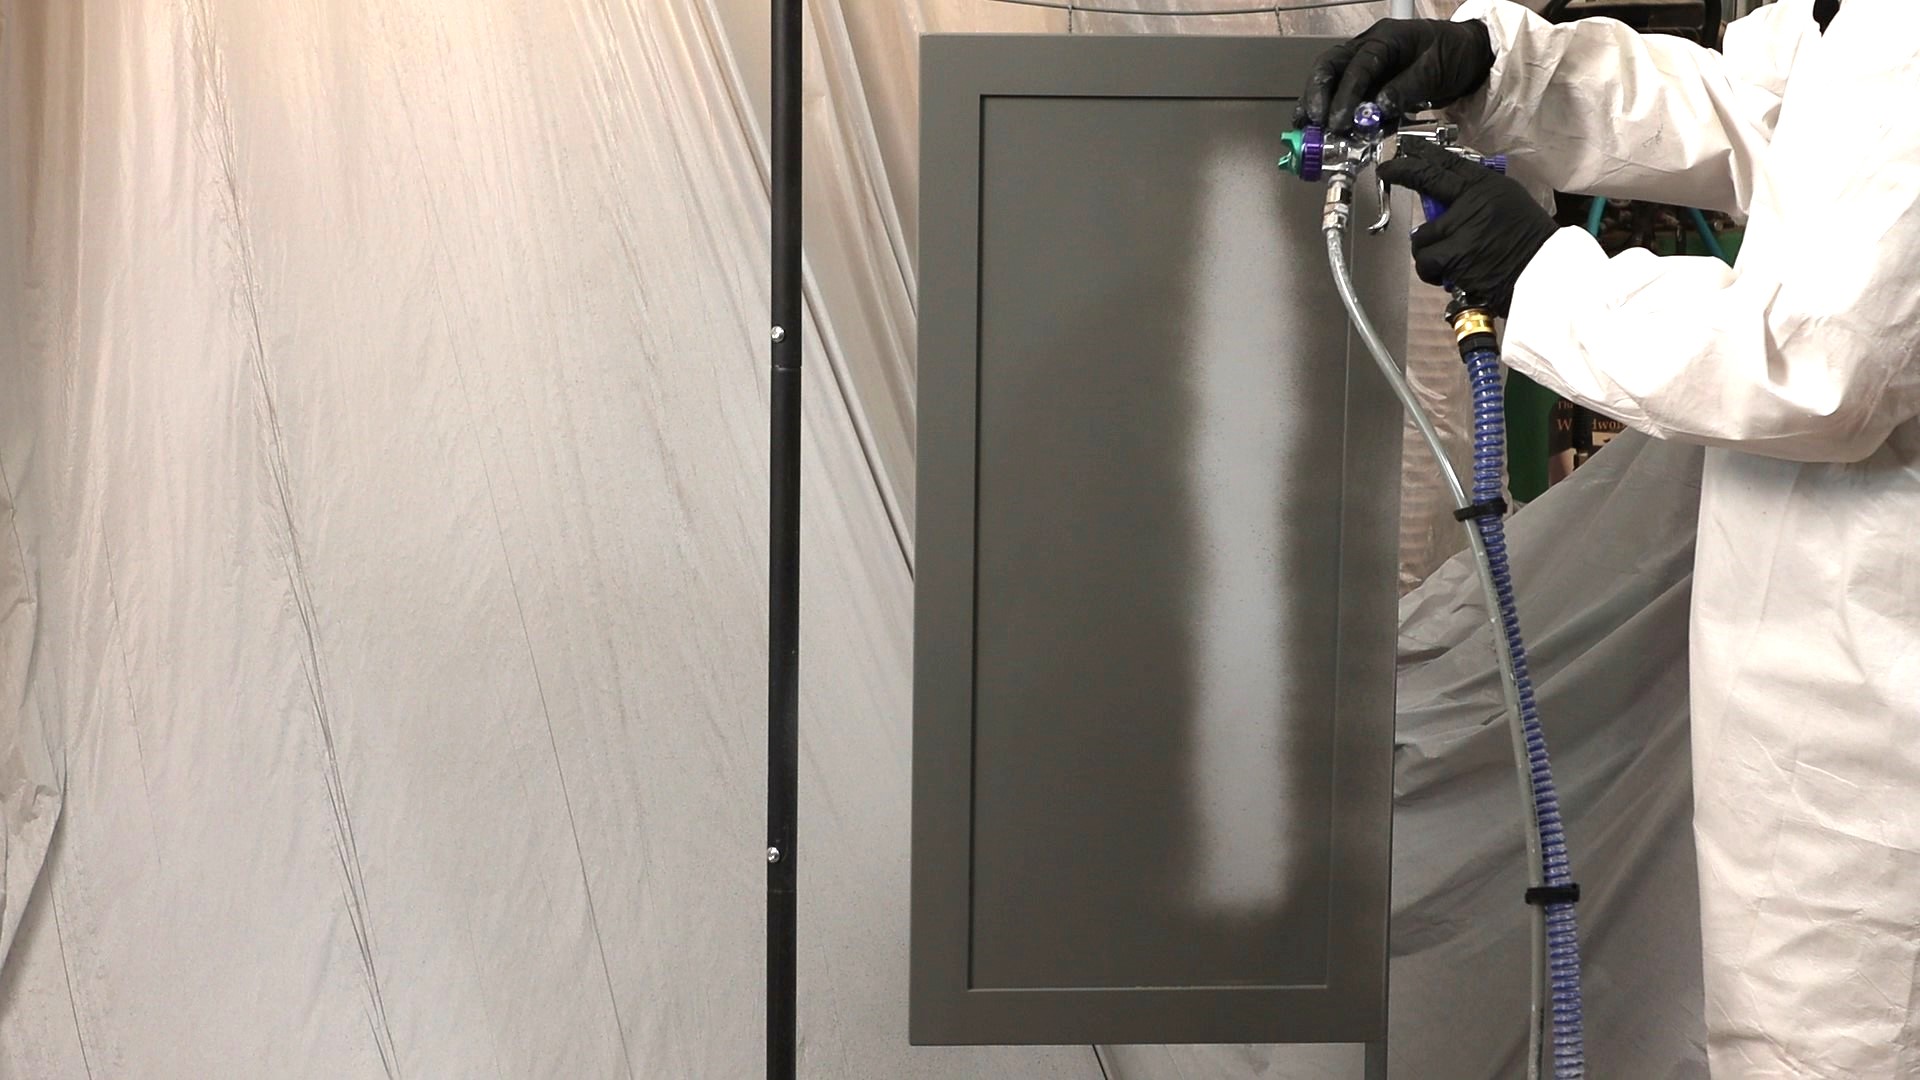
Step 14: A Fine Start
After the first coat of paint, your project will be looking good. Scuff sand the parts with a very fine soft sanding sponge in the 800-1000 grit range. Then wipe the surface clean with a cheesecloth and a blast of compressed air. This will prepare you for the second and final coat of urethane paint.
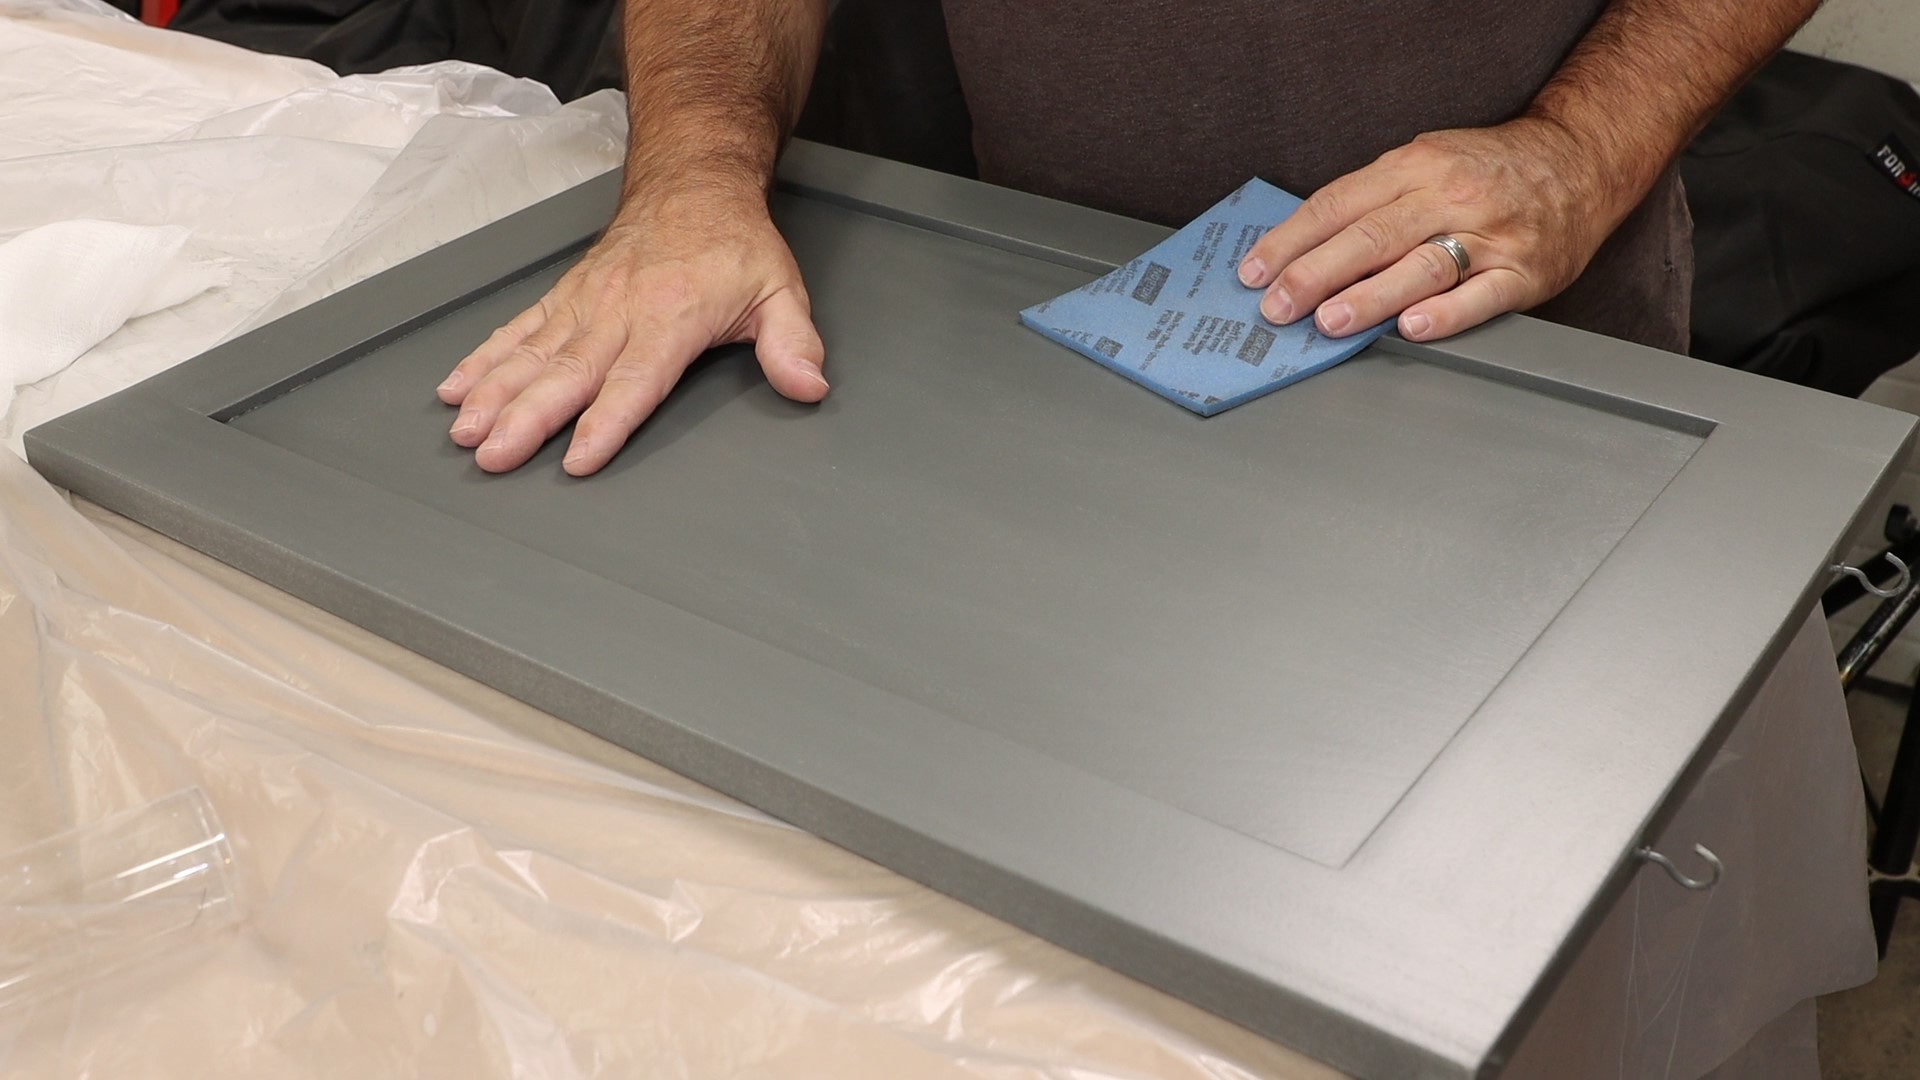
Step 15: Smooth, Even Coverage
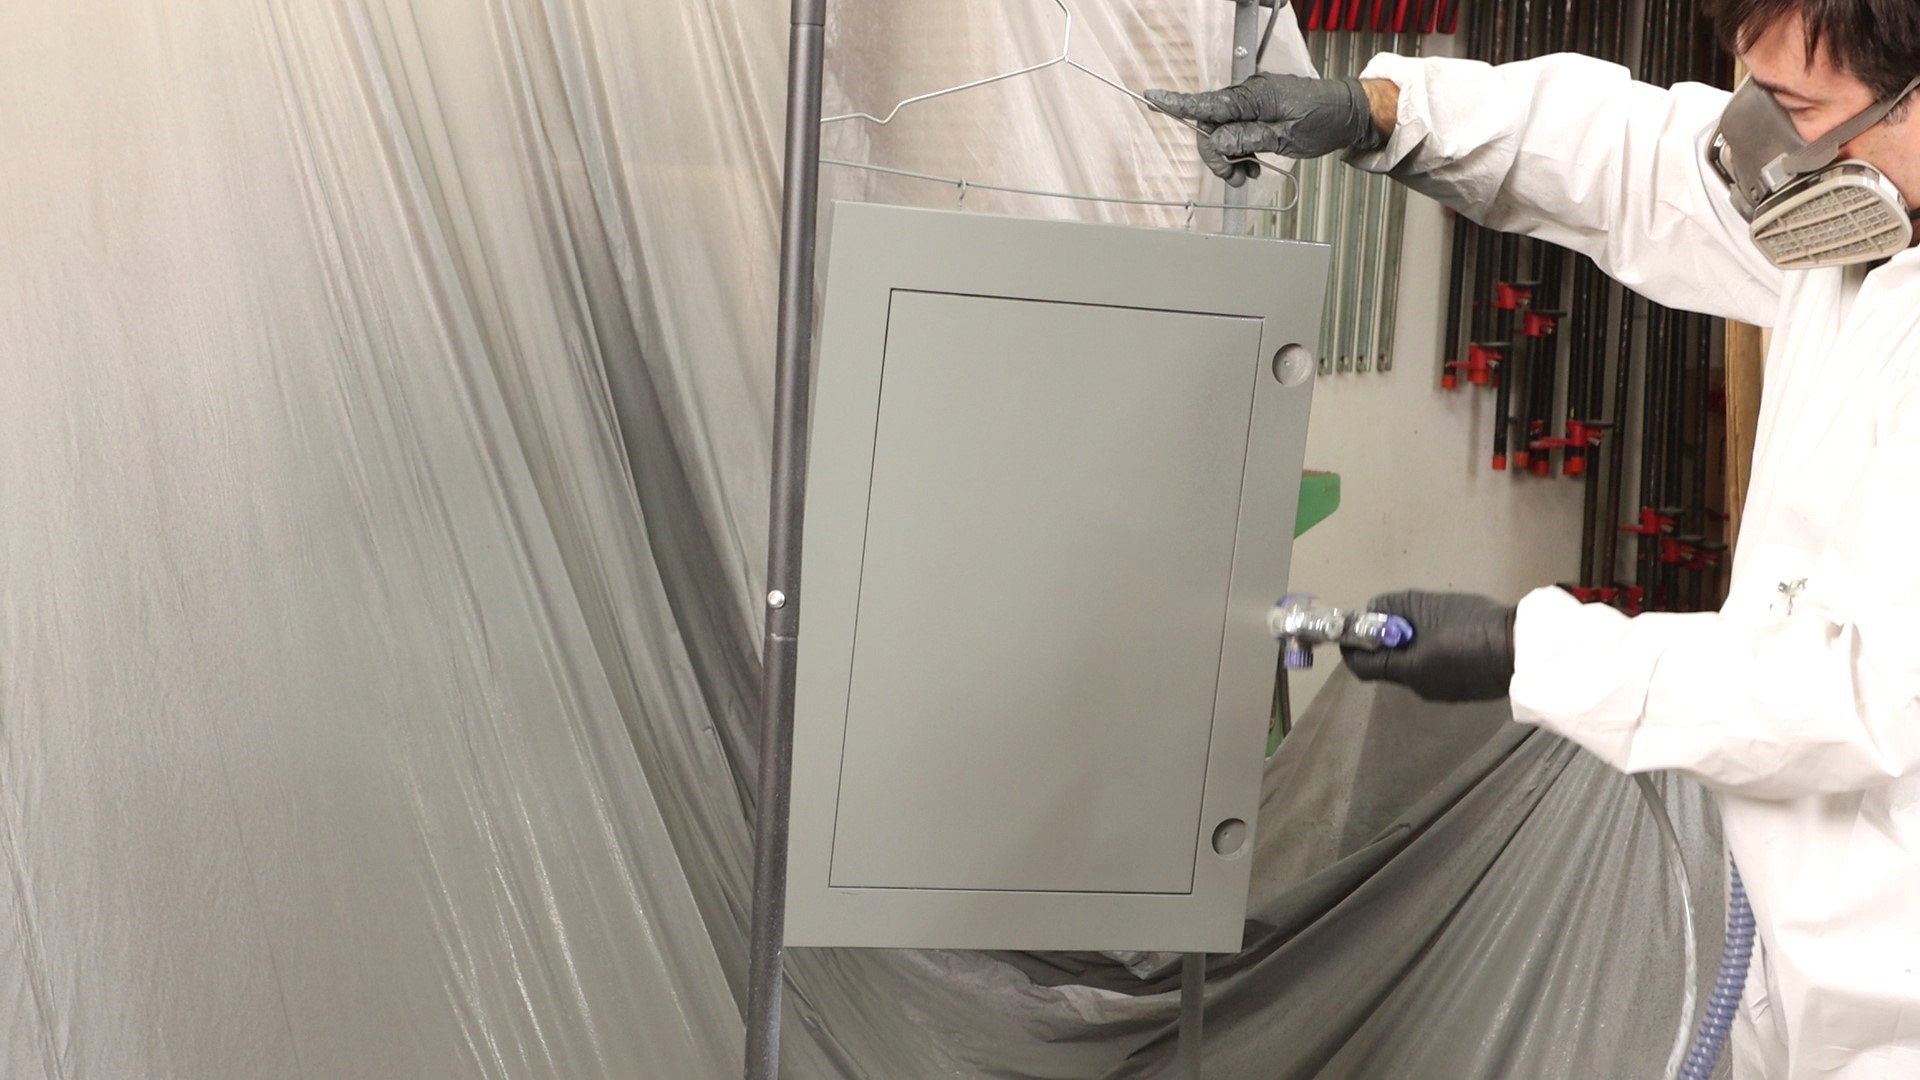
The second coat adds some coating thickness and improves the durability of the finish. This pressure pot system, along with a 4 or 5 stage turbine, sprays almost as fast as an airless sprayer while adding two distinct advantages. First, an HVLP sprayer produces a much finer finish, appropriate for cabinets and furniture. Second, it produces far less overspray, for a cleaner and safer work environment.
Interested in fitting your 4 or 5-stage Fuji Spray system with a 2 Qt. Pressure Pot? Find your nearest distributor here today.


