


Seal Coats & Primers, Colorants and Topcoats I
For those who’ve recently taken the plunge into spray finishing, few things can be more confusing than this topic. And unfortunately, finish manufacturers aren’t much help in this regard as there seem to be few industry standards when it comes to naming conventions. Whether the fault lies with their marketing division or bean counters, the fact remains that it can be downright confusing. So, I’m hoping that by the time you’ve read both parts of this article you’ll understand the difference between these three finishing groups and a fair bit about the products in each. Perhaps as equally important, you’ll know how, when and when not to use them. And please note that although I have transitioned to using primarily water-based products, the information here is equally applicable to oil-based products.
To make things easier to follow, I’ll be covering the various products in the most likely order you’ll use them. And because this topic covers so much material, this will be a 2-part article. Here we go with part 1!
Seal Coats & Primers
As their name suggests, this group of products is designed to prepare the wood to better accept finishes, or to seal in stain coats prior to topcoating. But they can do more than that. Let’s look at these products, one at a time.
Seal Coats
There are a few different products in this category, so I’ll take it easy on you and start with the easiest one to understand: sanding-sealer. I use this product to establish a solid base for whatever I may wish to apply thereafter (colorants, or perhaps simply a clear – also known as “bright”) and to make sit easier to sand away those whiskers that are sure to pop up when the wood (natural or man-made) material receives this first coat. Plus, because sanding-sealer is less expensive than most other finishing products you could use for that same purpose, it’s economically smart to use it for that purpose.
Sanding-sealer is also used as a stain conditioner; for this it gets diluted 50/50 with whatever it is you’re using as a solvent (in my case, that’s water). Let’s hear more, you say? Well, sanding-sealer may also be used as a colour vehicle to deliver translucent stain when tinted with universal pigments or dyes (see “Stains” for more info). Special effects such as shading and toning – including sunburst effects – may be created in this manner. How’s that for upping the cool factor?
Shellac
Another product that falls into this same category is shellac (yes, water-based shellacs are also available), so don’t forget about this time-tested product just because it’s been around for centuries. Shellac is also used to enhance the naturally warm wood tones that most find pleasing to the eye.
Primers
Formulated to help provide a smooth, non-textured appearance to the base substrate, these flexible products can act as primers, surfacers and fillers. And because some are formulated to be used only on opaque finishes and others, for clear (also known as bright) work, ensure you us the correct one for the job at hand.
-
- Focussing on opaque finishes, I’d like to emphasize that although there are latex paints on the market which now require no priming, unless otherwise stipulated by the manufacturer, priming will be required. This product fits the bill.
- If used to fill pores on open grained woods such as oak or mahogany where you may wish to fill the grain to provide for a completely level surface, note that you also have the option of toning the product with dye or universal pigments to either showcase or to blend with the grain. If showcasing the grain, you’re better off to first seal the wood (see the Seal section above, for details), to keep the non-porous areas from adopting the same colour. And of course, you’ll want to follow up with a seal coat to “seal in” the filler in preparation for topcoating.
- Focussing on opaque finishes, I’d like to emphasize that although there are latex paints on the market which now require no priming, unless otherwise stipulated by the manufacturer, priming will be required. This product fits the bill.
How to Apply Seal Coats & Primers
After straining with a fine dye stain is liberally applied to the bare wood, either by hand (rag or brush), or sprayed. For spraying with HVLP guns (turbine or air compressor systems) I use either a .8mm or 1.0mm needle/nozzle and air cap set. I use a 1.0mm set with mid-pressure guns. Once applied and depending on the effect you’re after and the degree of penetration, any stain that doesn’t quickly soak into the wood is usually wiped.

Colorants
In the world of finishes, this group is undoubtedly the most challenging – both to understand and to use. Yet despite their complexity, they do just one thing … they colour wood! And because they do so, they can solve problems which may otherwise go unresolved. How about bringing out the beauty of otherwise plain woods (think poplar or pine) or having them go with other, more expensive woods? What about covering up or neutralizing problem areas?
And given the ever-rising cost of lumber these days, they can stretch your material savings by enabling the sapwood areas of a board to take on the same hue as the heartwood. Conversely, if you want contrast, they can help bring that out. Above all, though, colorants can add richness and depth to the finish. Now, isn’t all that worth giving colorants a second look? I believe so and that’s why I’m recommending you get to know them.
Colouring wood can be achieved with a variety of products, including stain, paint (and its cousin, pigmented lacquer) and chemicals. However, because of the hazards posed by chemicals and the fact that their effects can be achieved by other, safer means, this article will only address stain and paint.
There are the two main stain types: dye and pigmented. Some stains are used alone and sometimes in tandem with other types, such as when extra depth is desired by first dyeing the wood, over which a pigmented stain is applied. Let’s dig further and look at them, starting first with dye stain.
Dye stains
Dye stains produce transparent colours. They can be either water or spirit (denatured alcohol) based, and of all the colorants they’re the ones that soak most deeply into the wood. Dye is available in either powdered form or pre-mixed. Their colorant is made of chemicals and therefore being much smaller than those in pigmented stains, they spread more evenly throughout the wood surface. This important property means they tend not to cause blotching nor highlight scratches and such blemishes as much as their pigmented counterpart.
They’re also the most transparent of colorants, which allows the grain to telegraph through so well. And if you want to manipulate the intensity, tone, or shade once the previous coat has dried, you can apply additional coats – while still allowing the grain to be seen. And once dye stain has dried, a process that usually takes only a few minutes, there is less likelihood of sanding it off because it is absorbed so deeply into the wood.
Lastly, dye stains can be mixed with most sanding sealers and topcoats – including shellac – enabling you to take advantage of those finishes’ binding properties. In this manner, dyes can be used to create special effects such as toning or shading.
There are two downsides to dye stains you should be aware of: they are less colorfast (meaning they may fade over time and especially if they are exposed to prolonged sunlight) than pigmented stains, and, achieving brilliant colours is difficult because they are transparent.
Before I leave the family of dye stains, I should mention another variant you may come across: non-grain-raising (NGR) stain. This stain can only be applied by spraying, but because they contain methanol, when using them ensure you employ positive ventilation protection. That pretty much wraps up the world of dye stains, except to state the obvious: I am a huge fan of dye stains.
Pigmented stain
Pigmented stain the other type of stain to consider. Pigmented stains produce a less transparent colour than dye stains, although depending on the percentage of pigments in the product, the grain may still propagate through. They, too, can be solvent or water-based, but have the distinct advantage of being considerably more colour fast than dye stains. And pigmented stains always contain a binding agent (basically a glue) to help bond the pigment particles to the wood.
These stains are available only in liquid form, and unlike dyes, cannot be readily mixed into sanding sealers or topcoats. That having been said, some manufacturers produce a so-called varnish stain. I don’t recommend these for use on fine furniture because – to my eye at least – they impart a muddy appearance.
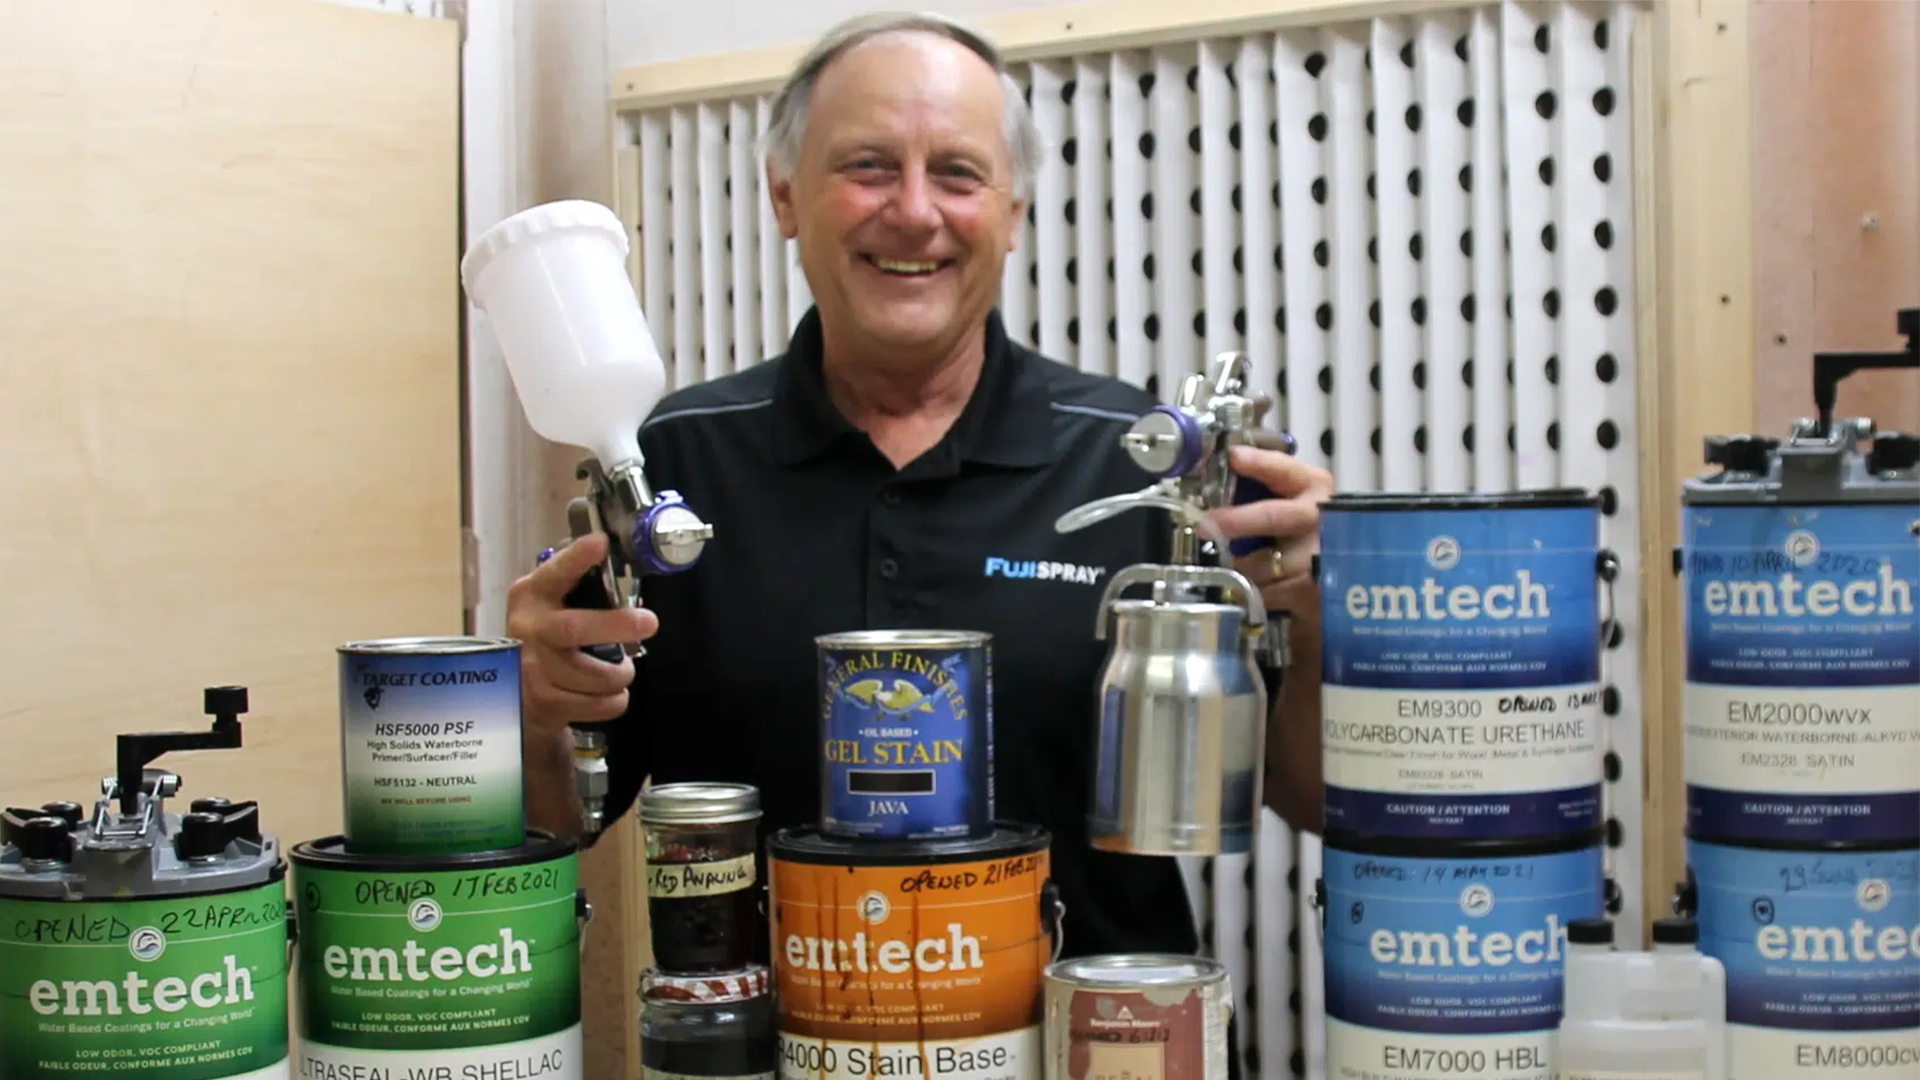
But there is one other variant of pigment stain worthy of mention: gel stain. Gel stains are often used with woods such as cherry or pine which blotch so readily, because they simply don’t penetrate very deeply into the wood and therefore bypass that problem.
We’ve reached the end of Part 1. Now that I’ve covered seal coats & primers and whetted your appetite on colorants, this would be the logical time to close out Part 1. In Part 2 of this article, I’ll pick up where we left off on colorants before moving on to topcoats. Until then, please let me know if you have any questions regarding this topic or any others related to spray finishing.