


Cleaning Your Gravity Feed Spray Gun
Get consistent results time after time with a quick and easy HVLP gun cleaning technique.
I use this approach between coats, as well as when I’m finishing up and putting my spray equipment away for the day.
1. Once the job is complete, empty the finish from the spray gun.
The fluid chambers and filter, as well as the cap and nozzle set all need to be cleaned for best performance. Luckily, this quick and easy cleaning technique takes only 3 minutes, and uses only 1-2oz. of thinner.
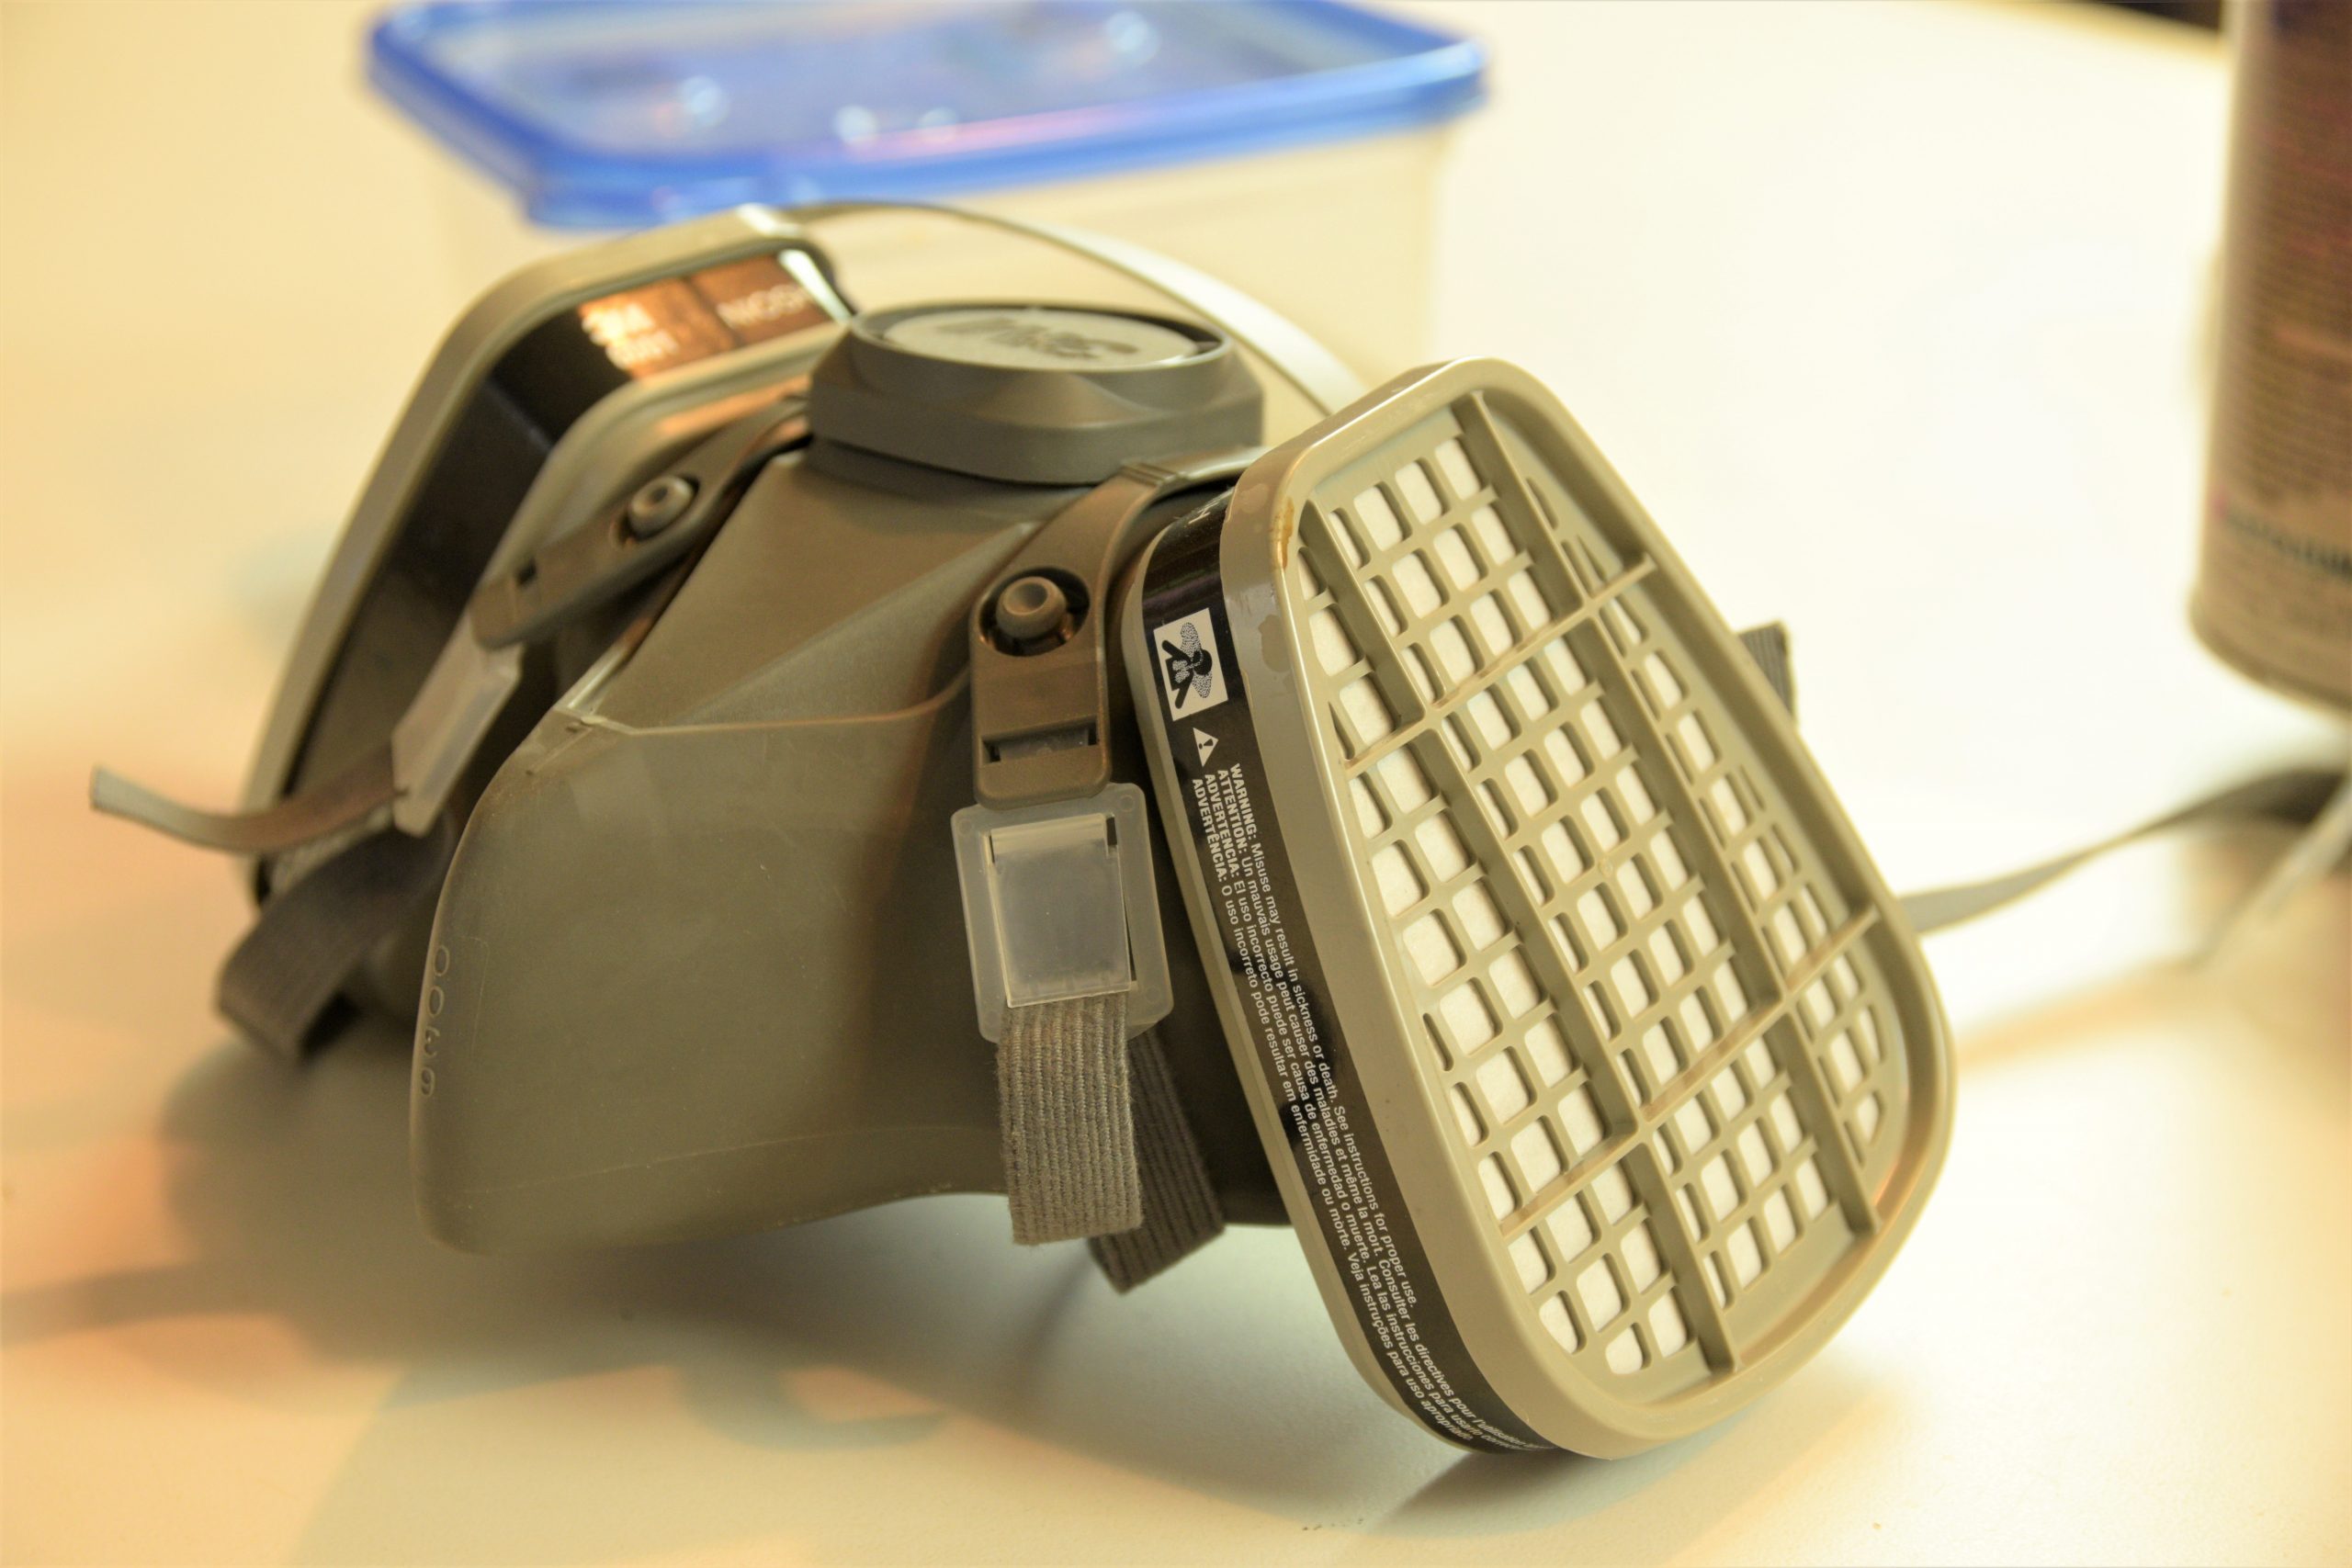
2. Safety Every Day in the Shop
It goes without saying that you need to use a respirator approved for organic vapors anytime you spray. Today we’re spraying shellac, and because it’s a naturally derived product (made from secretions of the lac bug) there’s a misconception that you don’t need to use safety equipment. Unless you’re spraying plain water… wear your respirator!
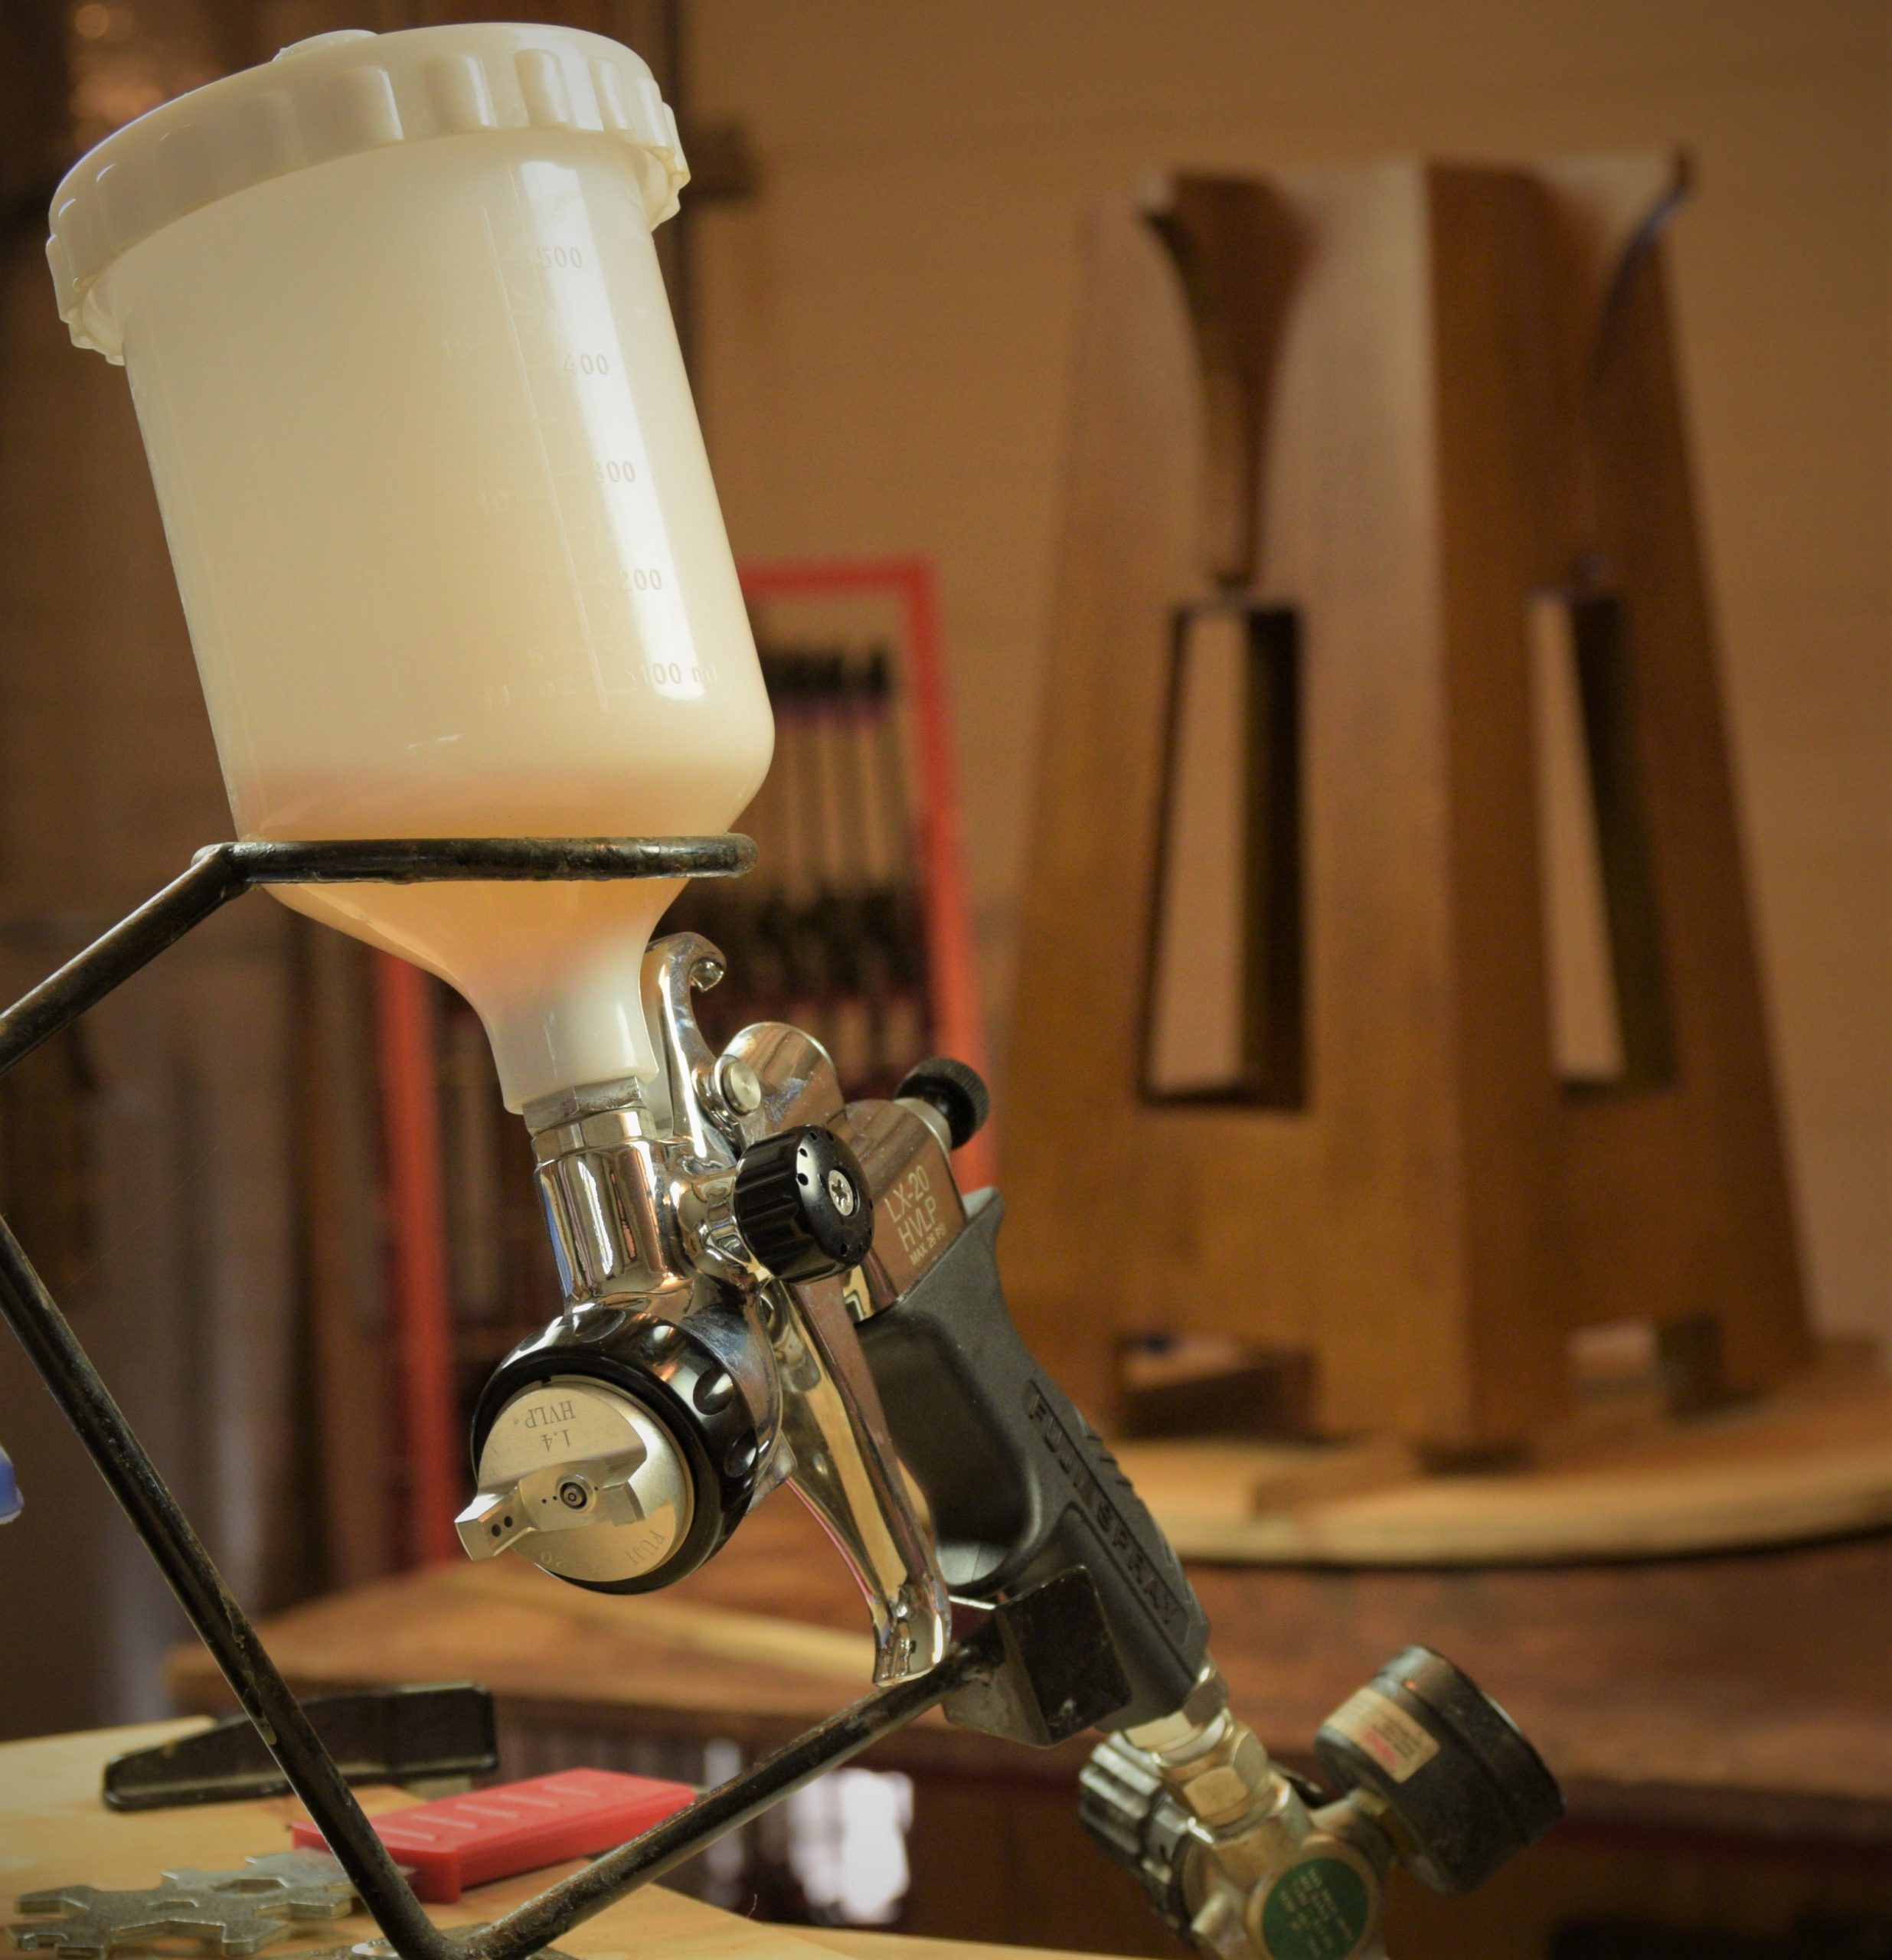
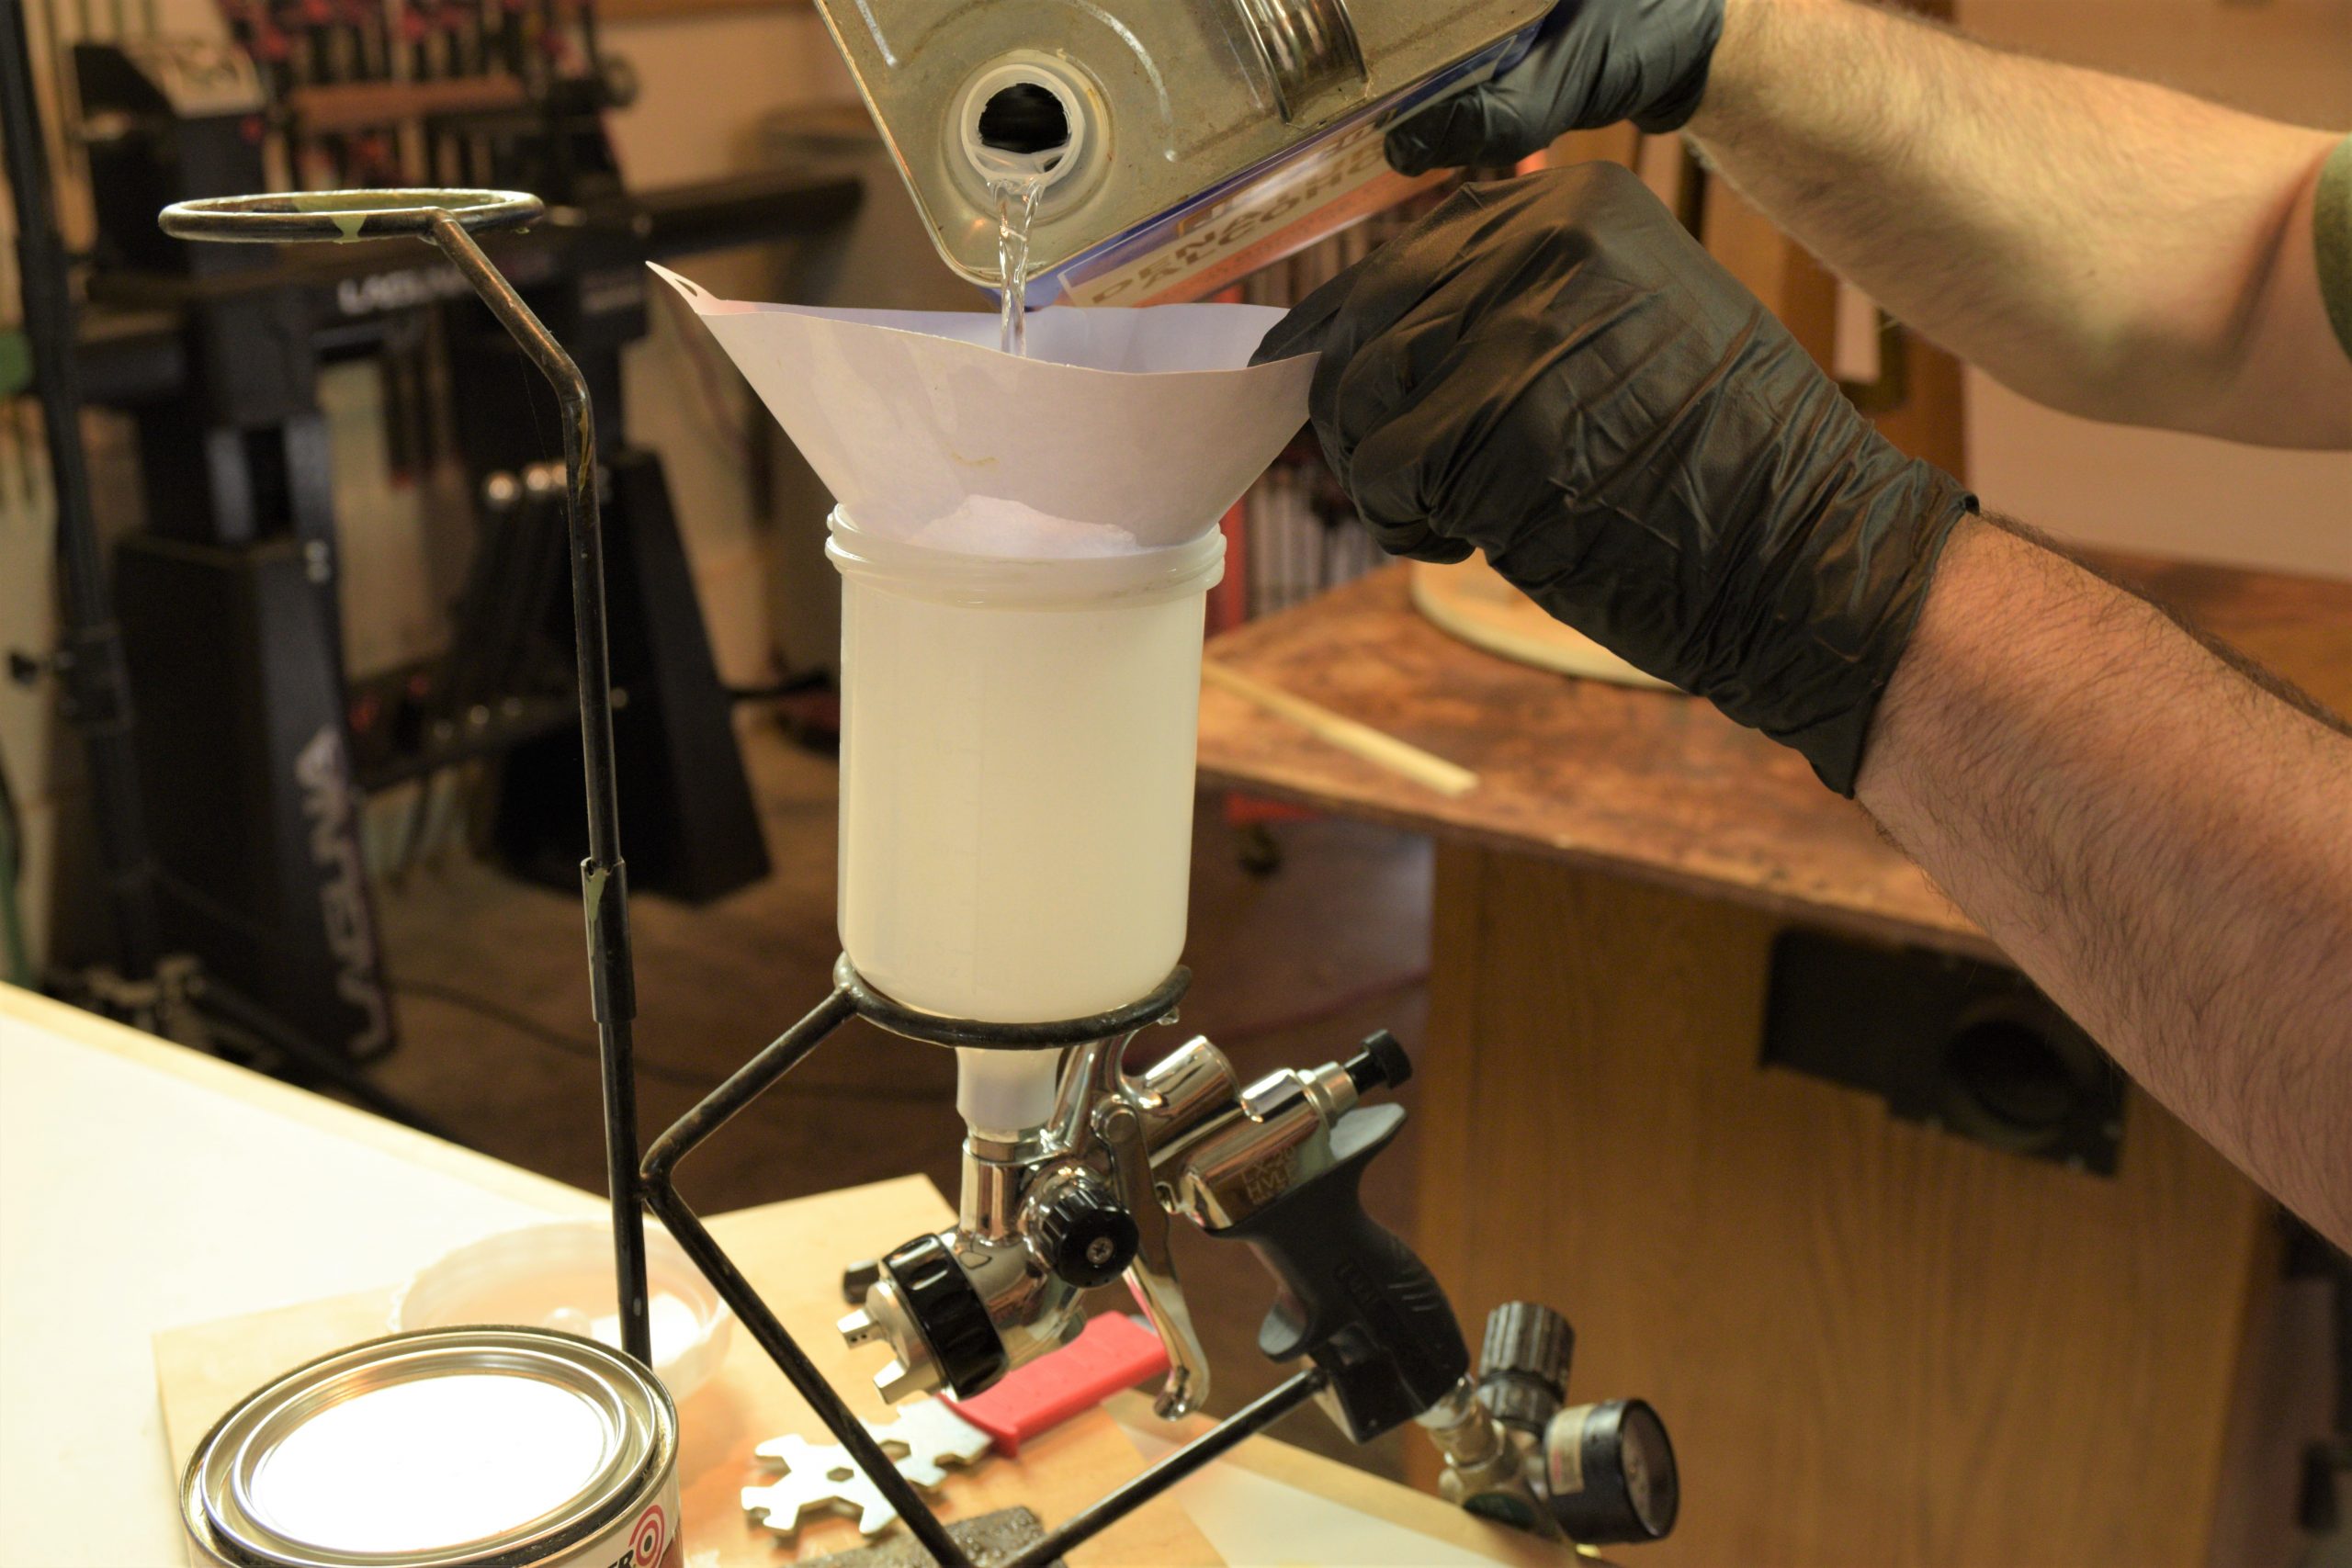
3. Filter Everything that Goes Into the HVLP Spray Gun.
Contaminants get into finishes and thinners. It’s just a fact of life. The best way to keep these particles from clogging your gun or getting into your applied finish is to filter everything that goes into the gun. I mean everything! Here, clean denatured alcohol is being poured into the gravity cup, and you’ll notice a disposable strainer is in place.
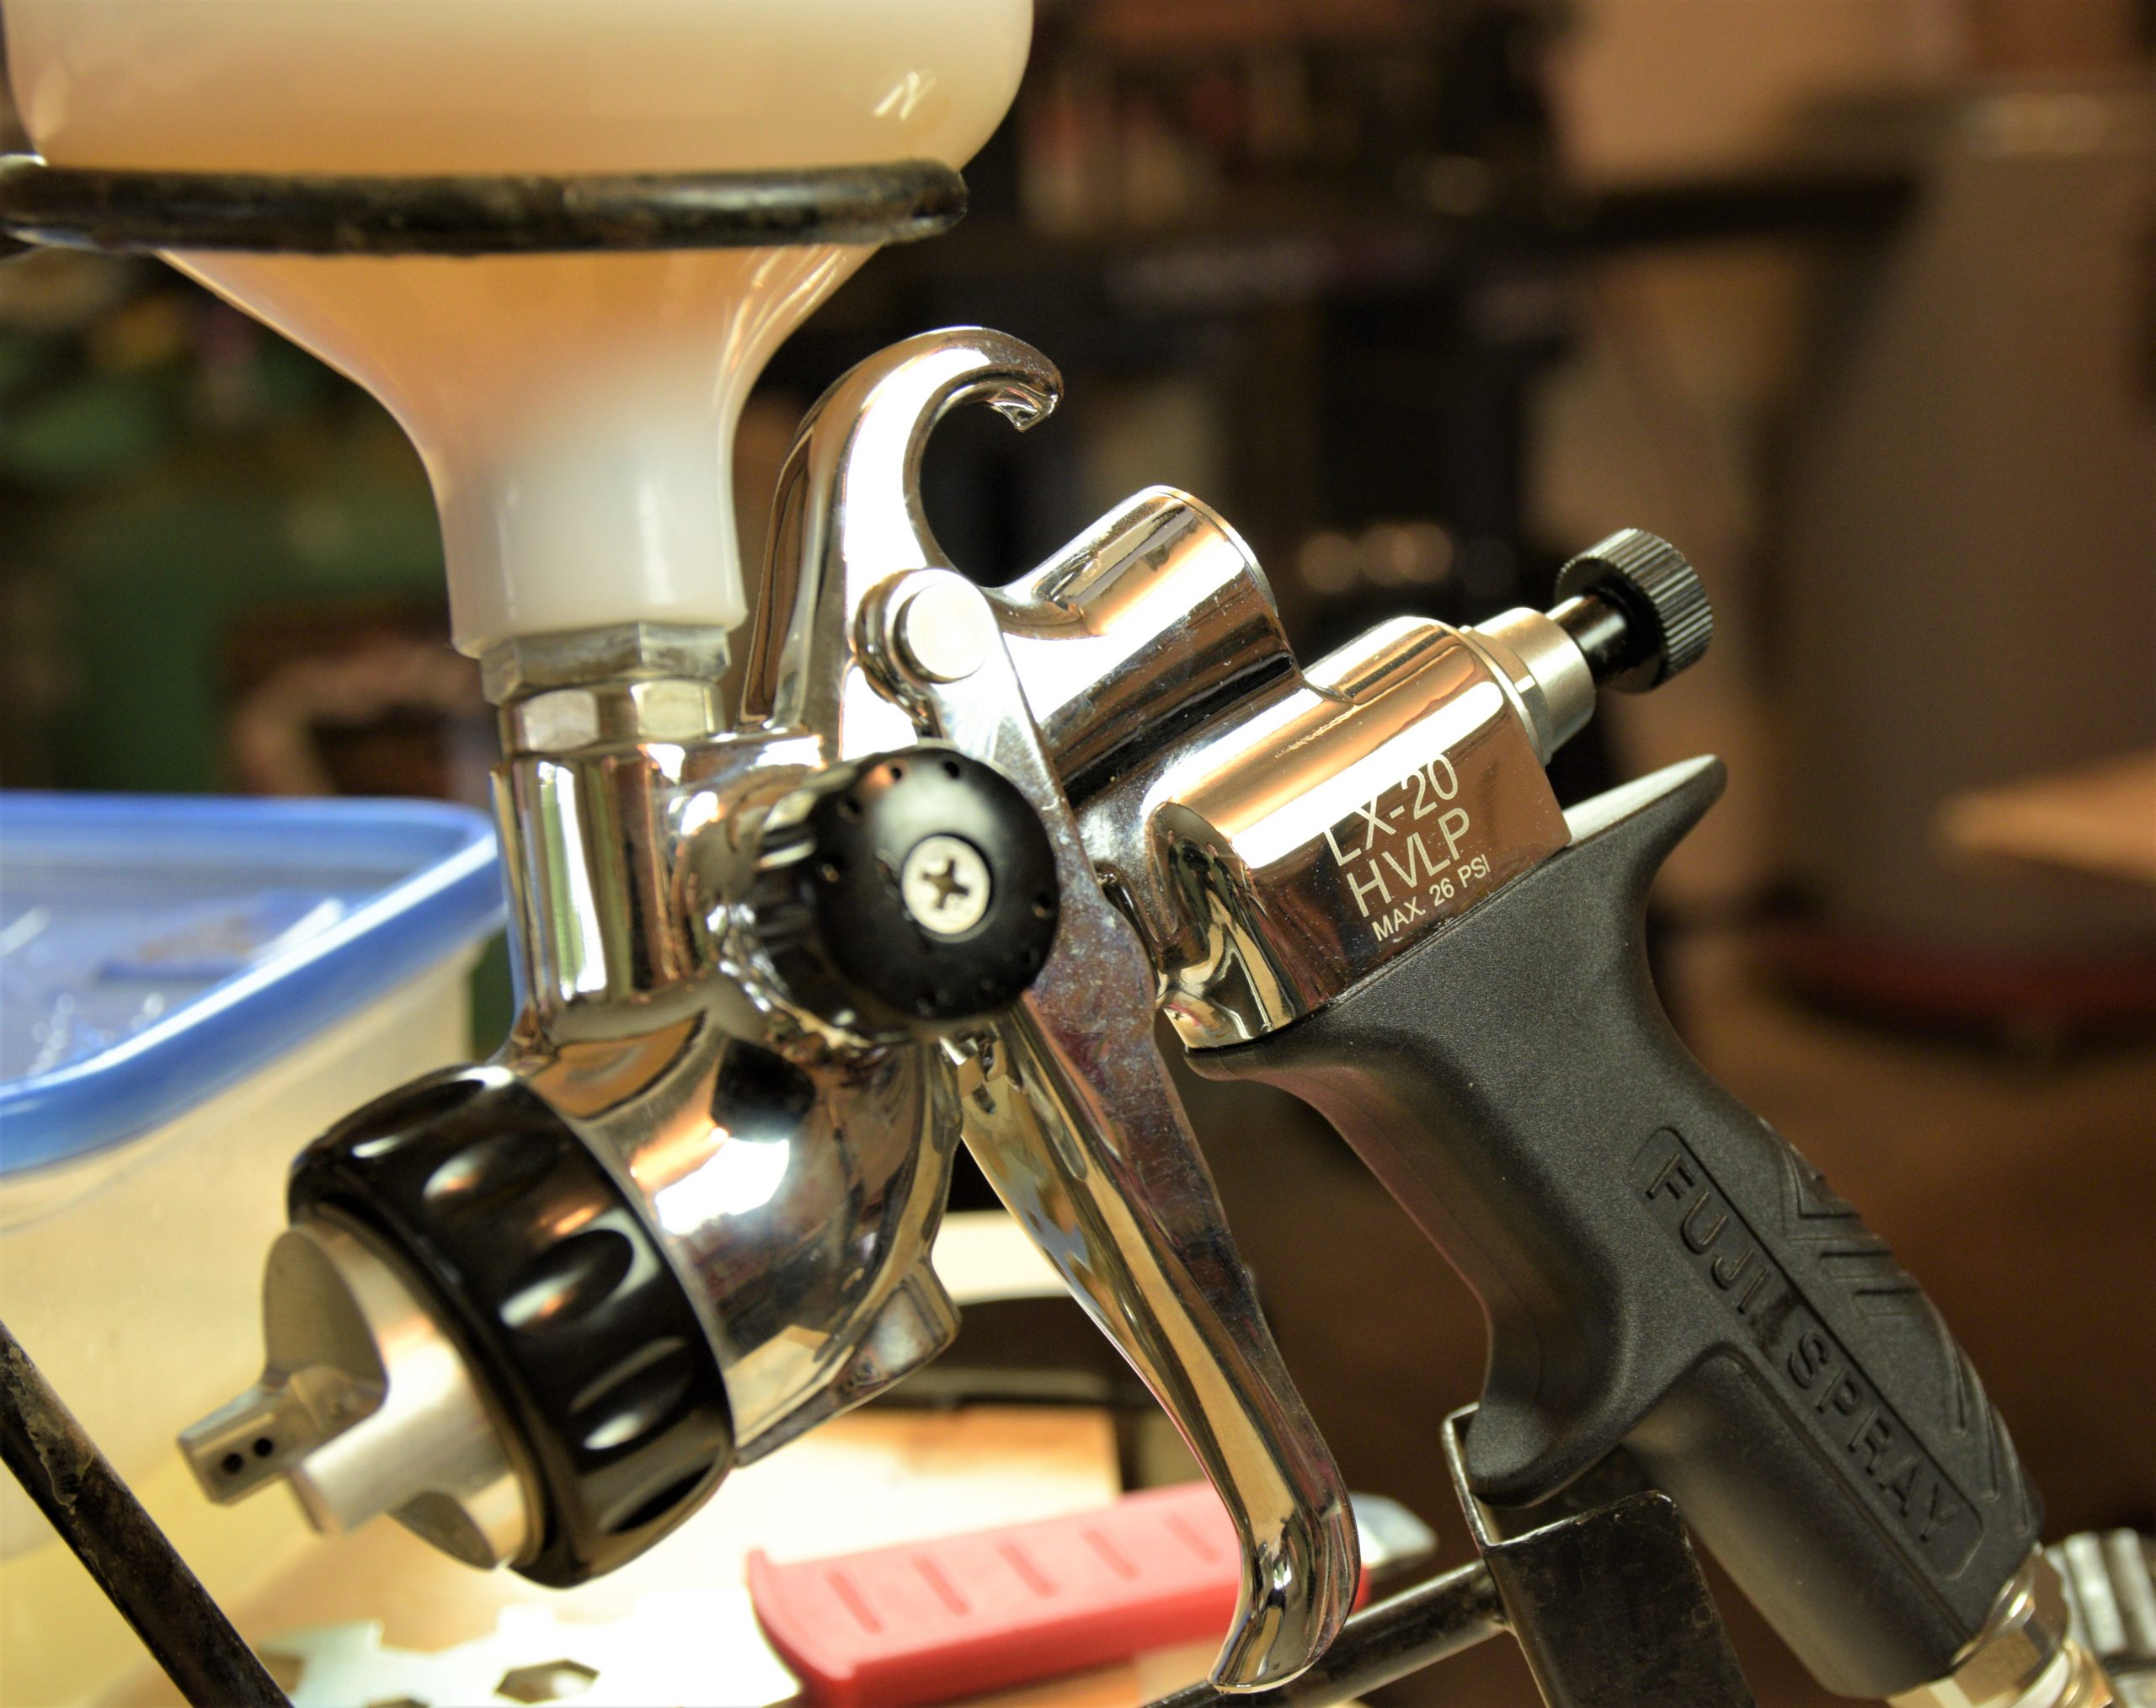
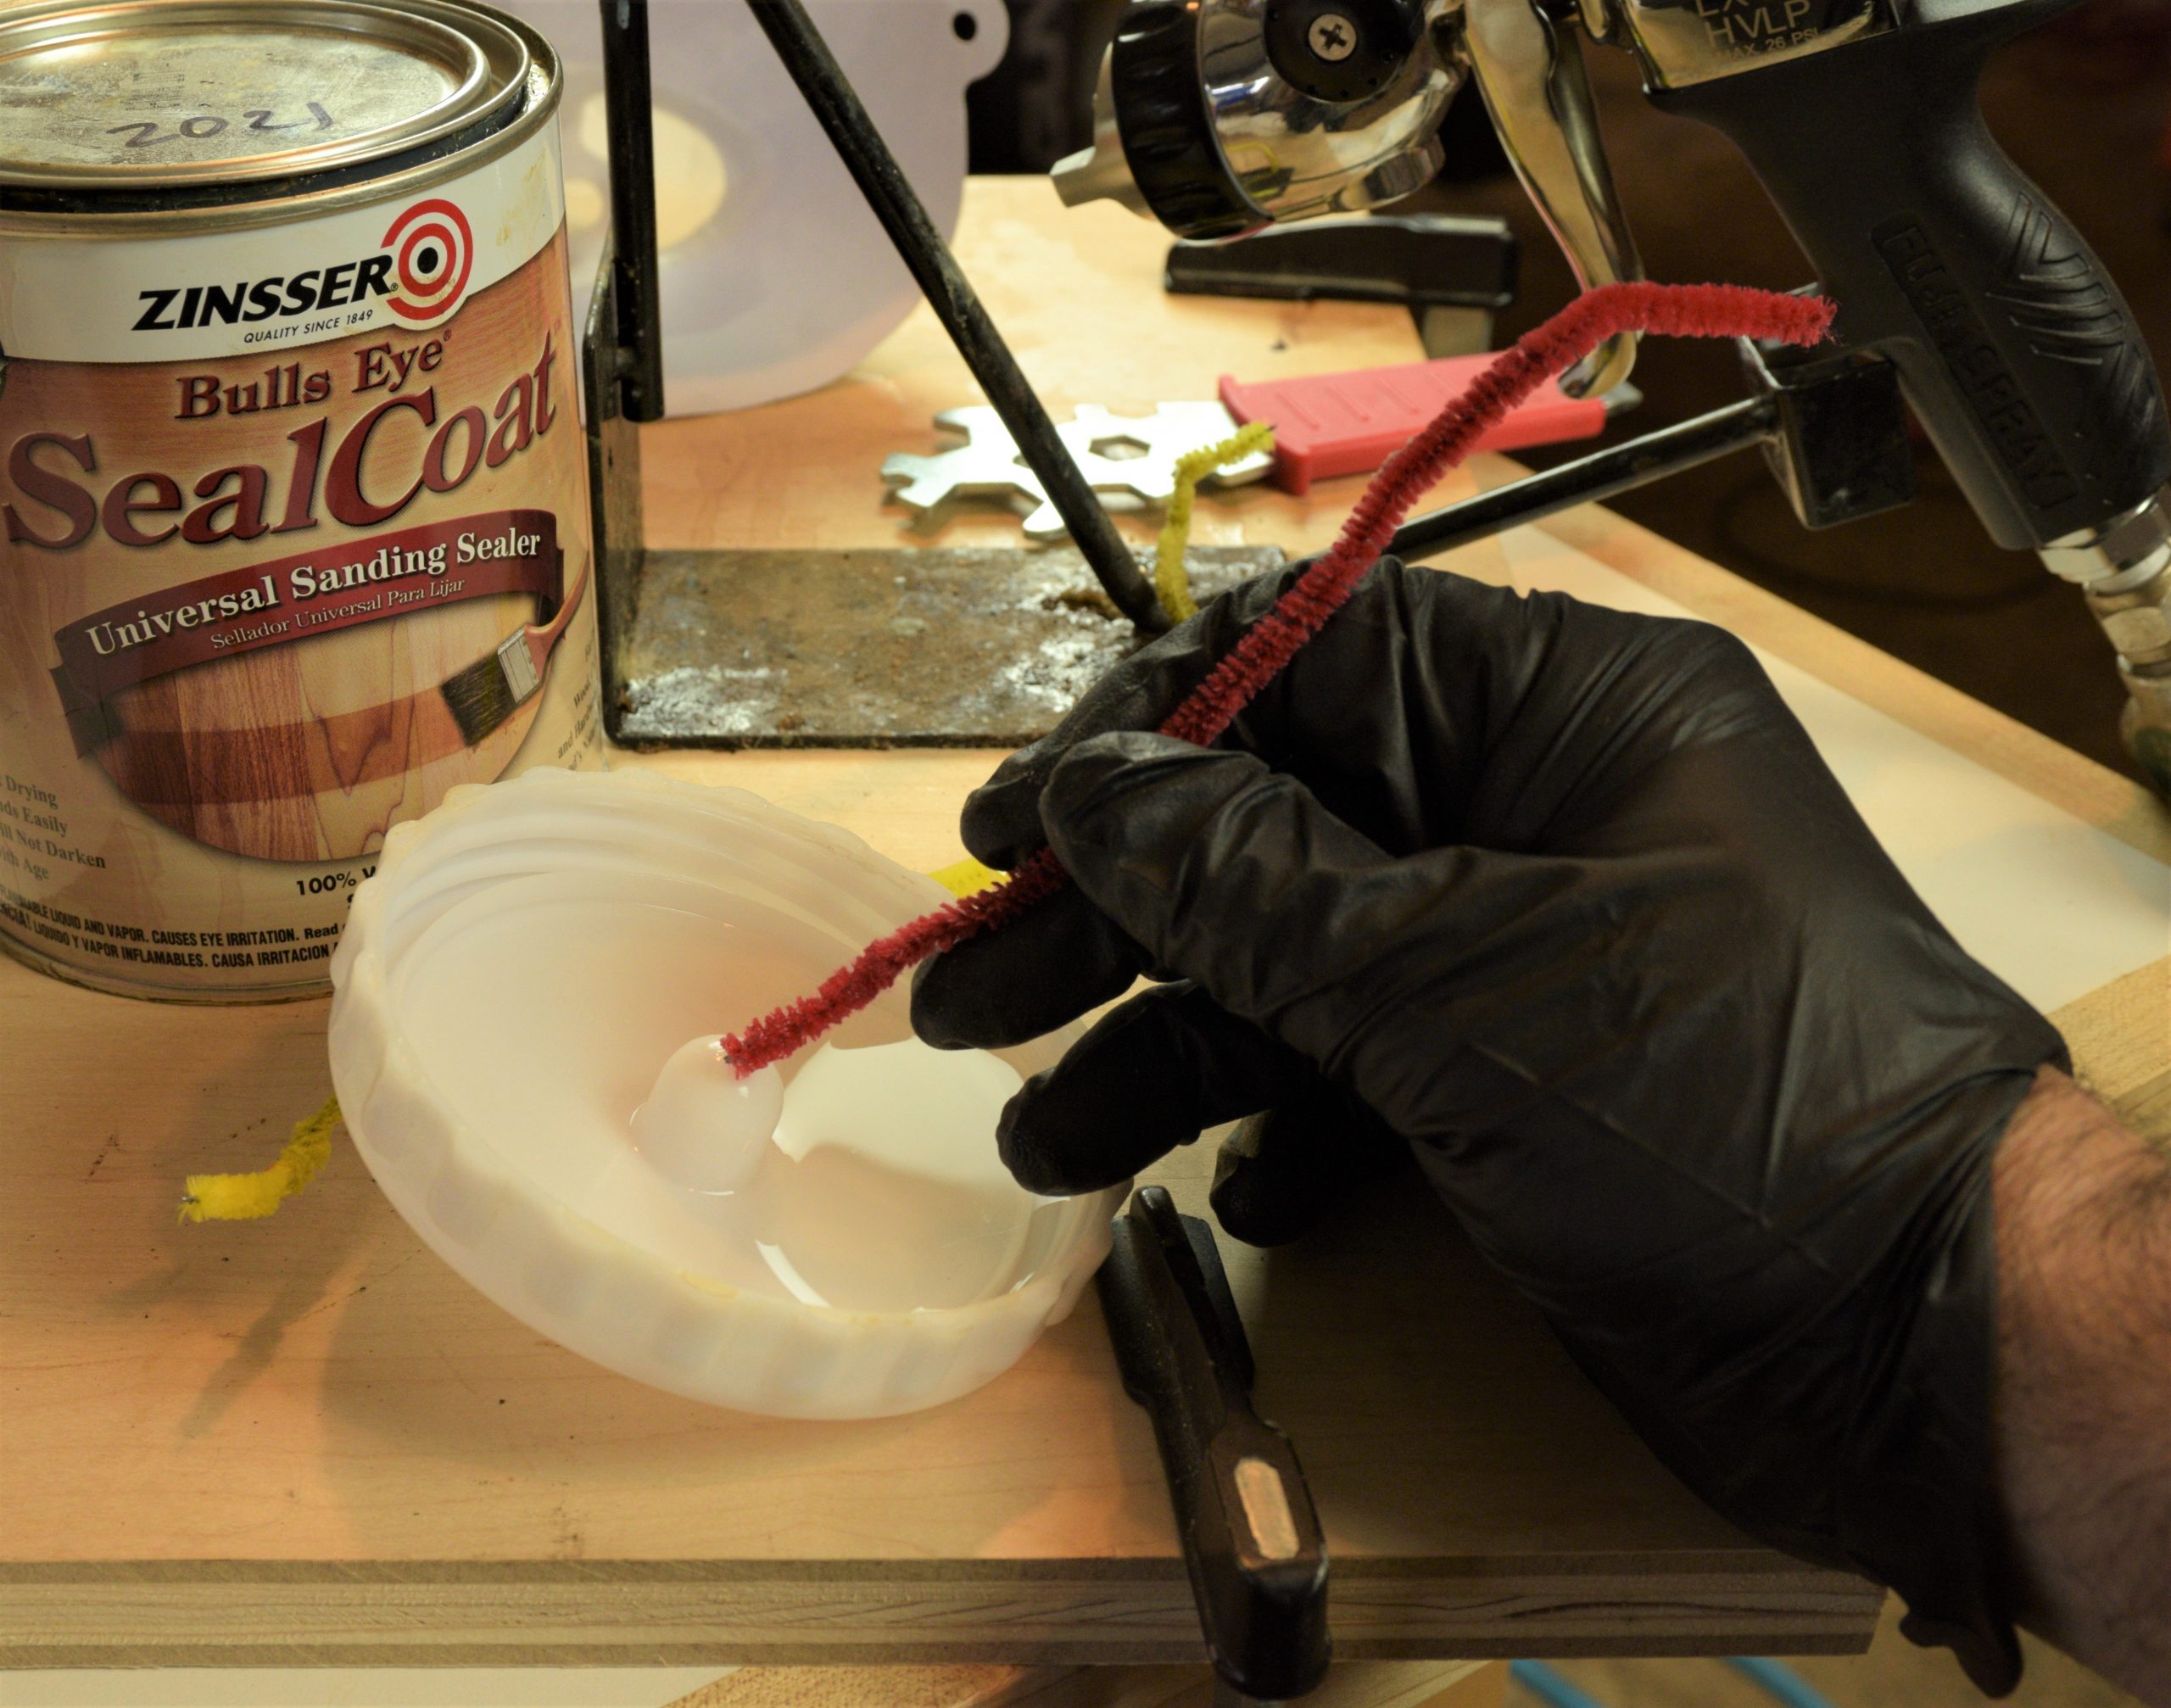
4. Use pipe cleaners to clear out finish from the cap vent.
This vent is critical to proper spray pattern on passive gravity feed HVLP spray guns. I have color-coded pipe cleaners in my shop… red for shellac and yellow for lacquer. I only use them to clean the cap vent of my LX-20 HVLP spray gun.
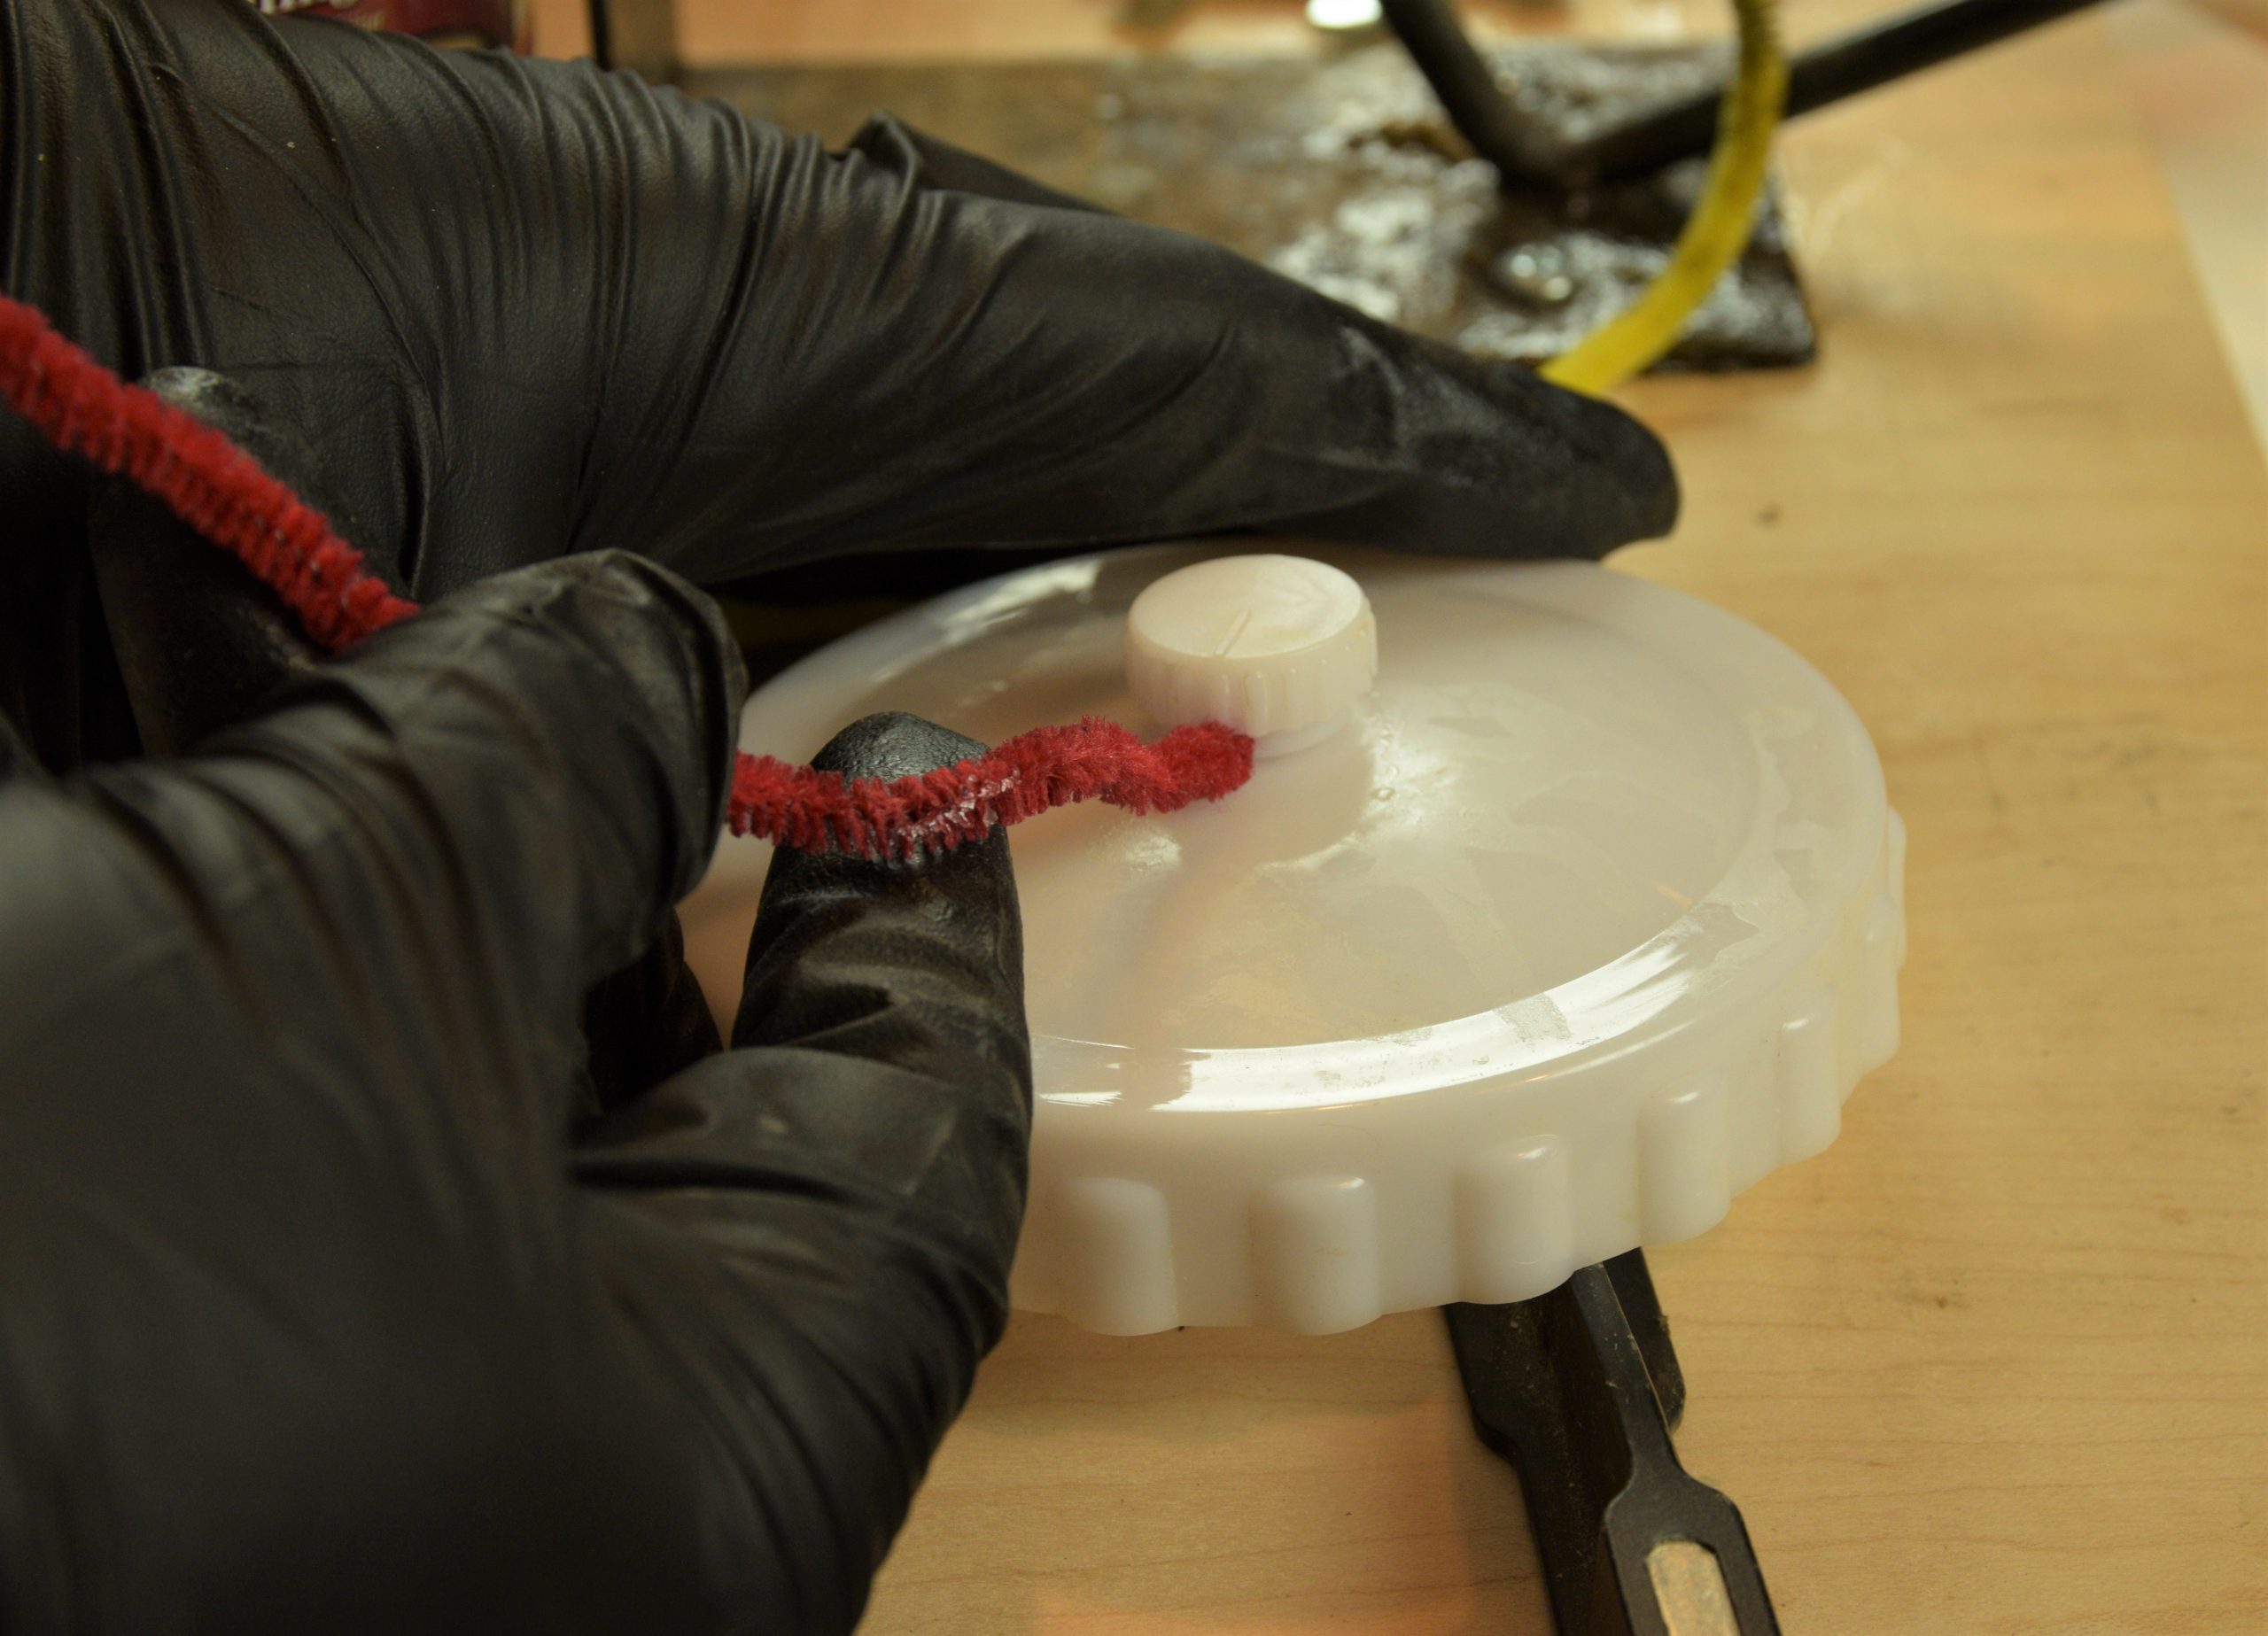
5. Clean the vent from the topside as well, and confirm that the passage is patent by pouring a little thinner in the cap.
If the thinner drips through, then you know the passage is clear. While the thinner is still in the cap, twirl it around to clean the plastic threads of the cap.
6. Spray 1-2oz of appropriate thinner through the spray gun.
Since we sprayed shellac, the matching solvent is denatured alcohol. This helps to flush out any residue left behind in the spray gun.
Pop quiz: Did you filter the clean, denatured alcohol as you poured it into the spray gun?
You should! I’ve often found rust in the bottom of new solvent cans. Prevent any problems before they start and filter everything that goes into your HVLP spray gun!
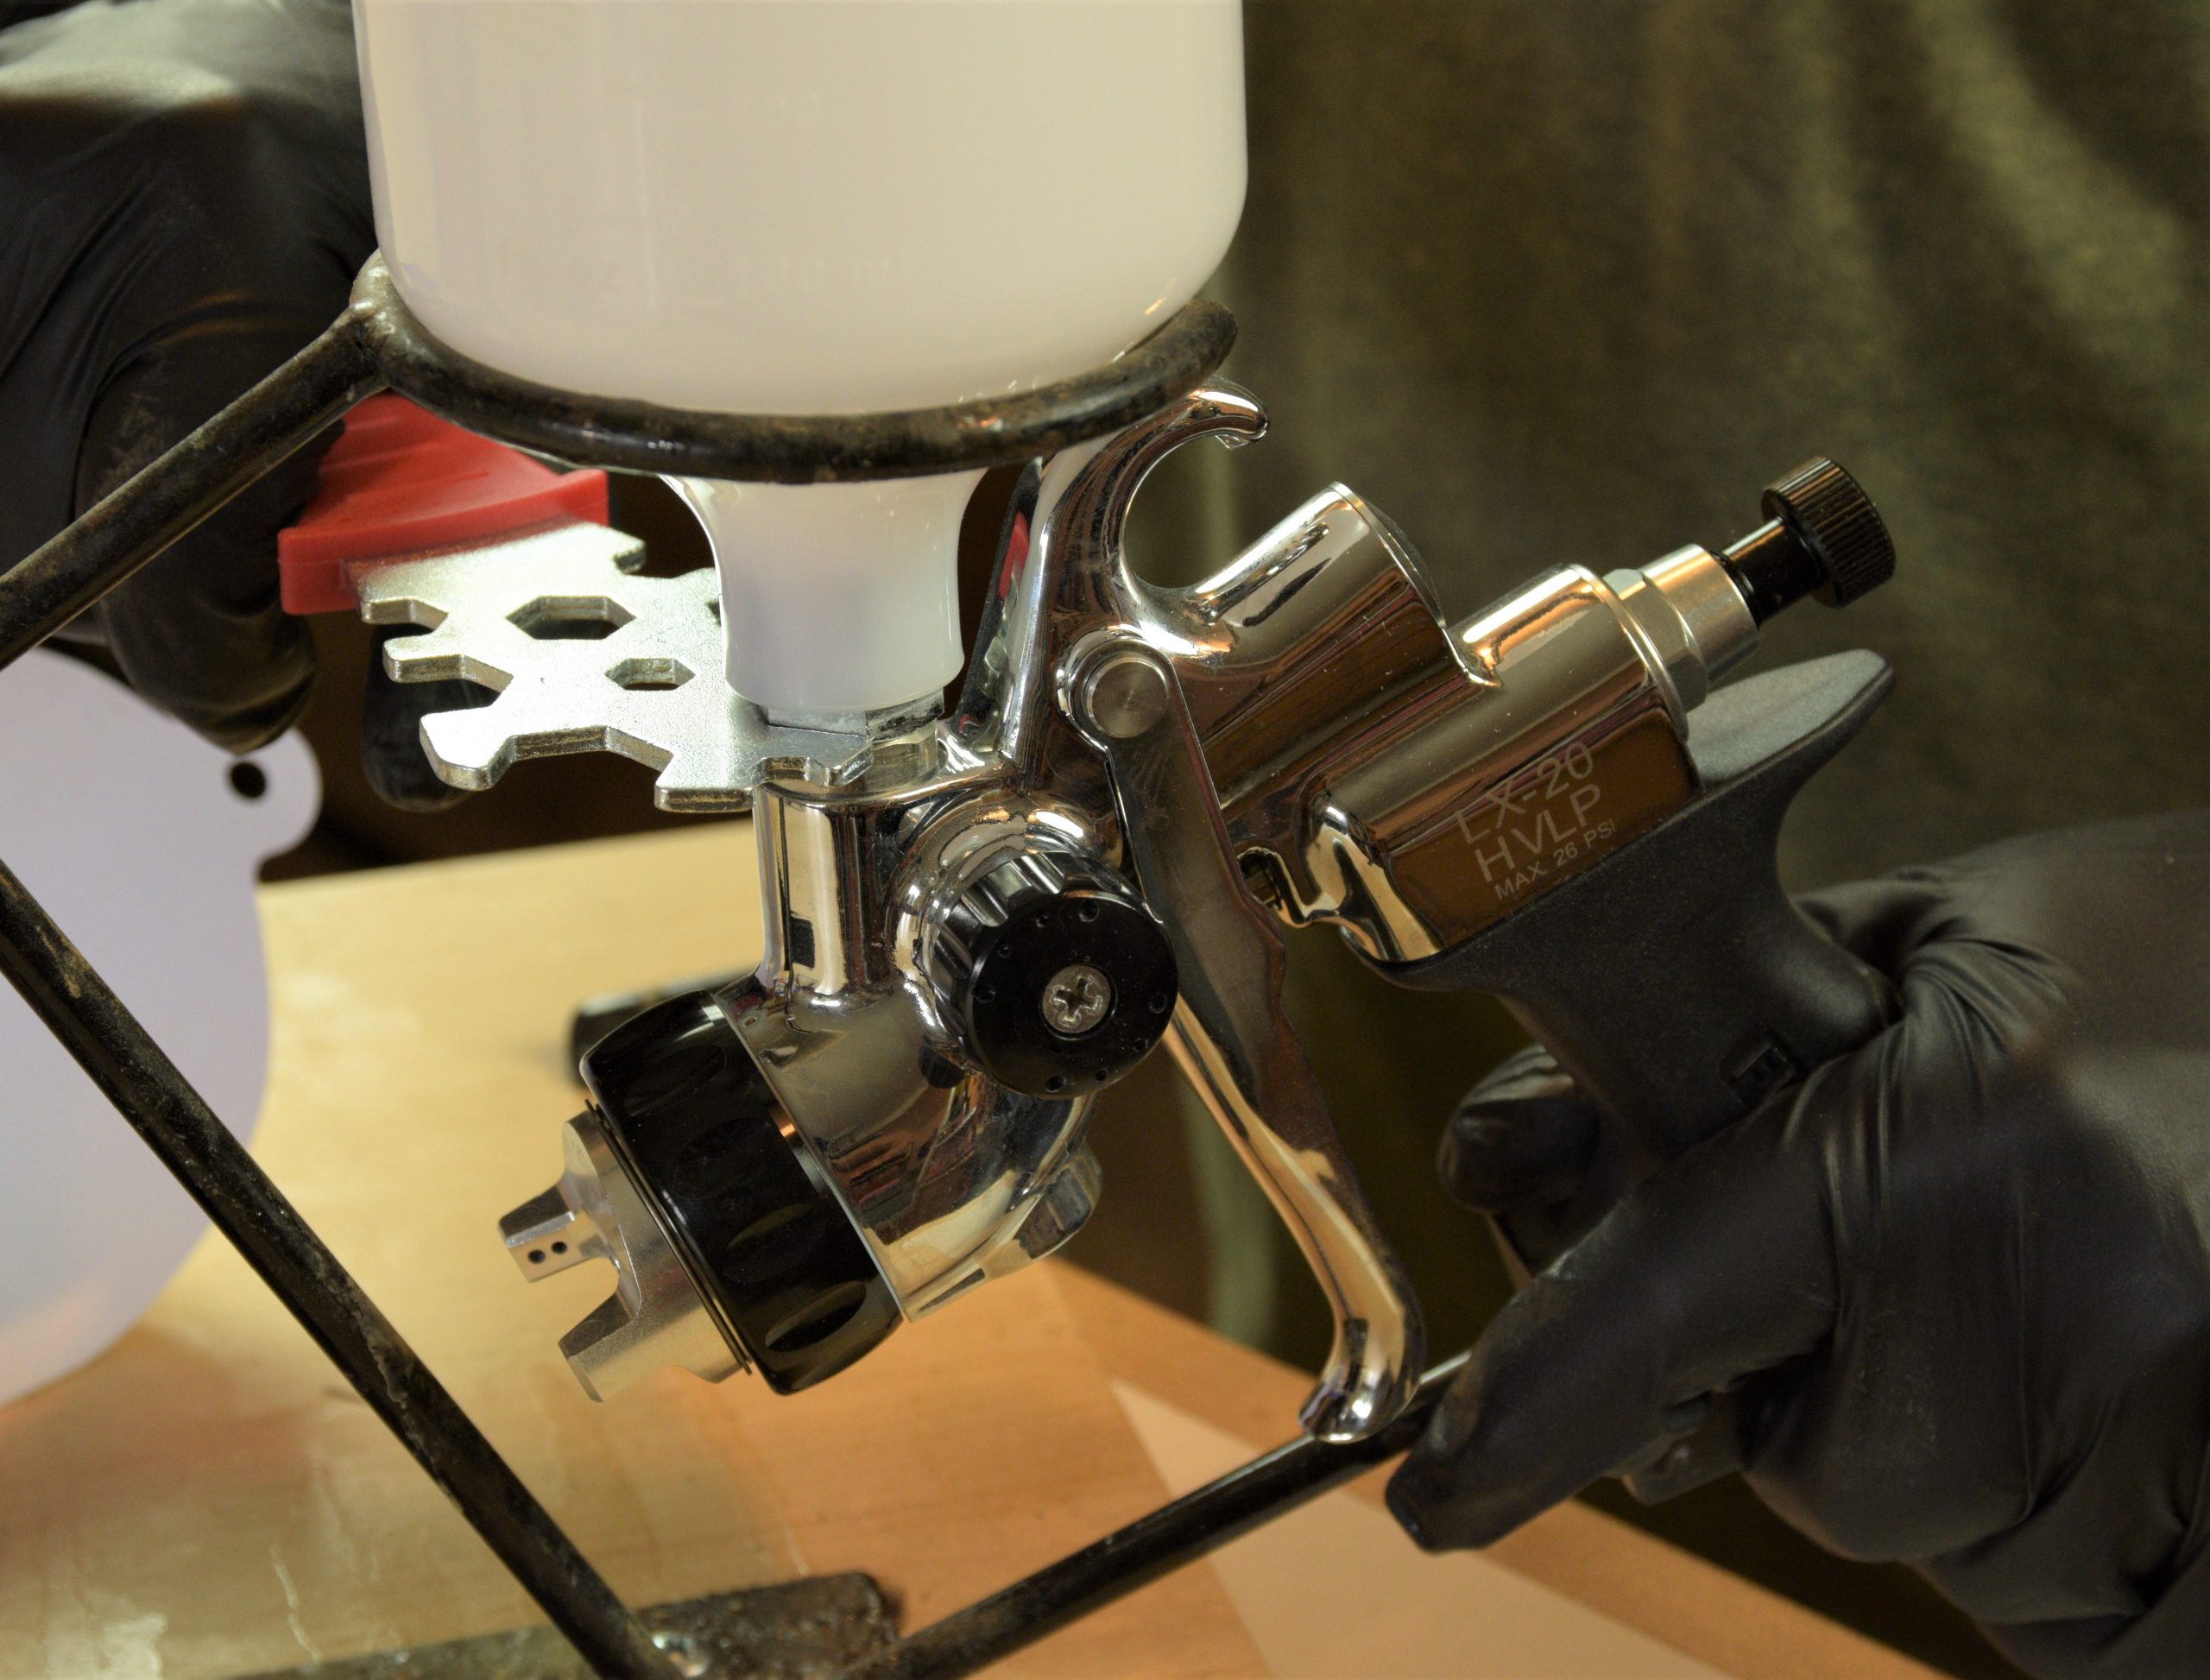
7. Don’t forget to clean the internal filter!
Use the wrench that comes with your LX-20 high performance spray gun to remove the gravity feed cup. Avoid the temptation to loosen the fluid cup without a wrench, as it could damage the cup. Once the fluid cup has been removed from the gun, dip both the small and large threaded ends into a small container of solvent. This will remove any finish residue from the threads, and make your gun ‘spray like new’ for the next project.
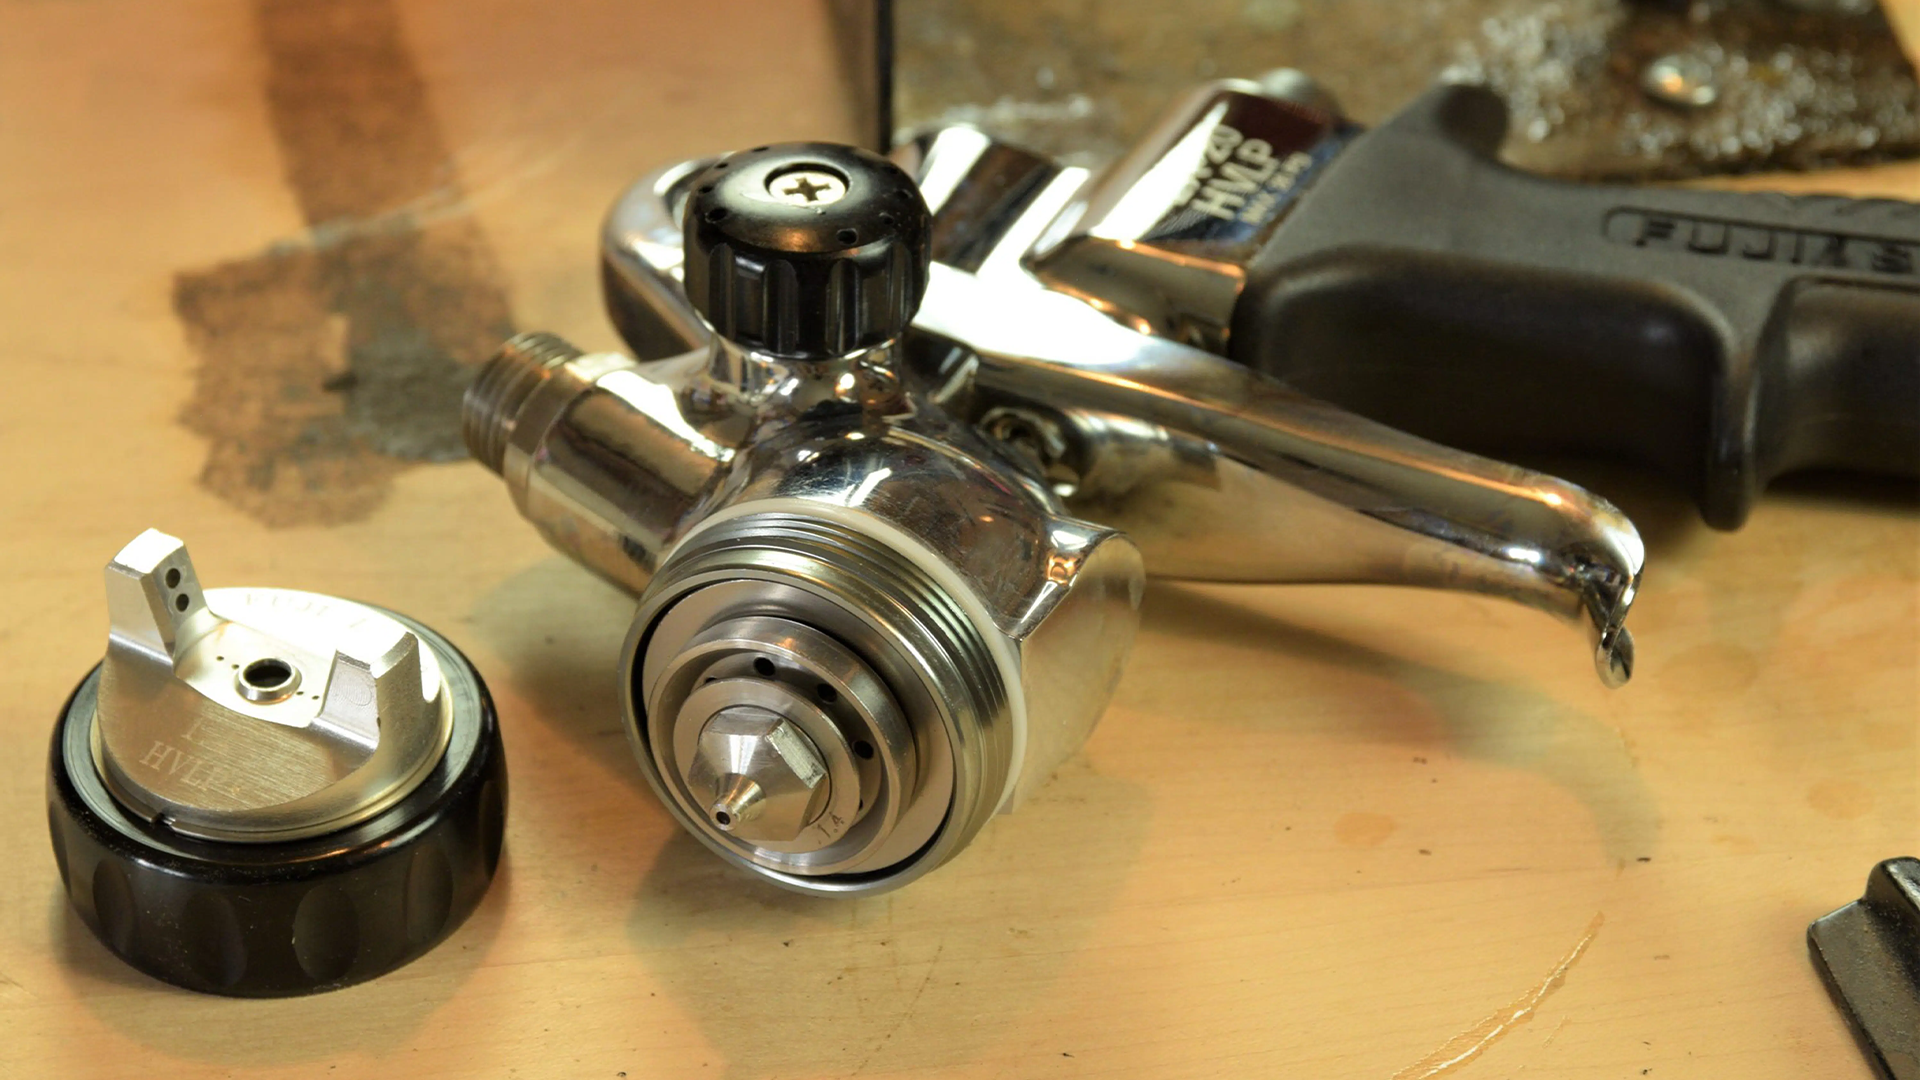
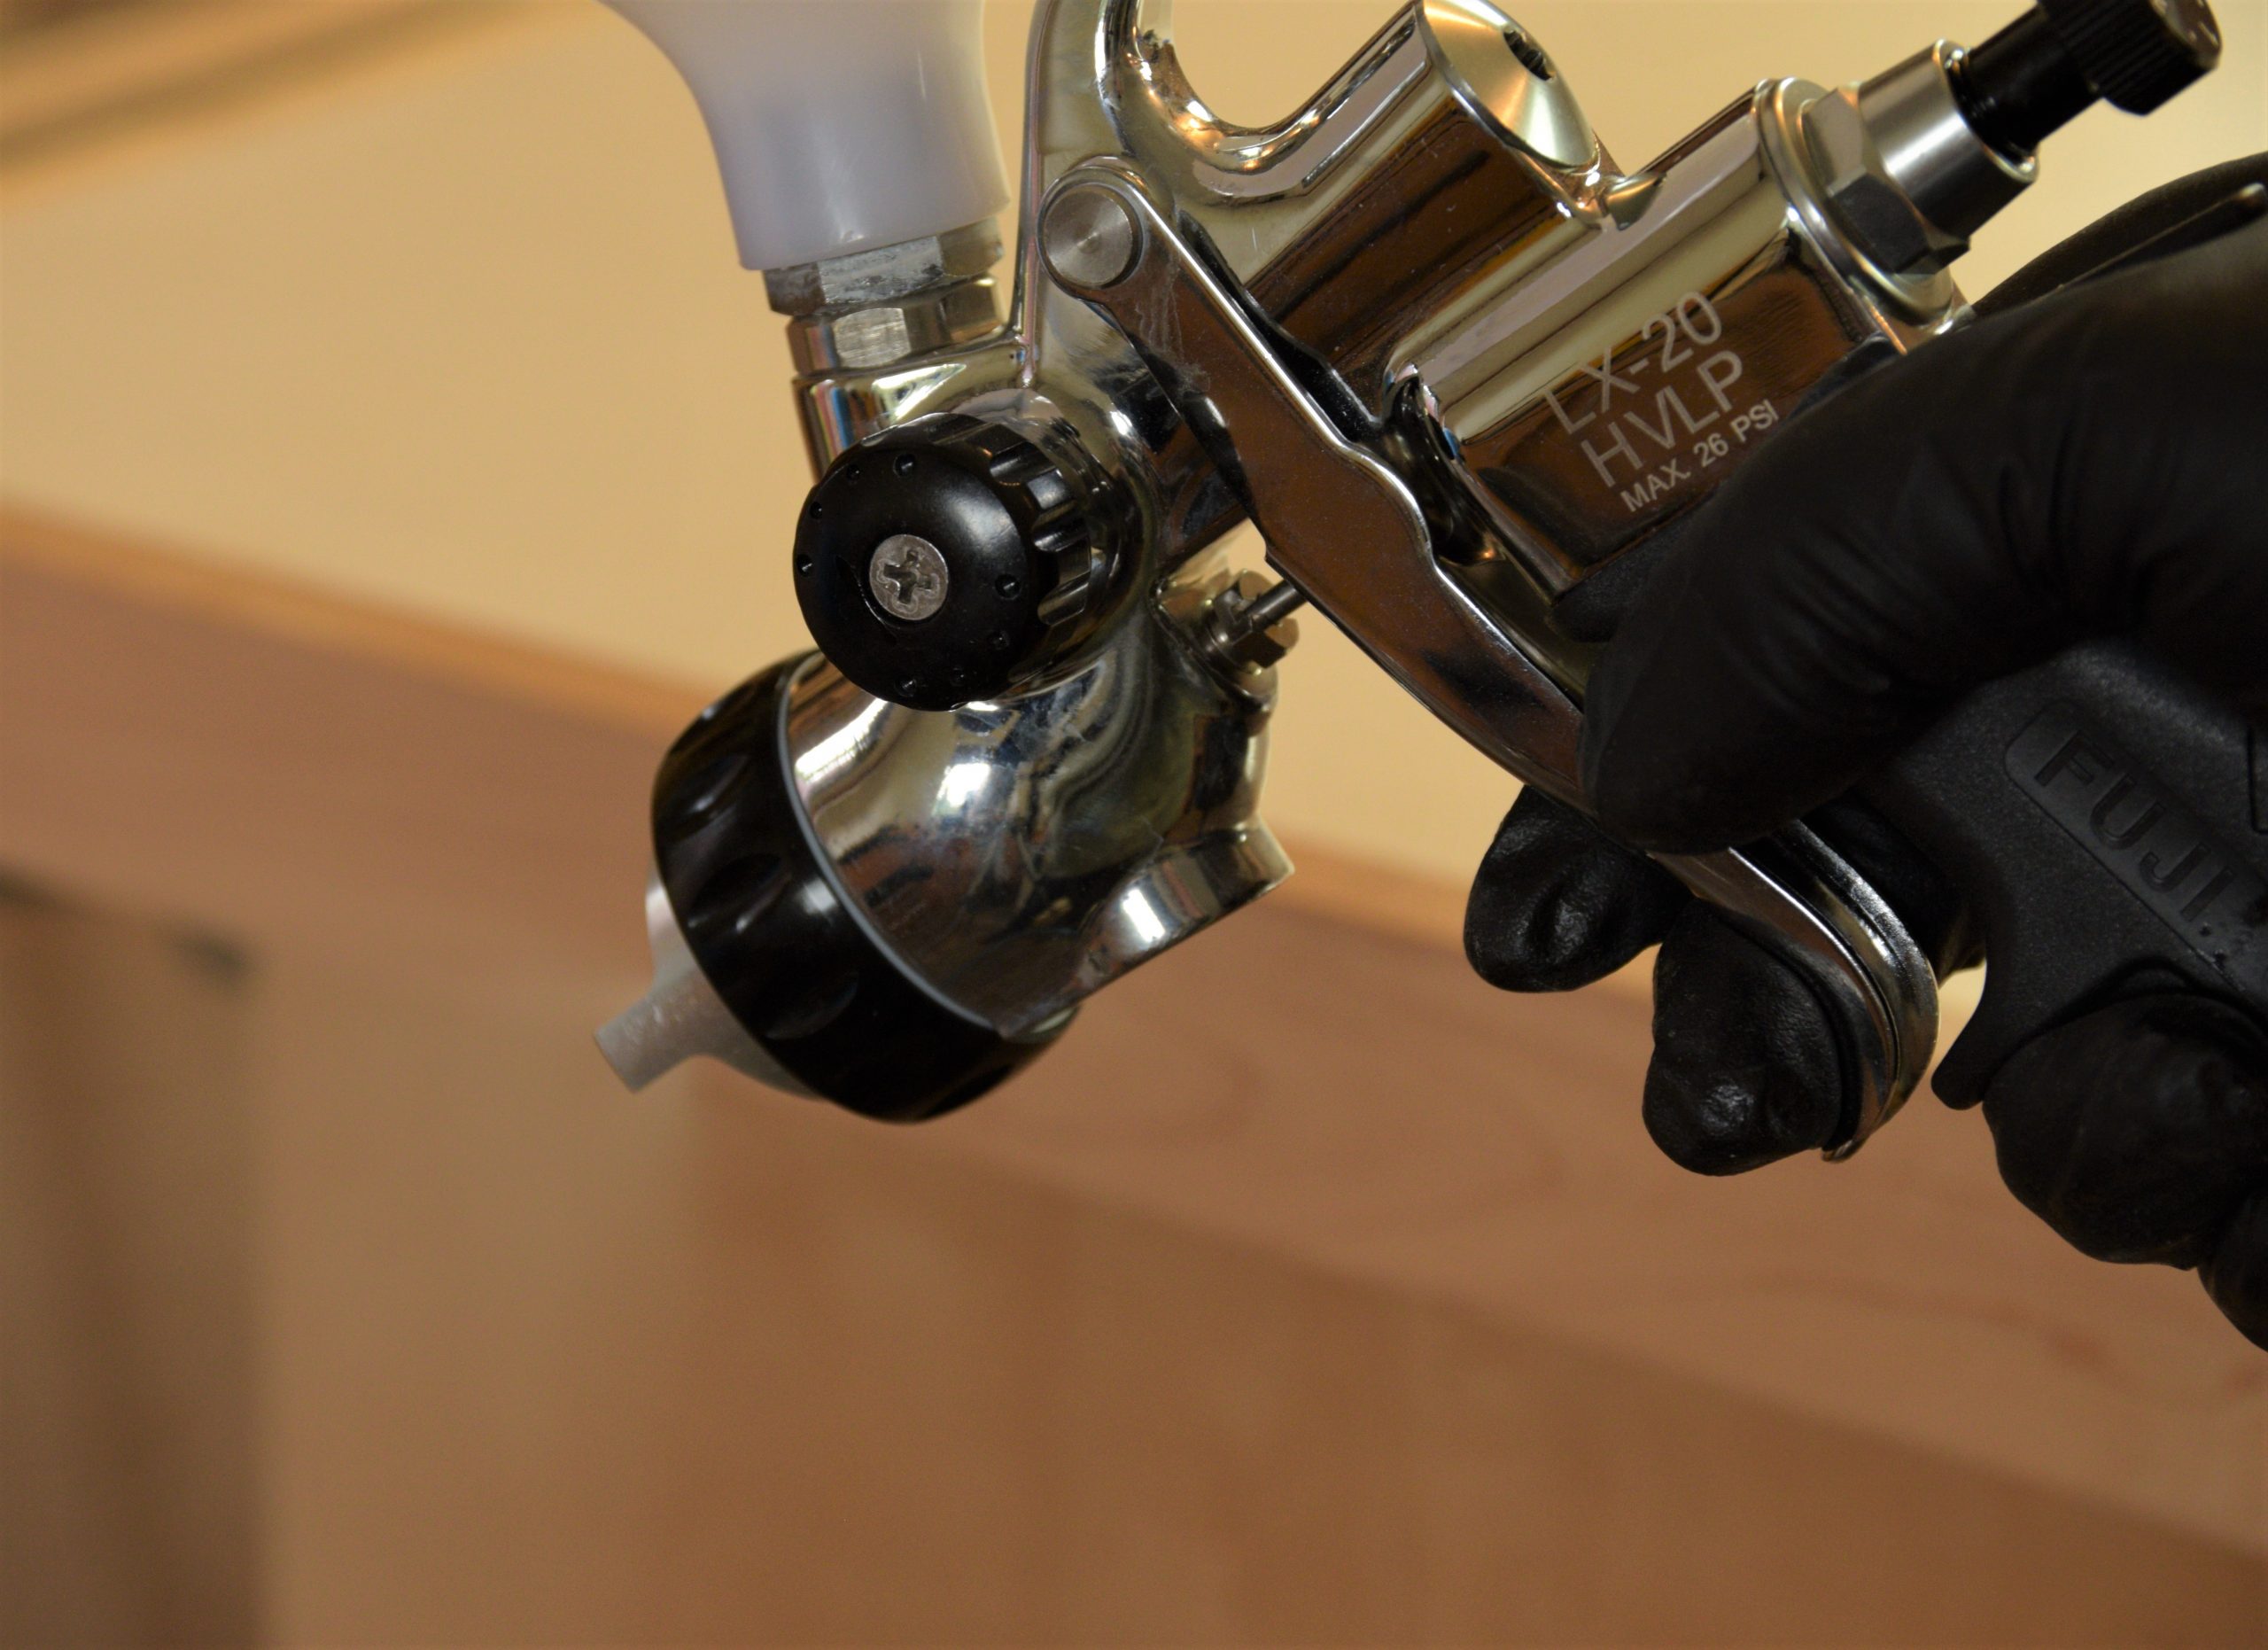
8. Continue disassembling the gun by removing the needle, spring, and knob on the back of the gun.
Now remove the air cap, and you’ll see many small apertures that pass fluid and air. Each one of these holes plays a role in the consistent, reliable performance of your LX-20, and they need to be cleaned after each use. Luckily, there’s no manual labor involved, and you’ll just drop the parts in a reusable container of the appropriate thinner.
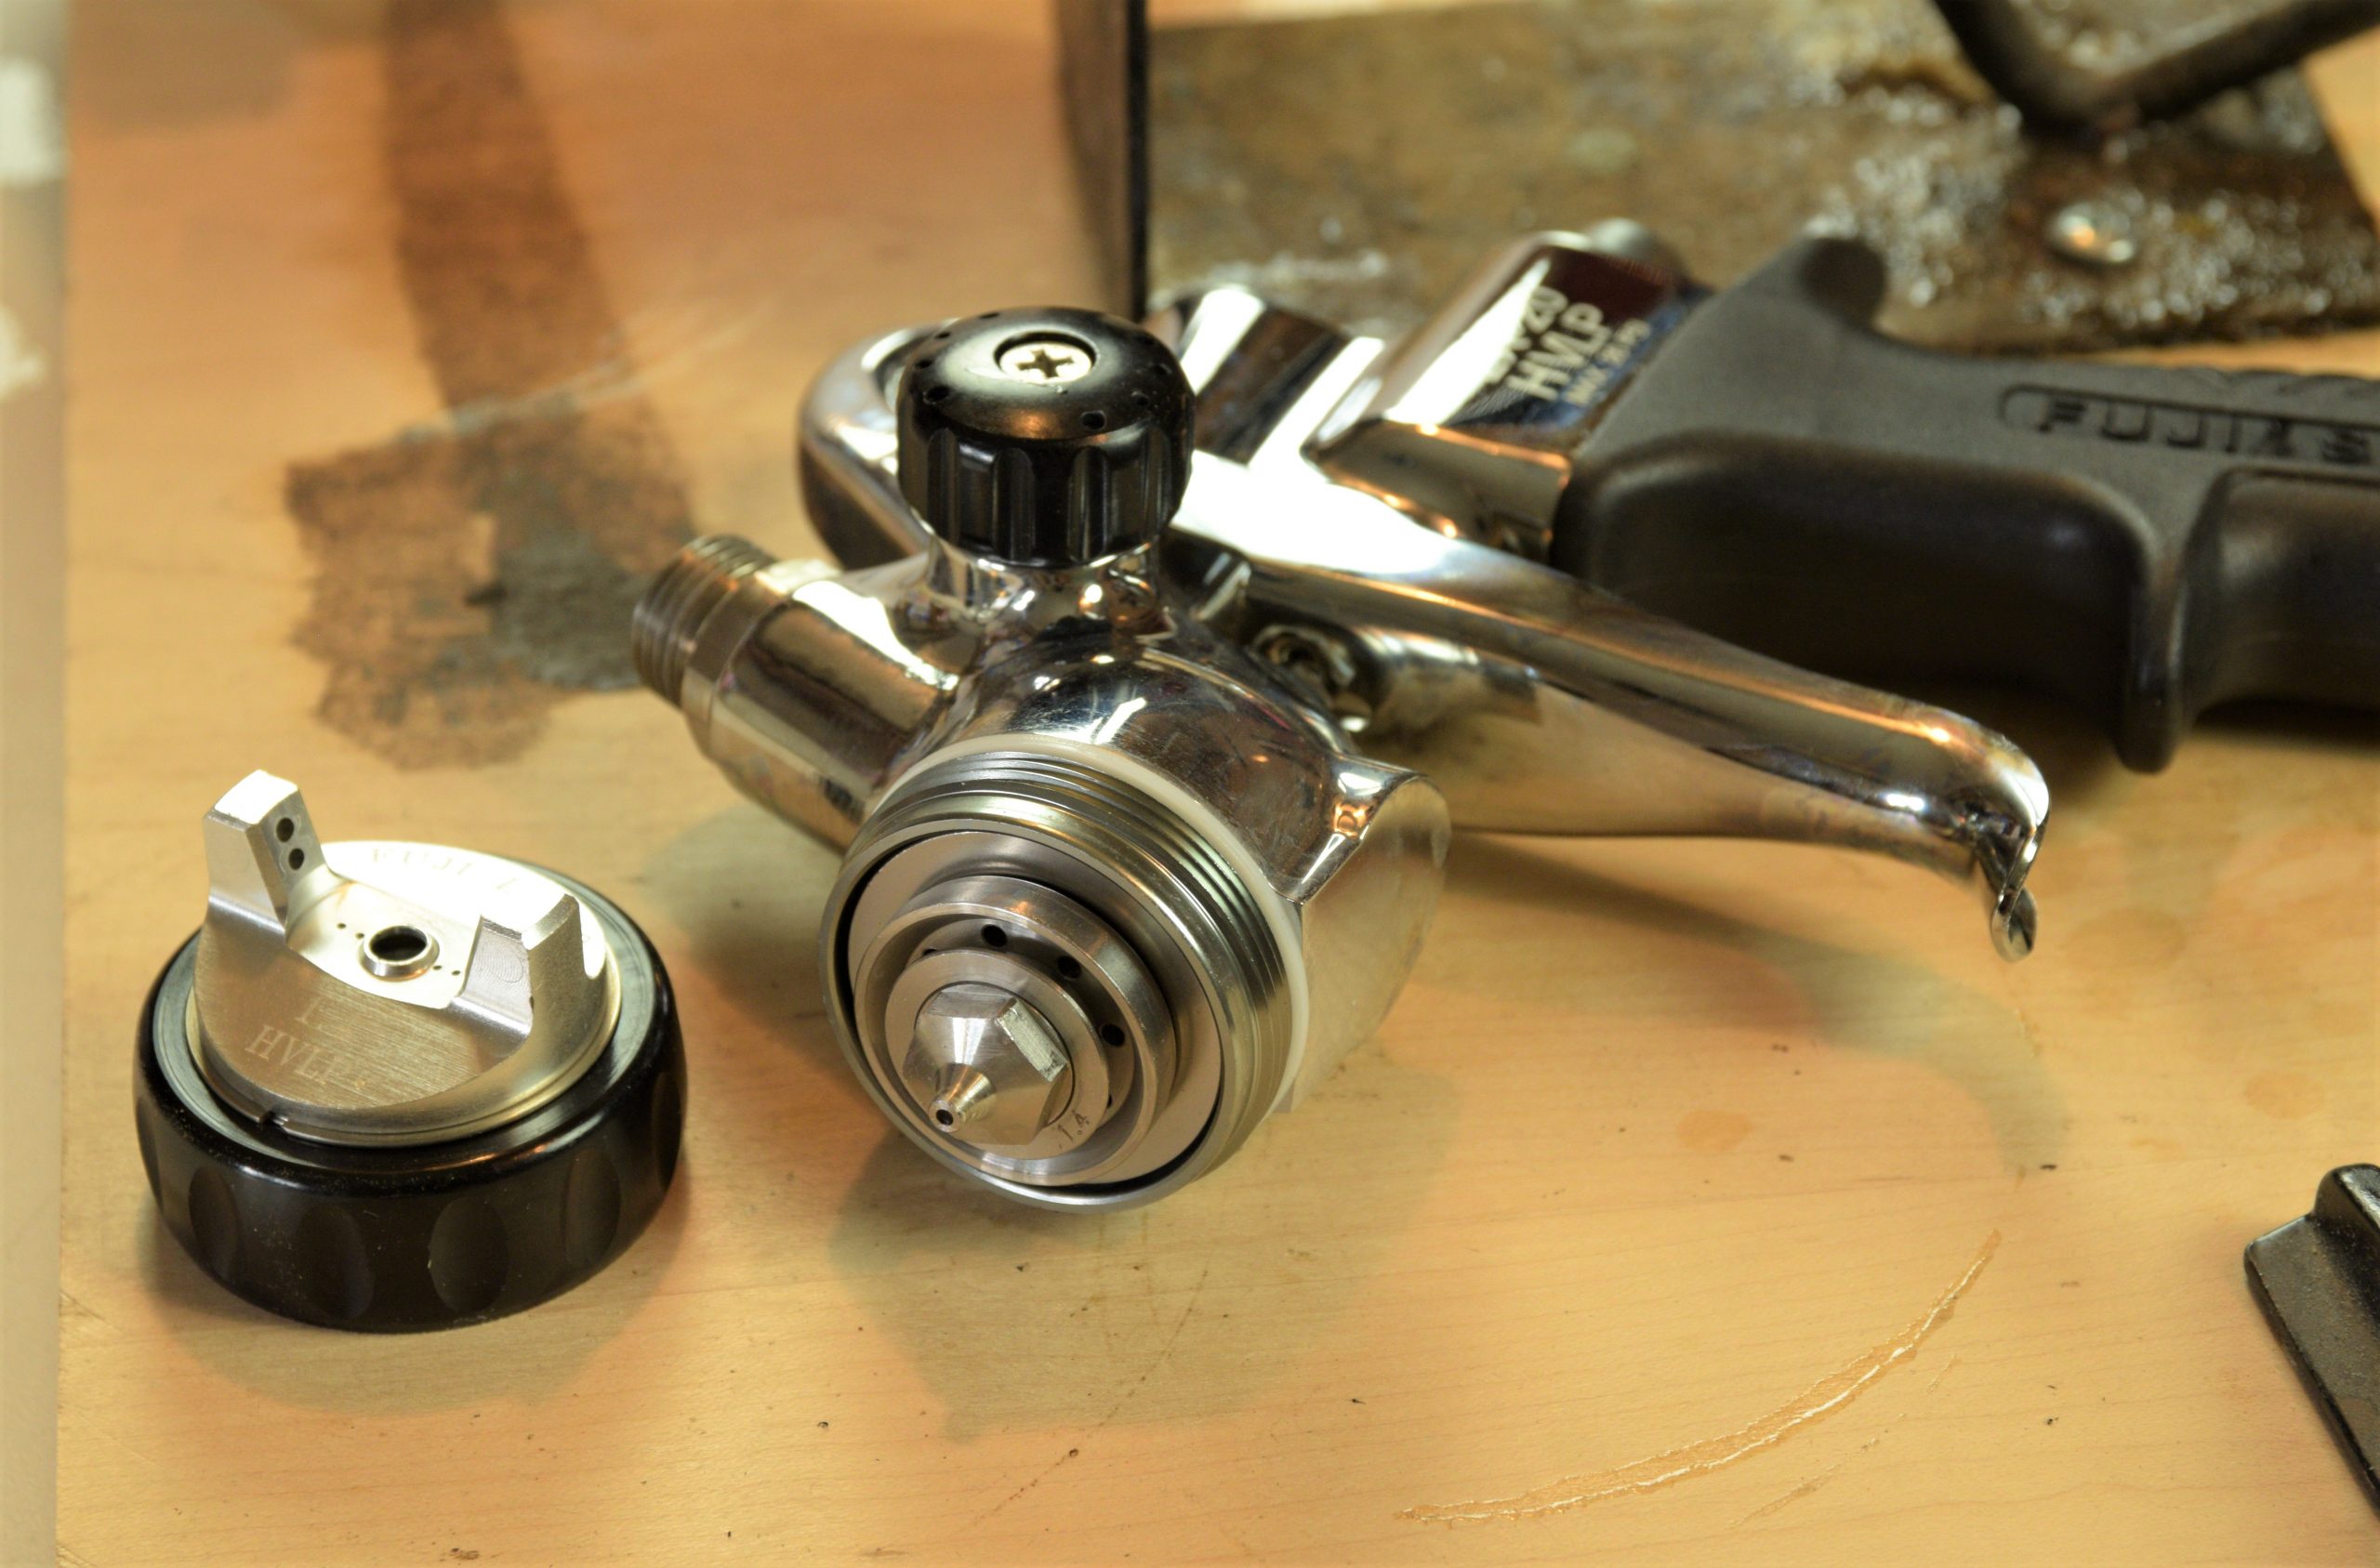
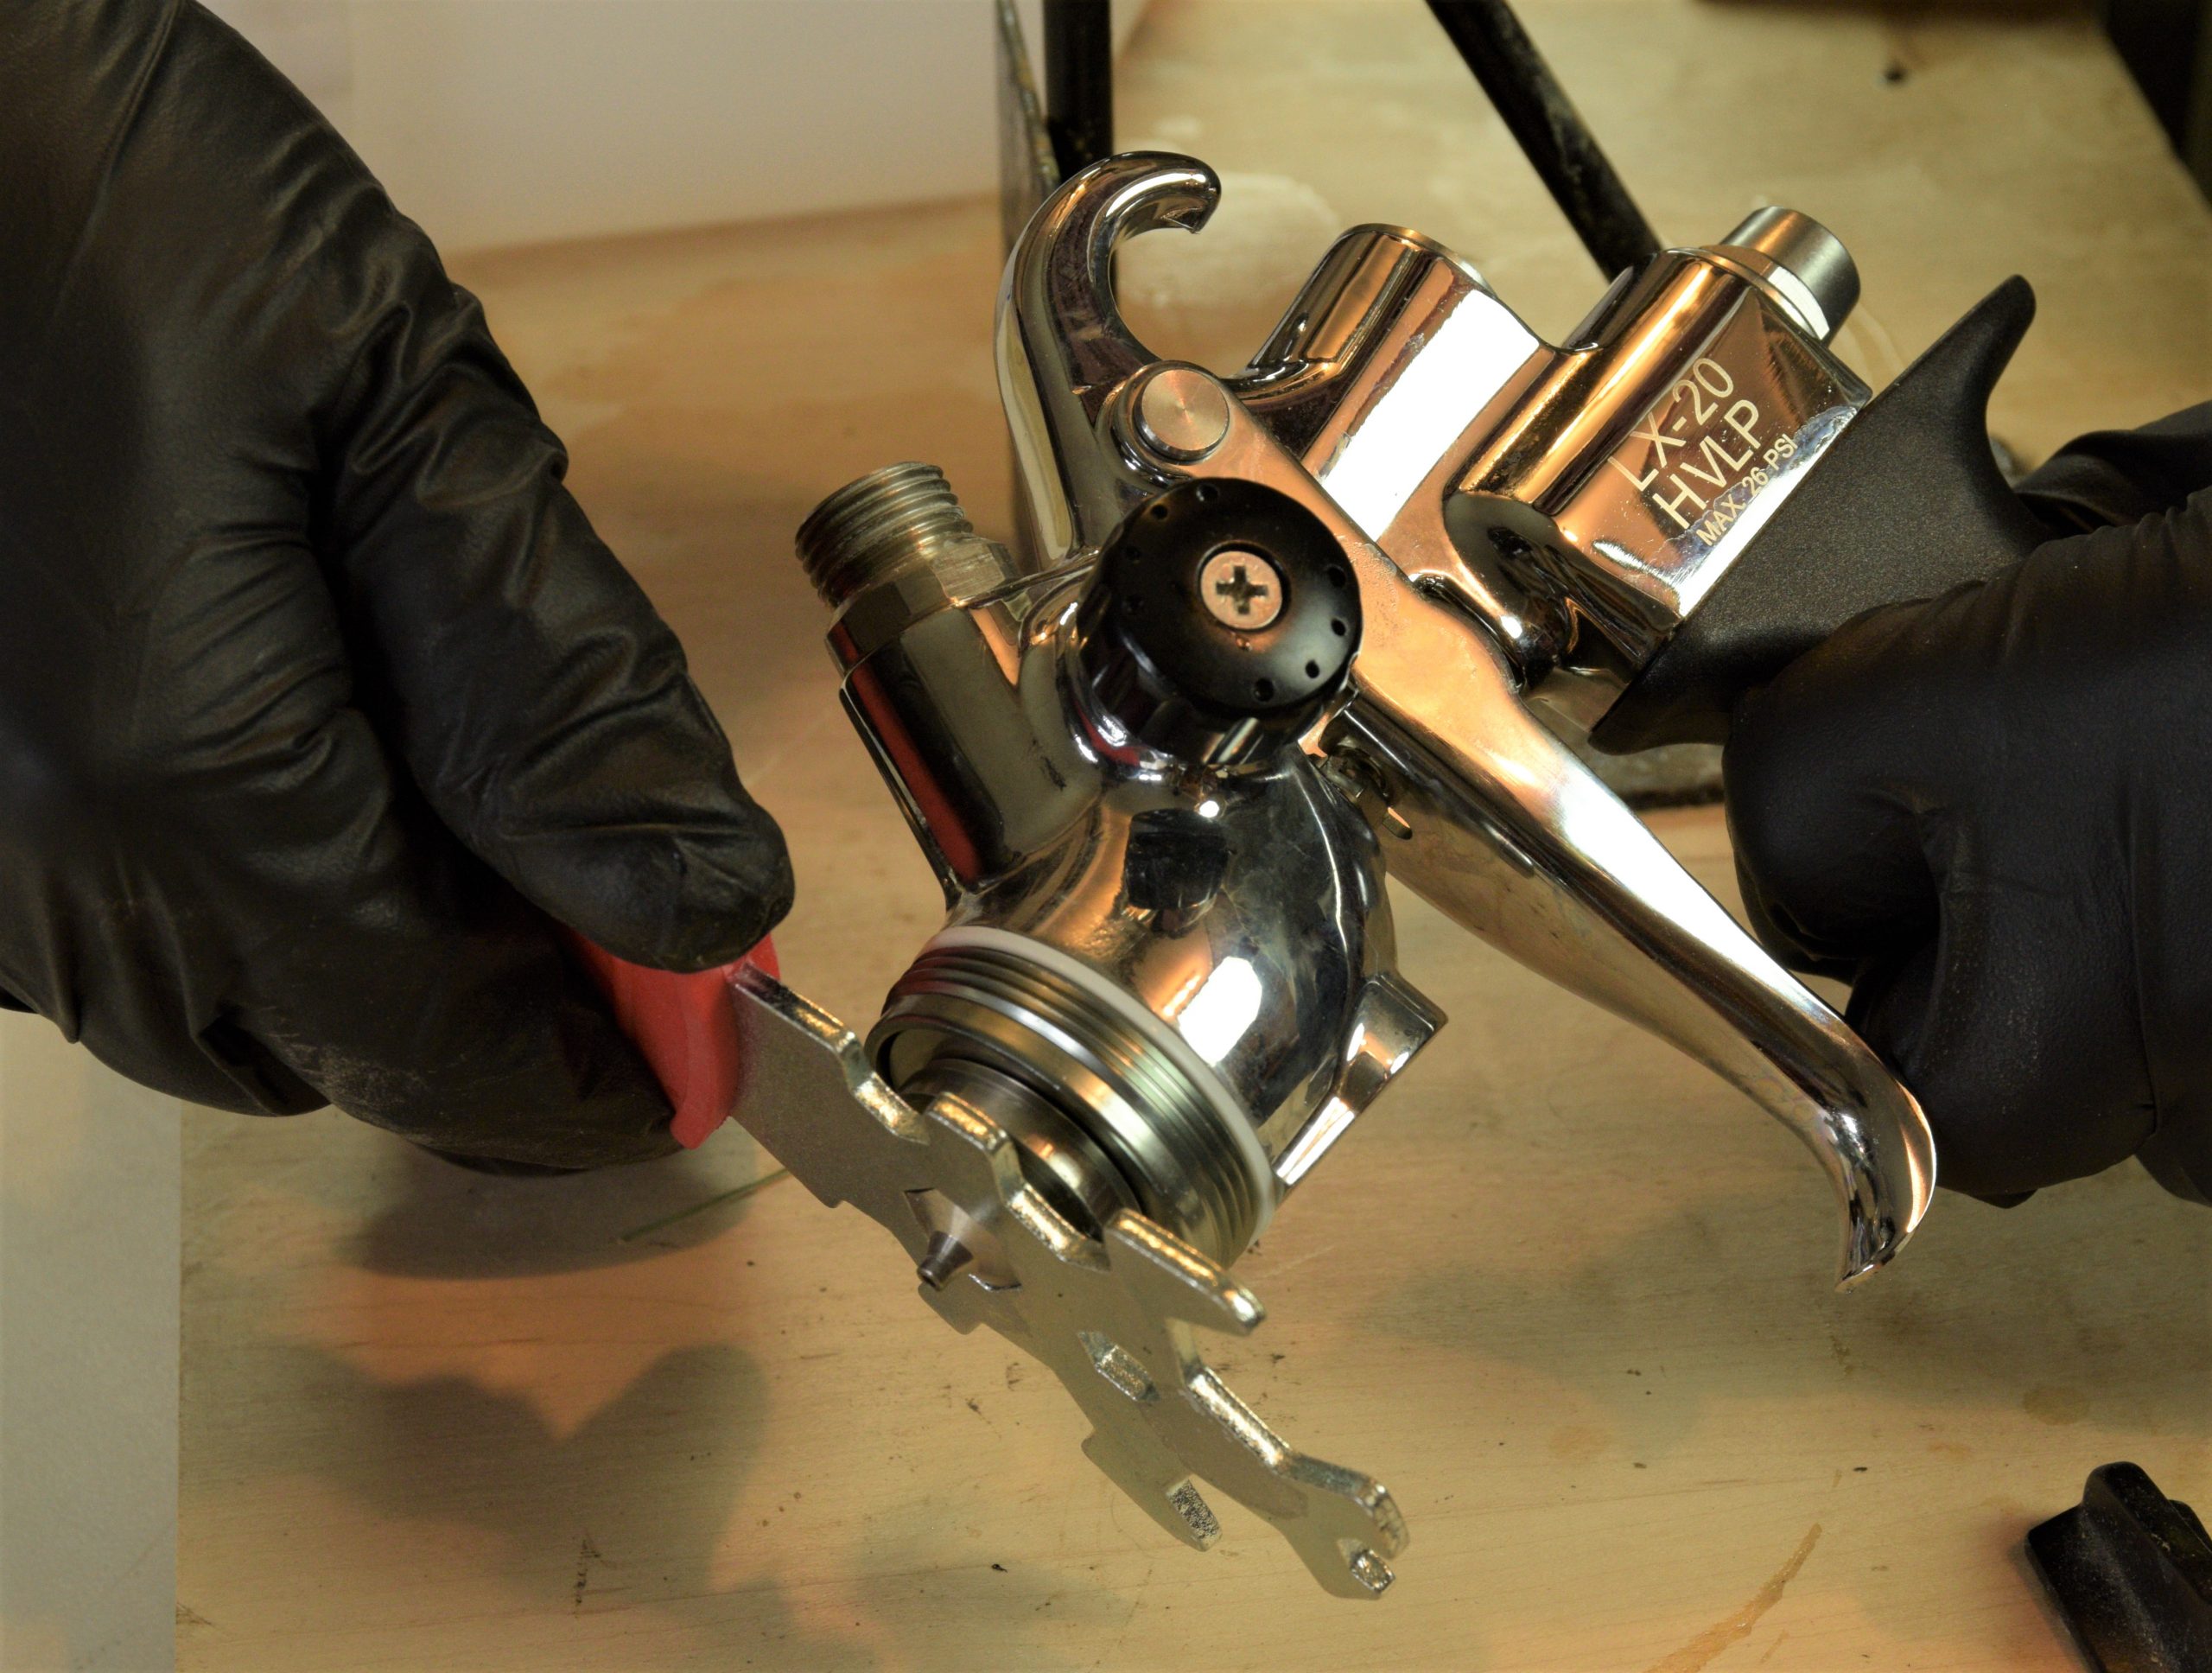
9. Remove the nozzle with the included multi-wrench.
Please note, the needle has already been removed from the gun at this point. Always remove the needle before removing the air cap and nozzle.
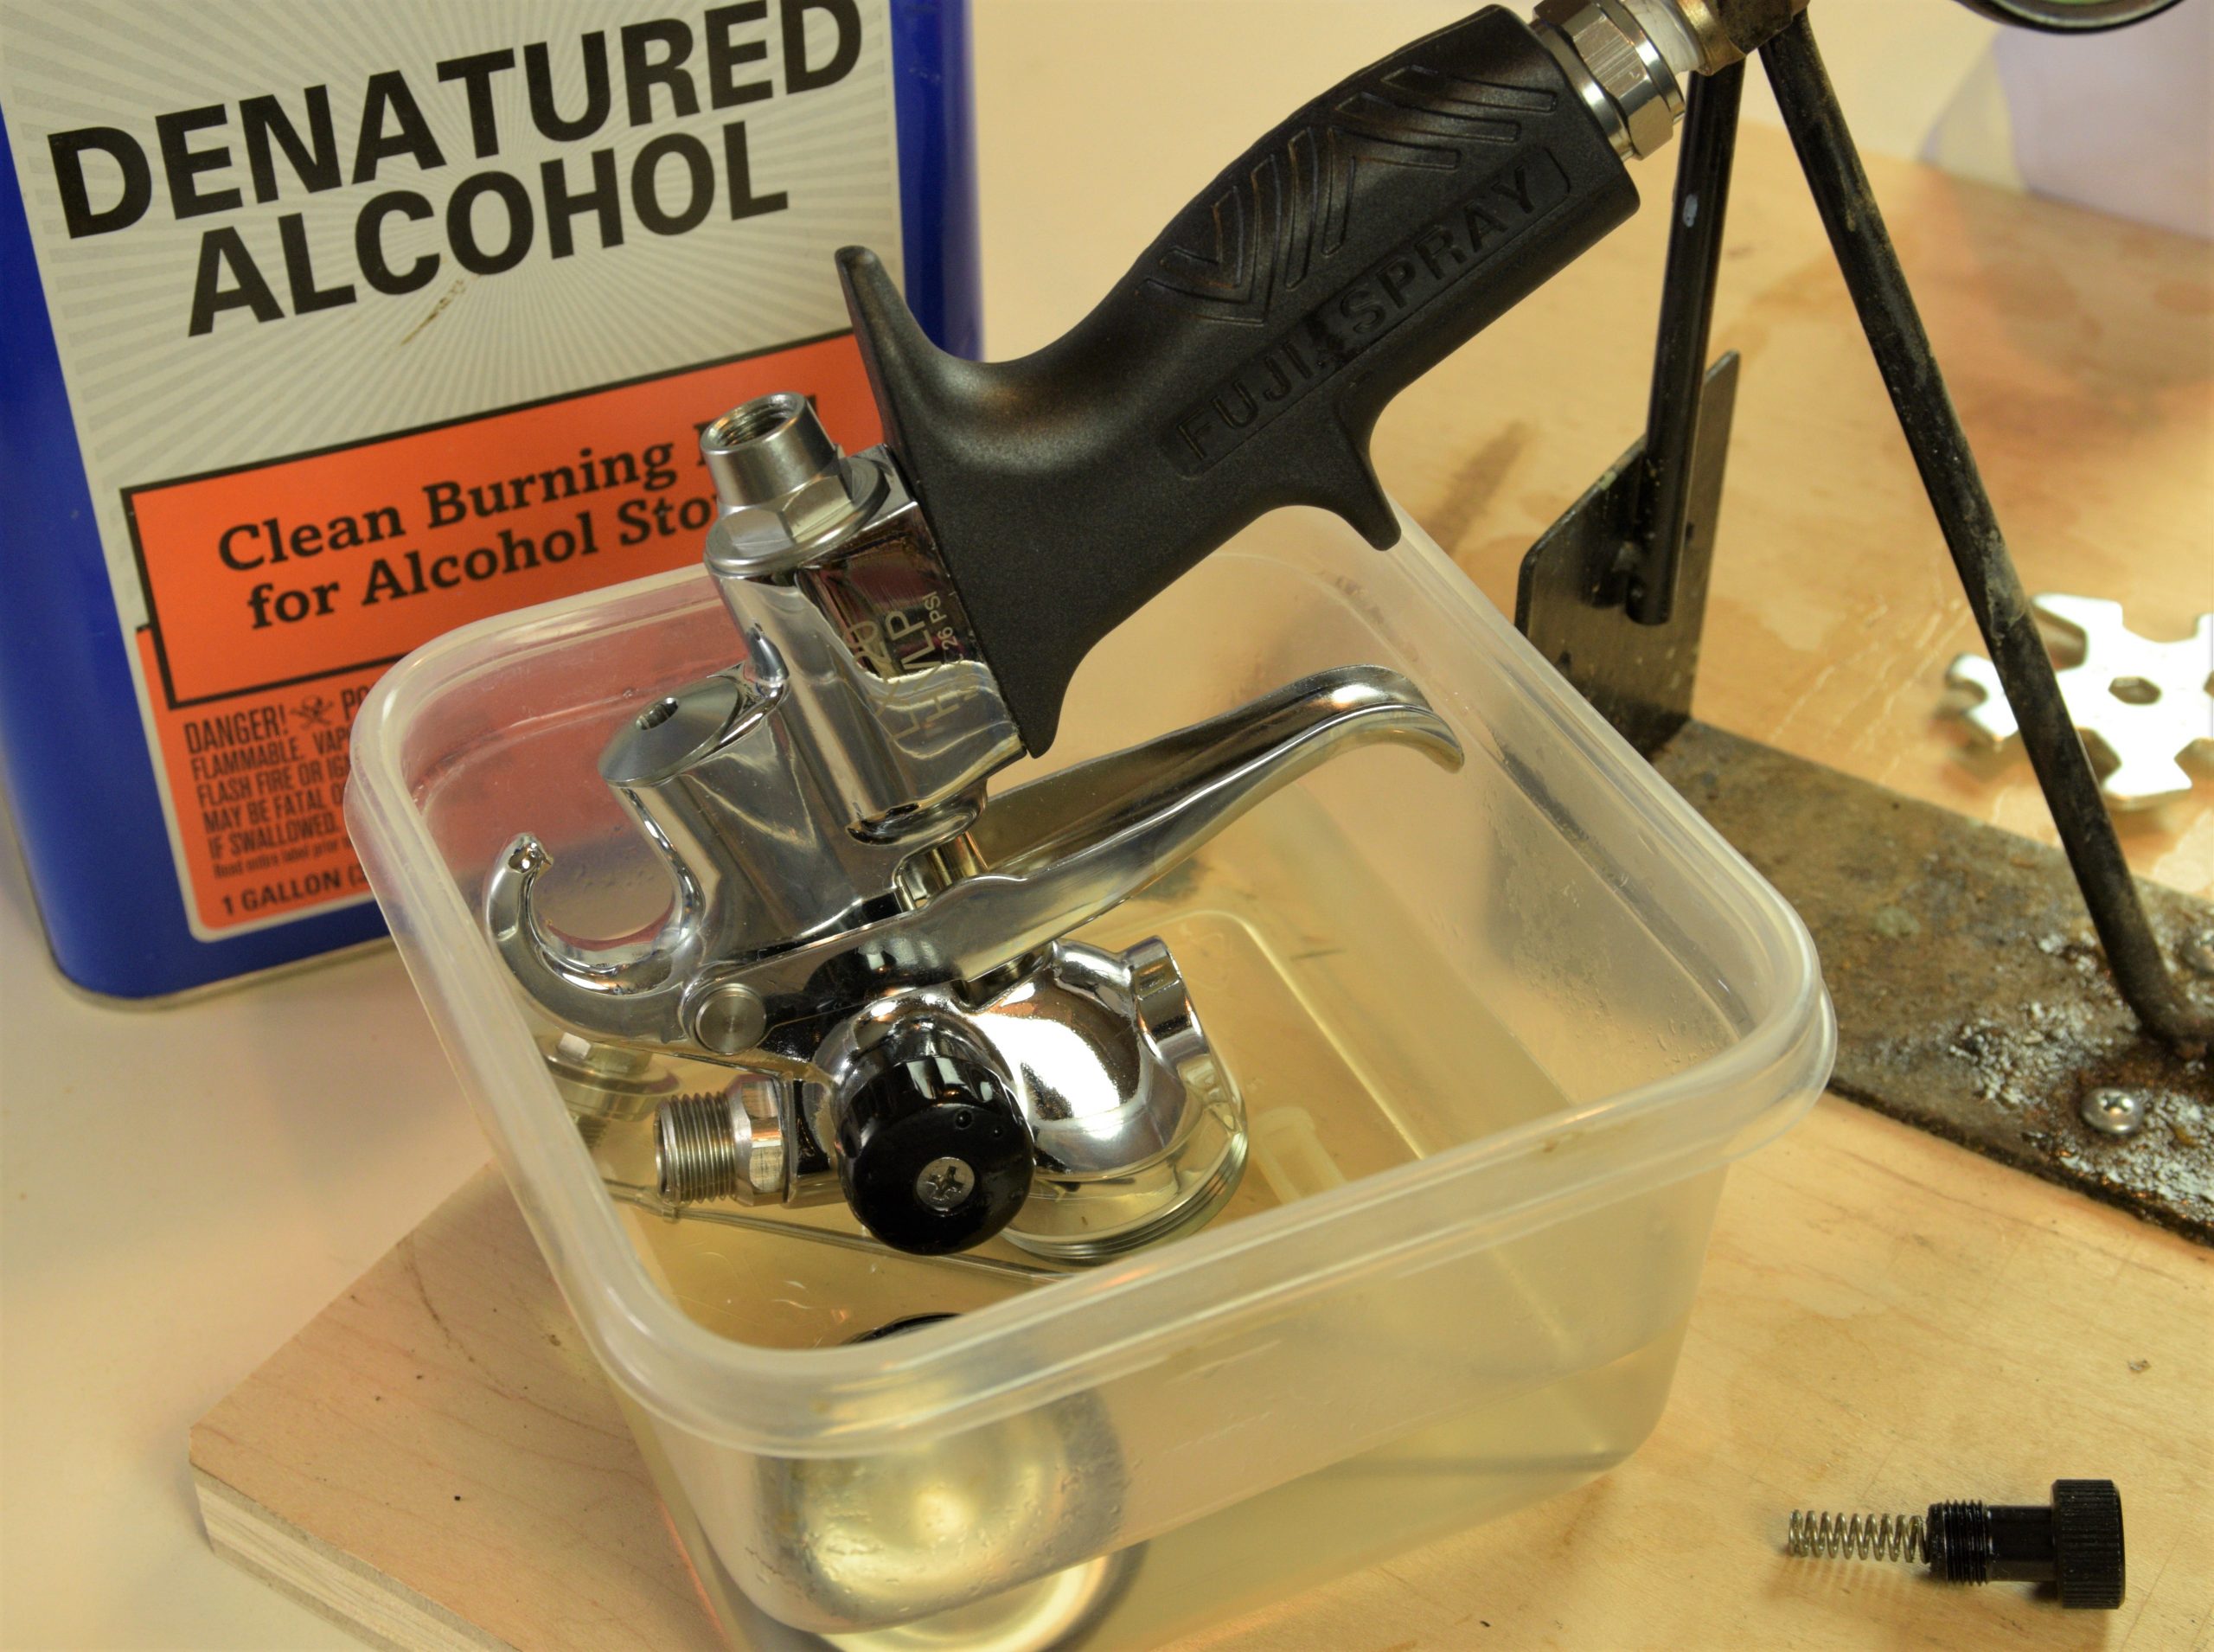
10. Drop the air cap and nozzle in a container of reusable thinner, which is denatured alcohol in this case.
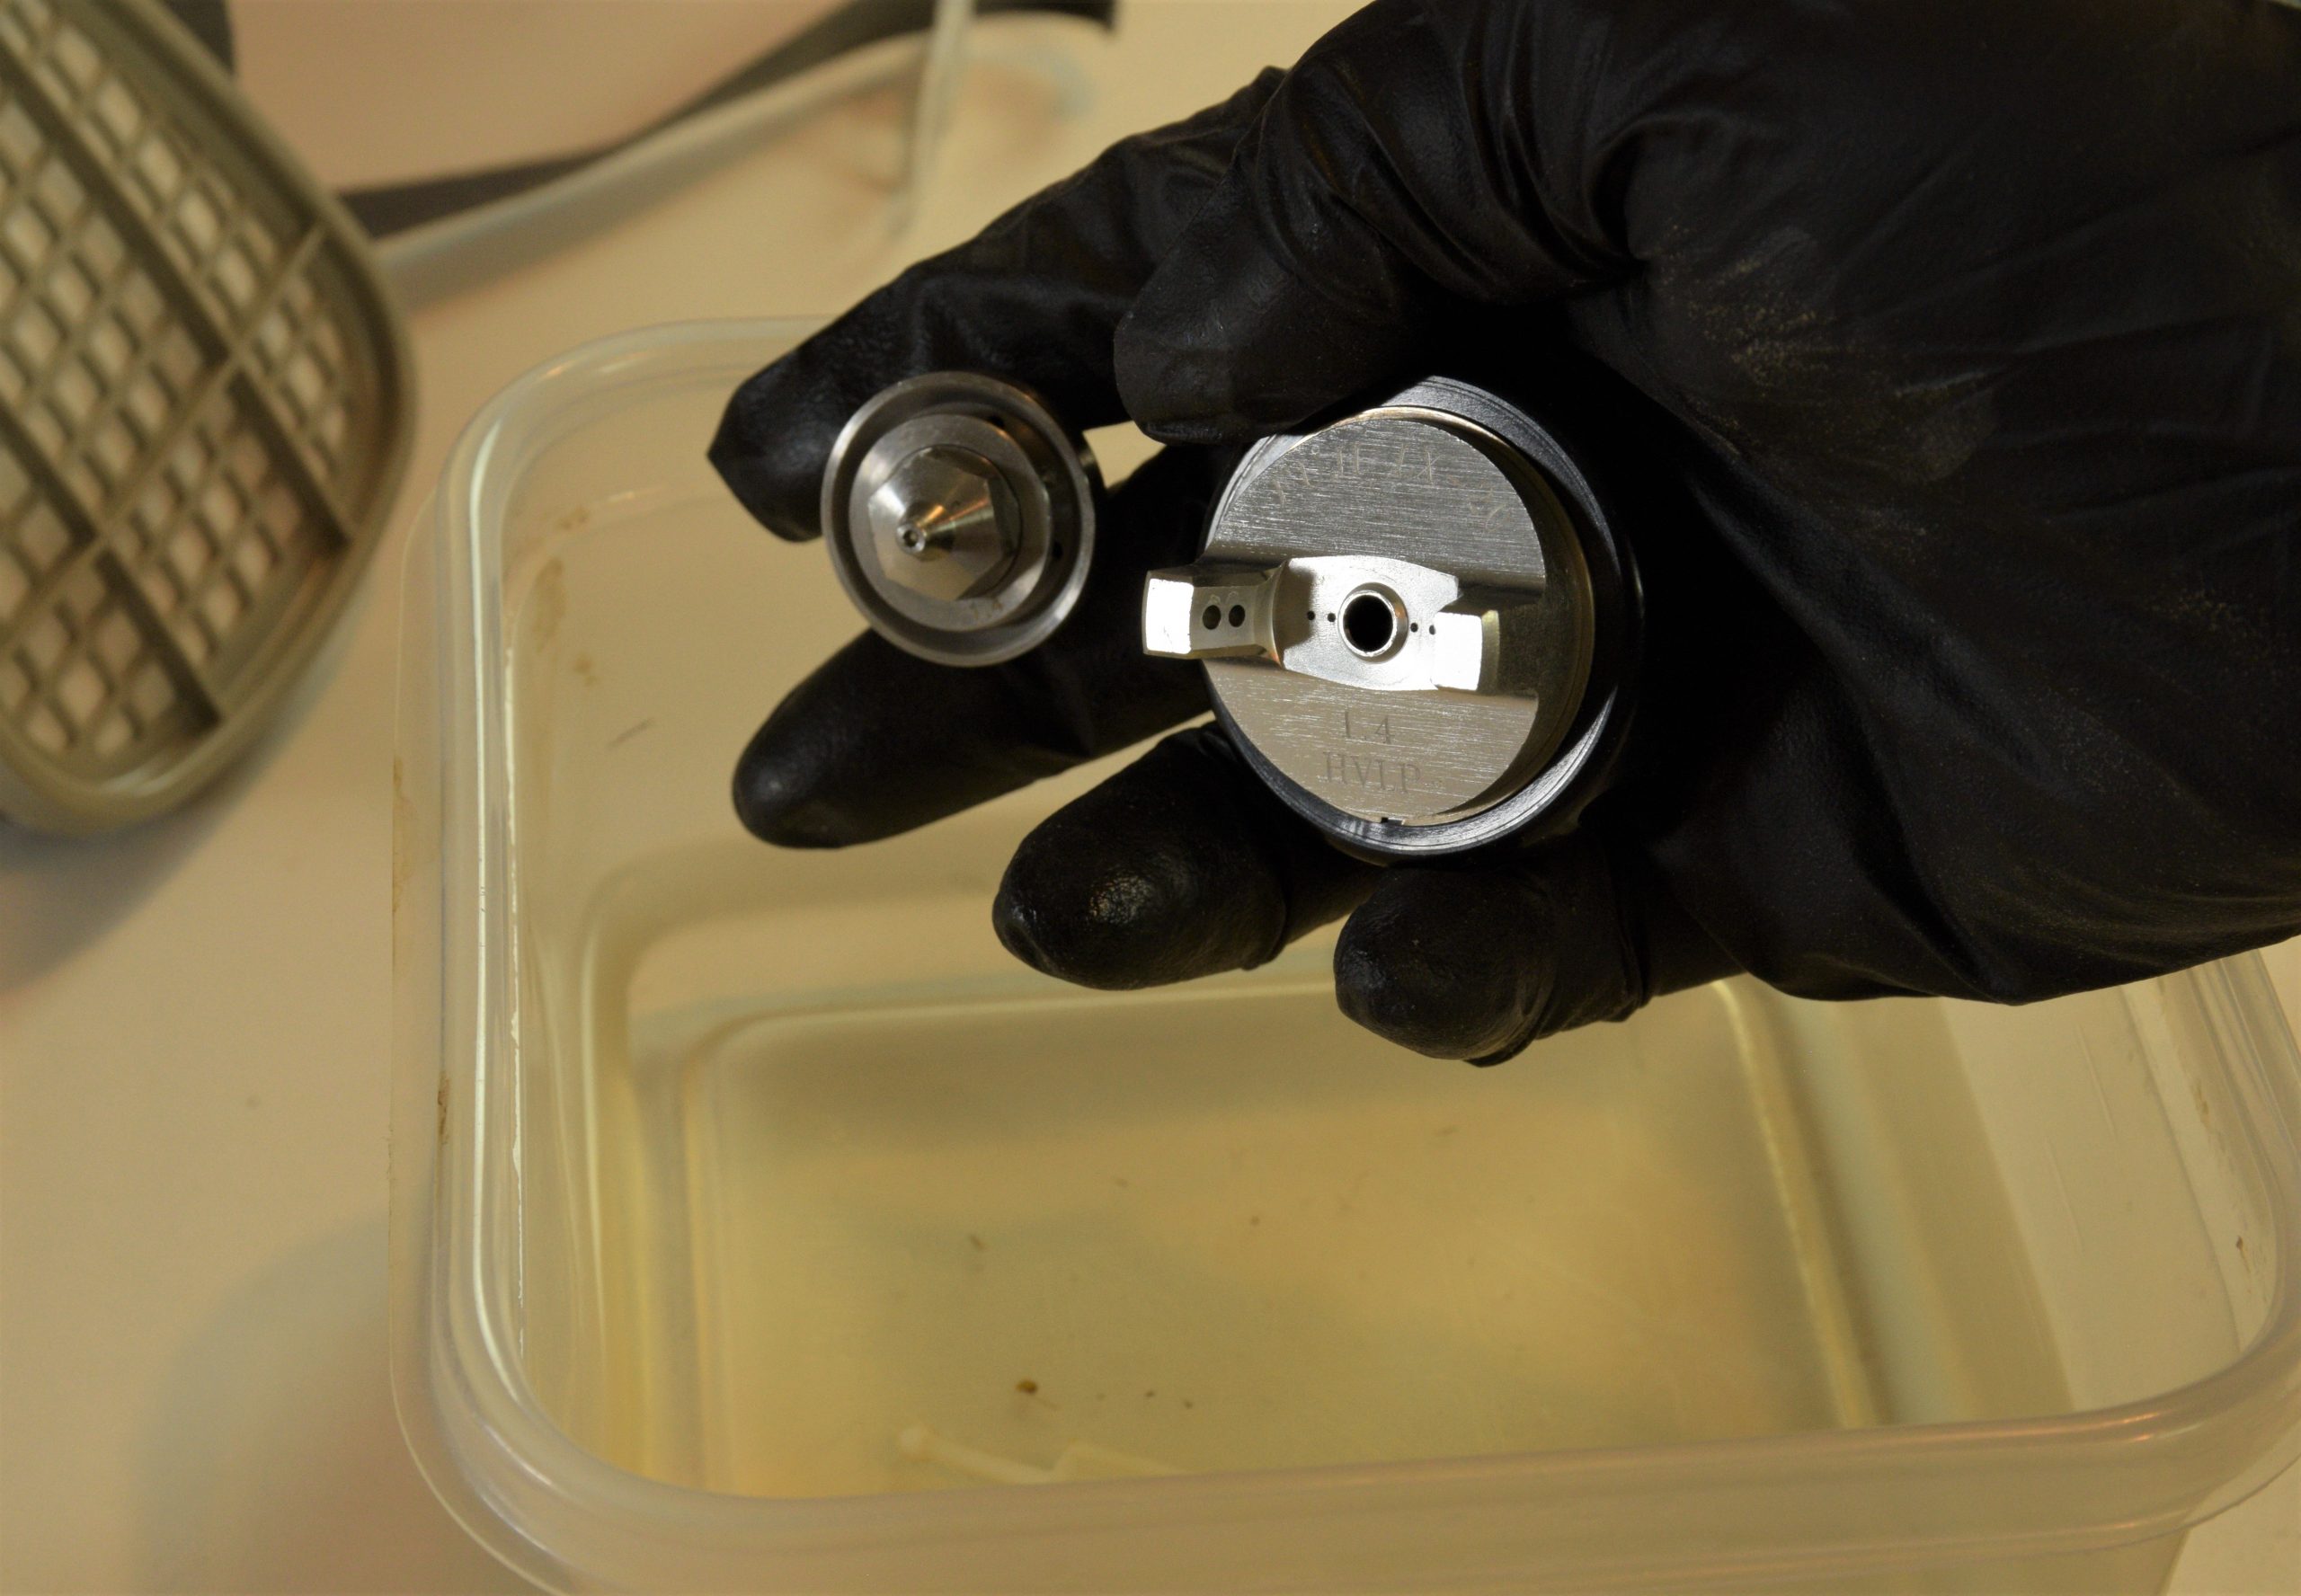
11. Now dunk the front of the gun in thinner as well, and let the parts soak for a few minutes.
Make sure thinner enters the threaded fitting where the fluid cup attaches, and covers the nozzle area of the gun. Don’t submerge the entire gun in thinner however, as that would remove the internal lubrication of the gun, and isn’t necessary for routine cleaning. I usually get 10-15 cleanings with this reusable dish of thinner. That helps me use an amazingly small 1-2oz of thinner per cleaning.
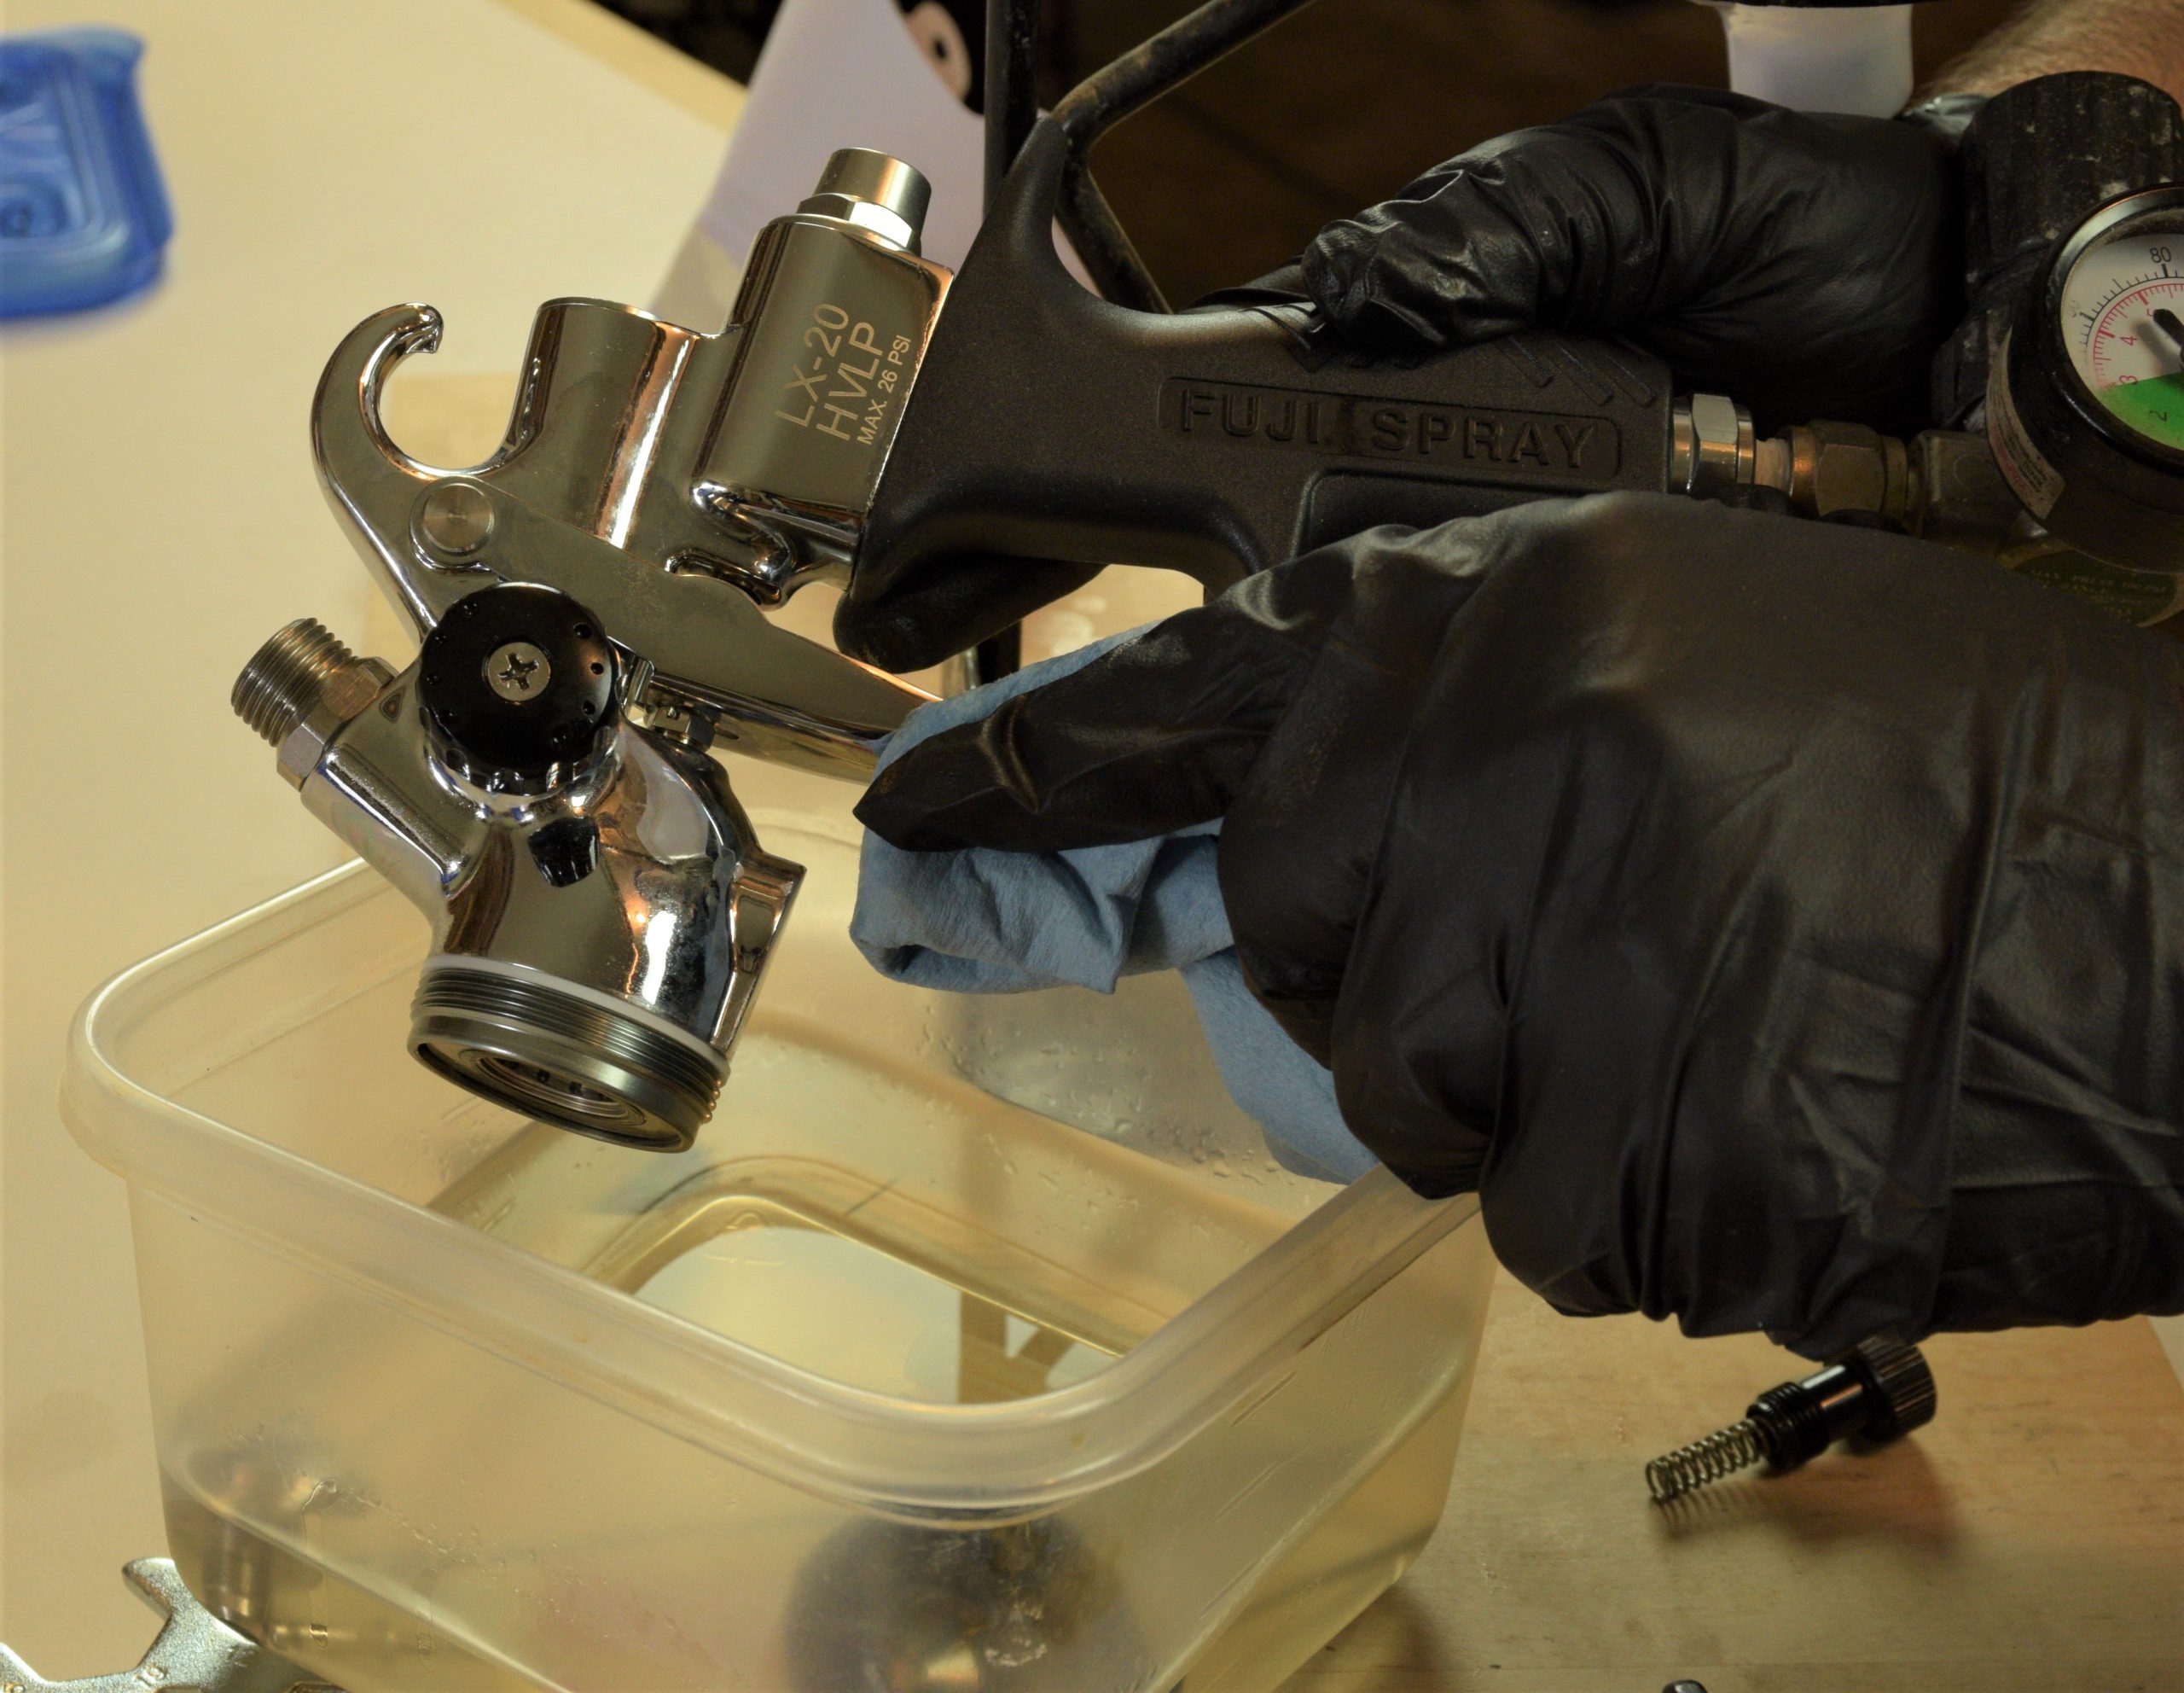
12. Wipe your gun down with a dab of clean thinner on a shop paper towel.
There is a certain pride of ownership with fine tools, and you want to put them away clean and ready for the next job. Assemble the gun in the reverse order, making sure to install the nozzle and air cap before reinstalling the needle.
Look for upcoming Fuji blogs on how to choose the right needle and nozzle set for your LX-20 HVLP spray gun.
Until then, have fun, be safe, and filter everything that goes in your gun!
Willie Sandry