Spray Gun Cleaning: As Simple as 1, 2, 3!
You may be surprised to know that most service calls to Fuji Spray’s customer support team are the result of improperly cleaned spray guns. Users appear to either not understand when – or how – to properly perform the steps, or they mistakenly believe they’re too complicated and time consuming. Either way, the result is the same: unnecessary frustration, downtime and poor performance.
In this article I’ll describe just how easy and relatively quick it is to keep your spray guns clean and ready to lay down that killer finish that moves your project from “Pretty Nice” to “Wow”. It’s as simple as 1, 2, 3.
My 3-Level Approach to Spray Gun Cleaning
In the Fuji Spray workshops I’ve conducted over the years (not including last year…), I cover my 3 levels of spray gun cleaning. This article will explain, without resorting to any technical mumbo-jumbo, how and when to carry out each of these three separate cleaning levels. Oh, and if you haven’t already done so, take out your spray gun’s user manual and familiarize yourself with the parts diagram. Let’s start by describing what’s involved with these three levels.
Level 1
A simple flushing out of the fluid passages. This takes only a few minutes.
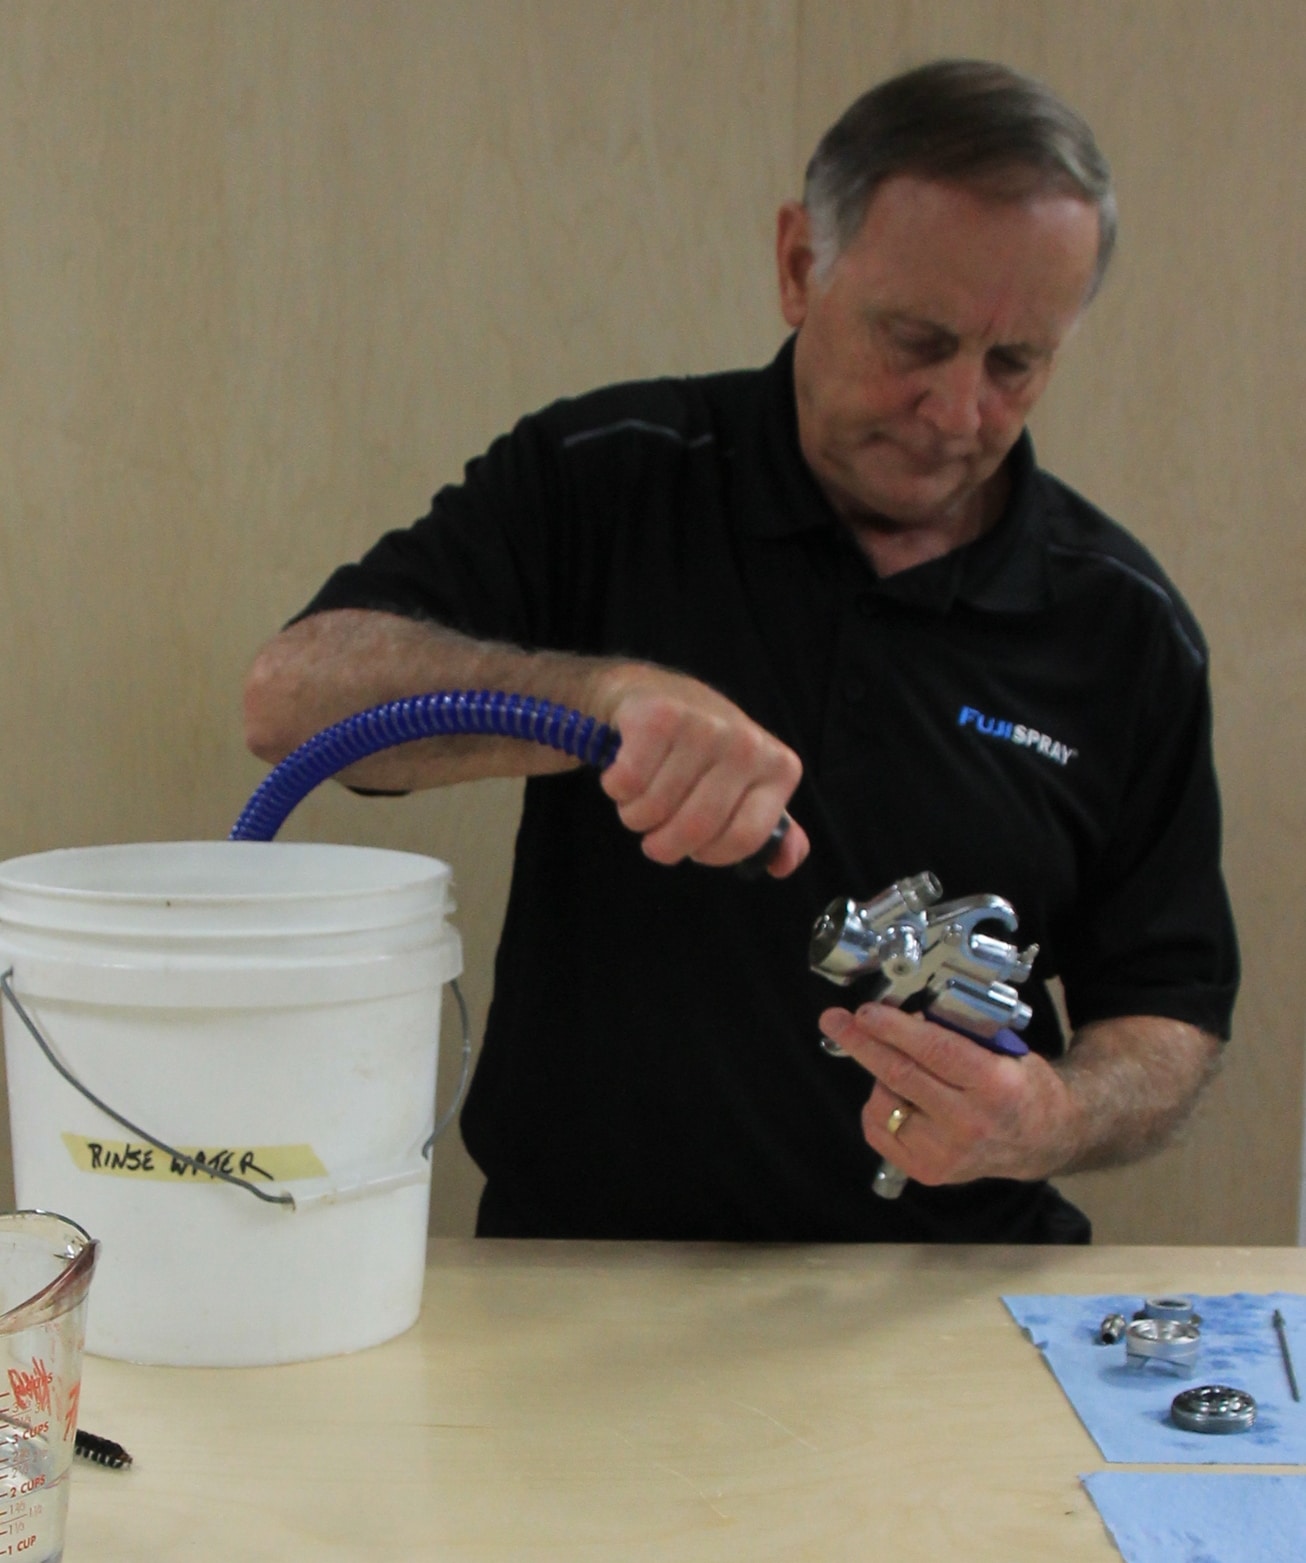
a. Empty the cup and wipe the inside with a solvent-dampened rag. (Use the correct solvent: water for water-based finish; mineral spirits for oil-based; denatured alcohol for spirit-based).
b. Fully open the fluid control valve.
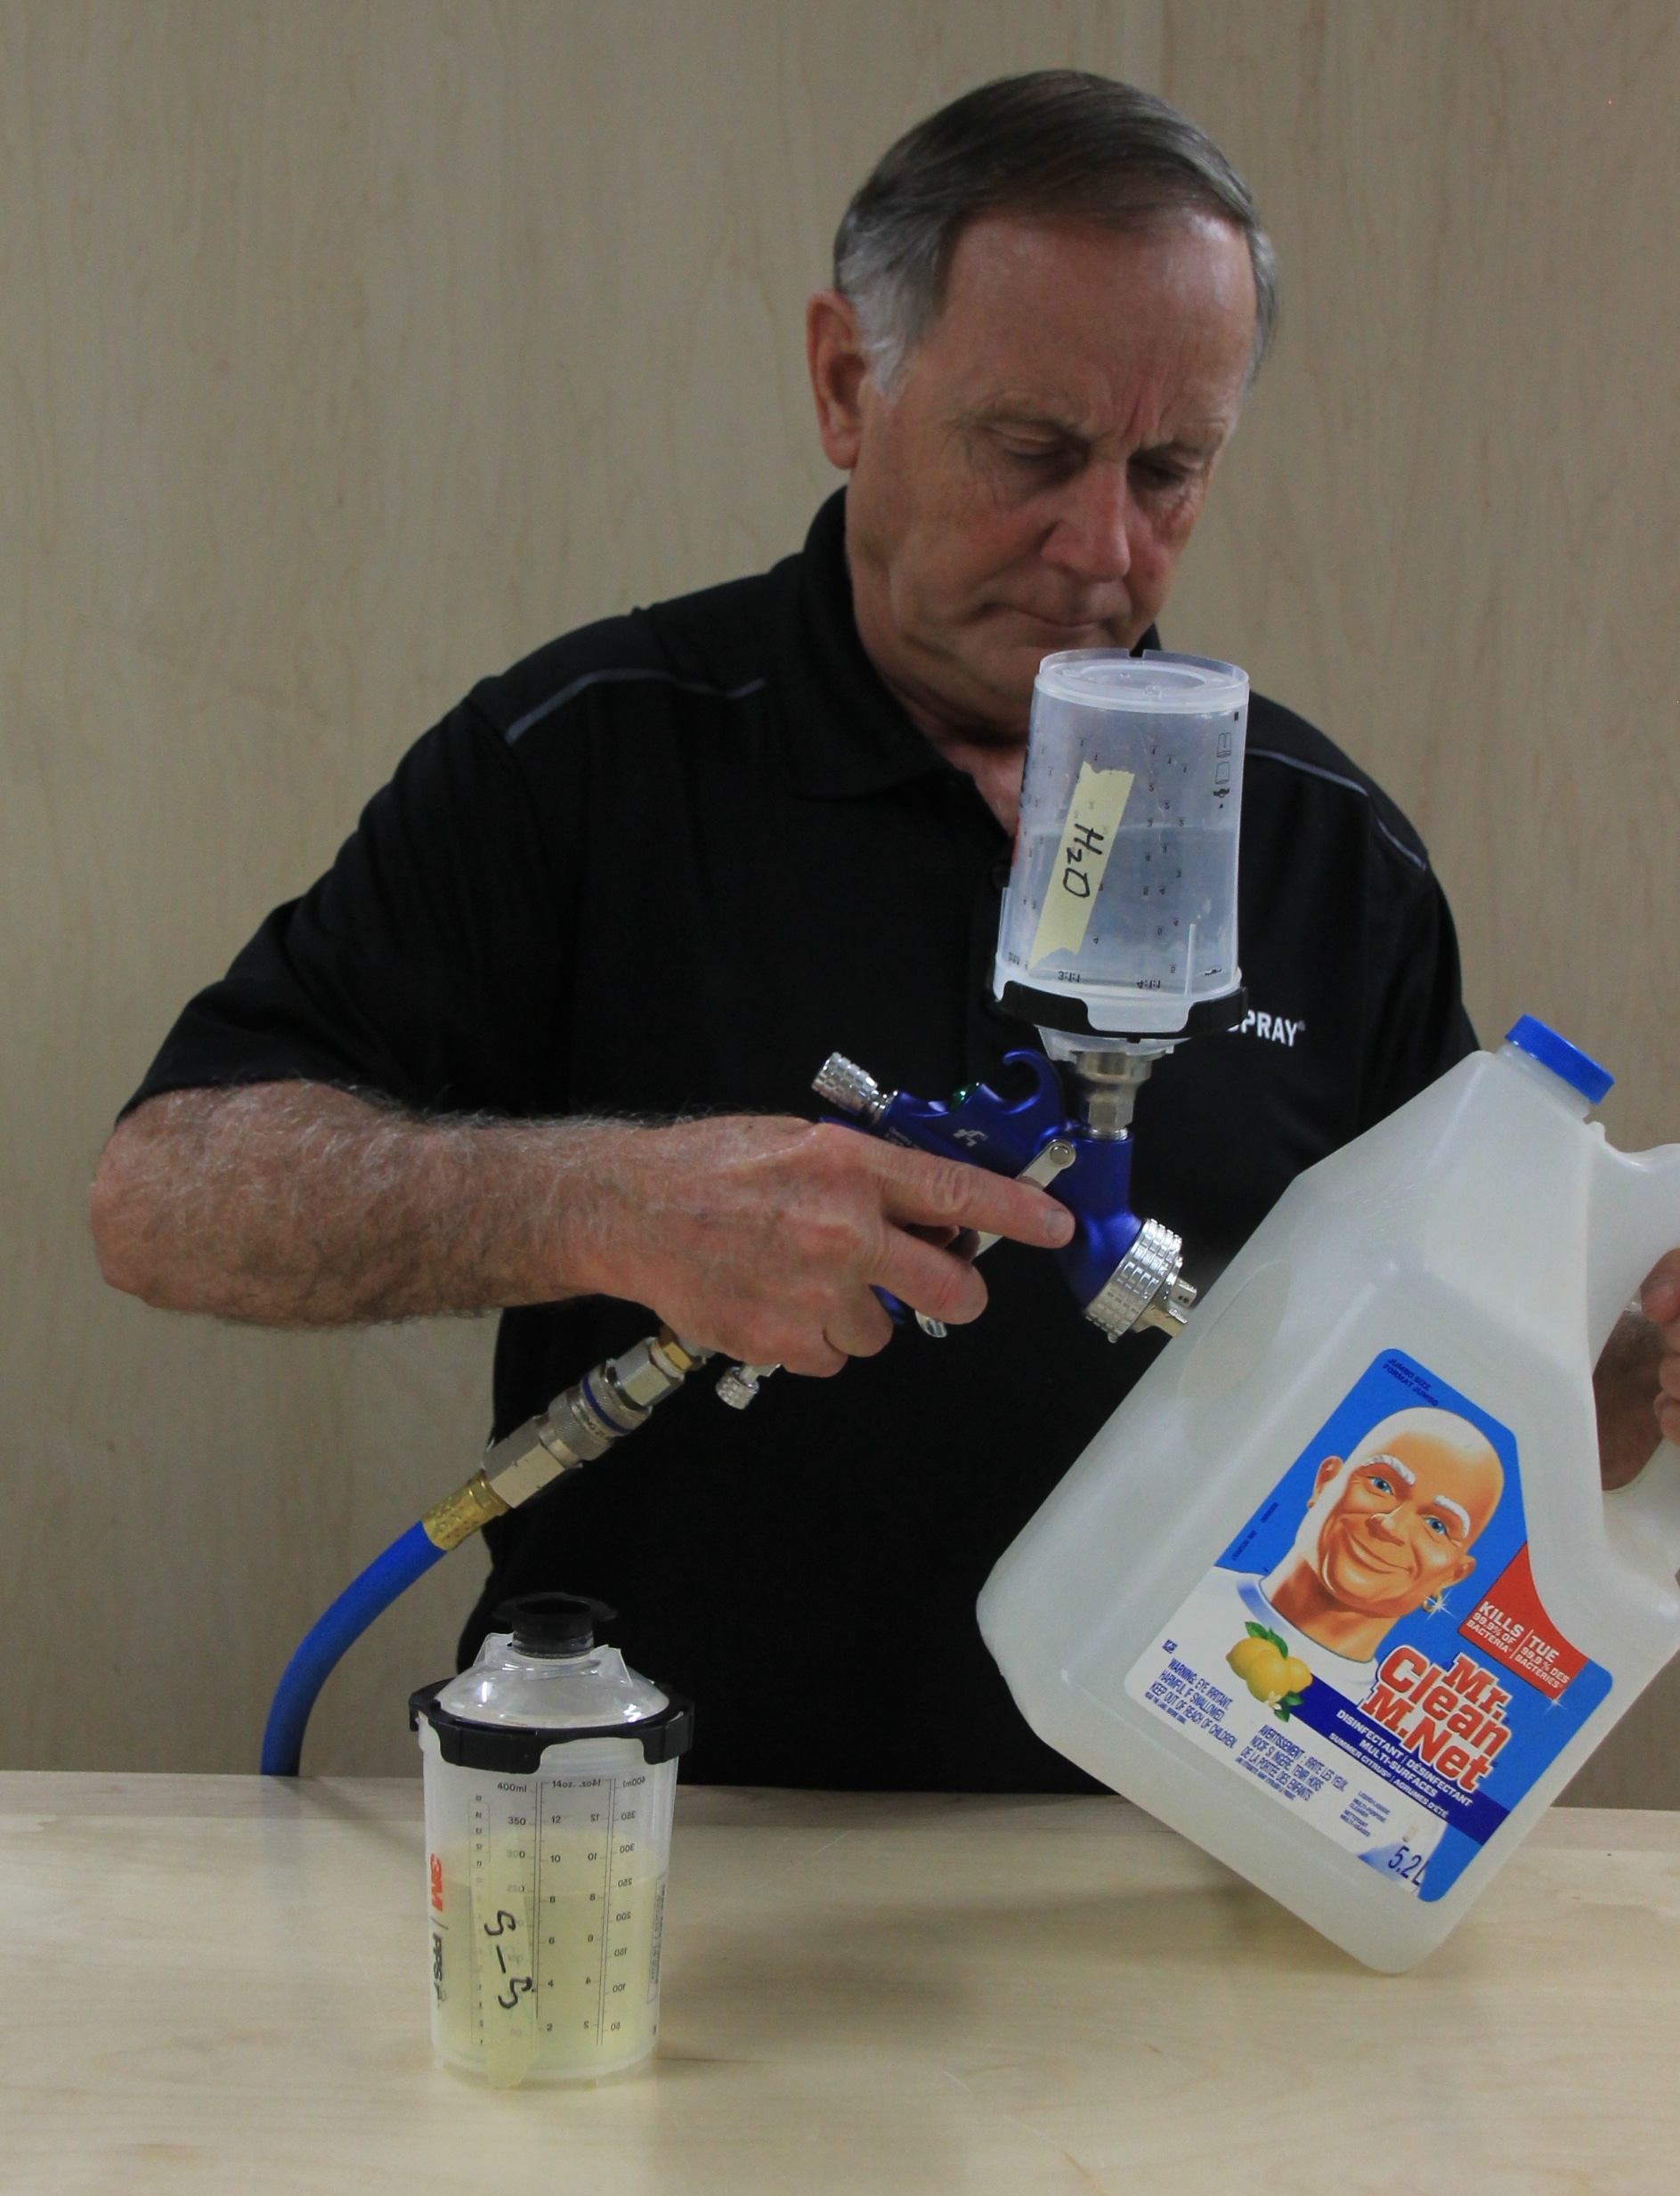
c. Fill the cup ½ full of solvent and spray until only clear solvent comes out.
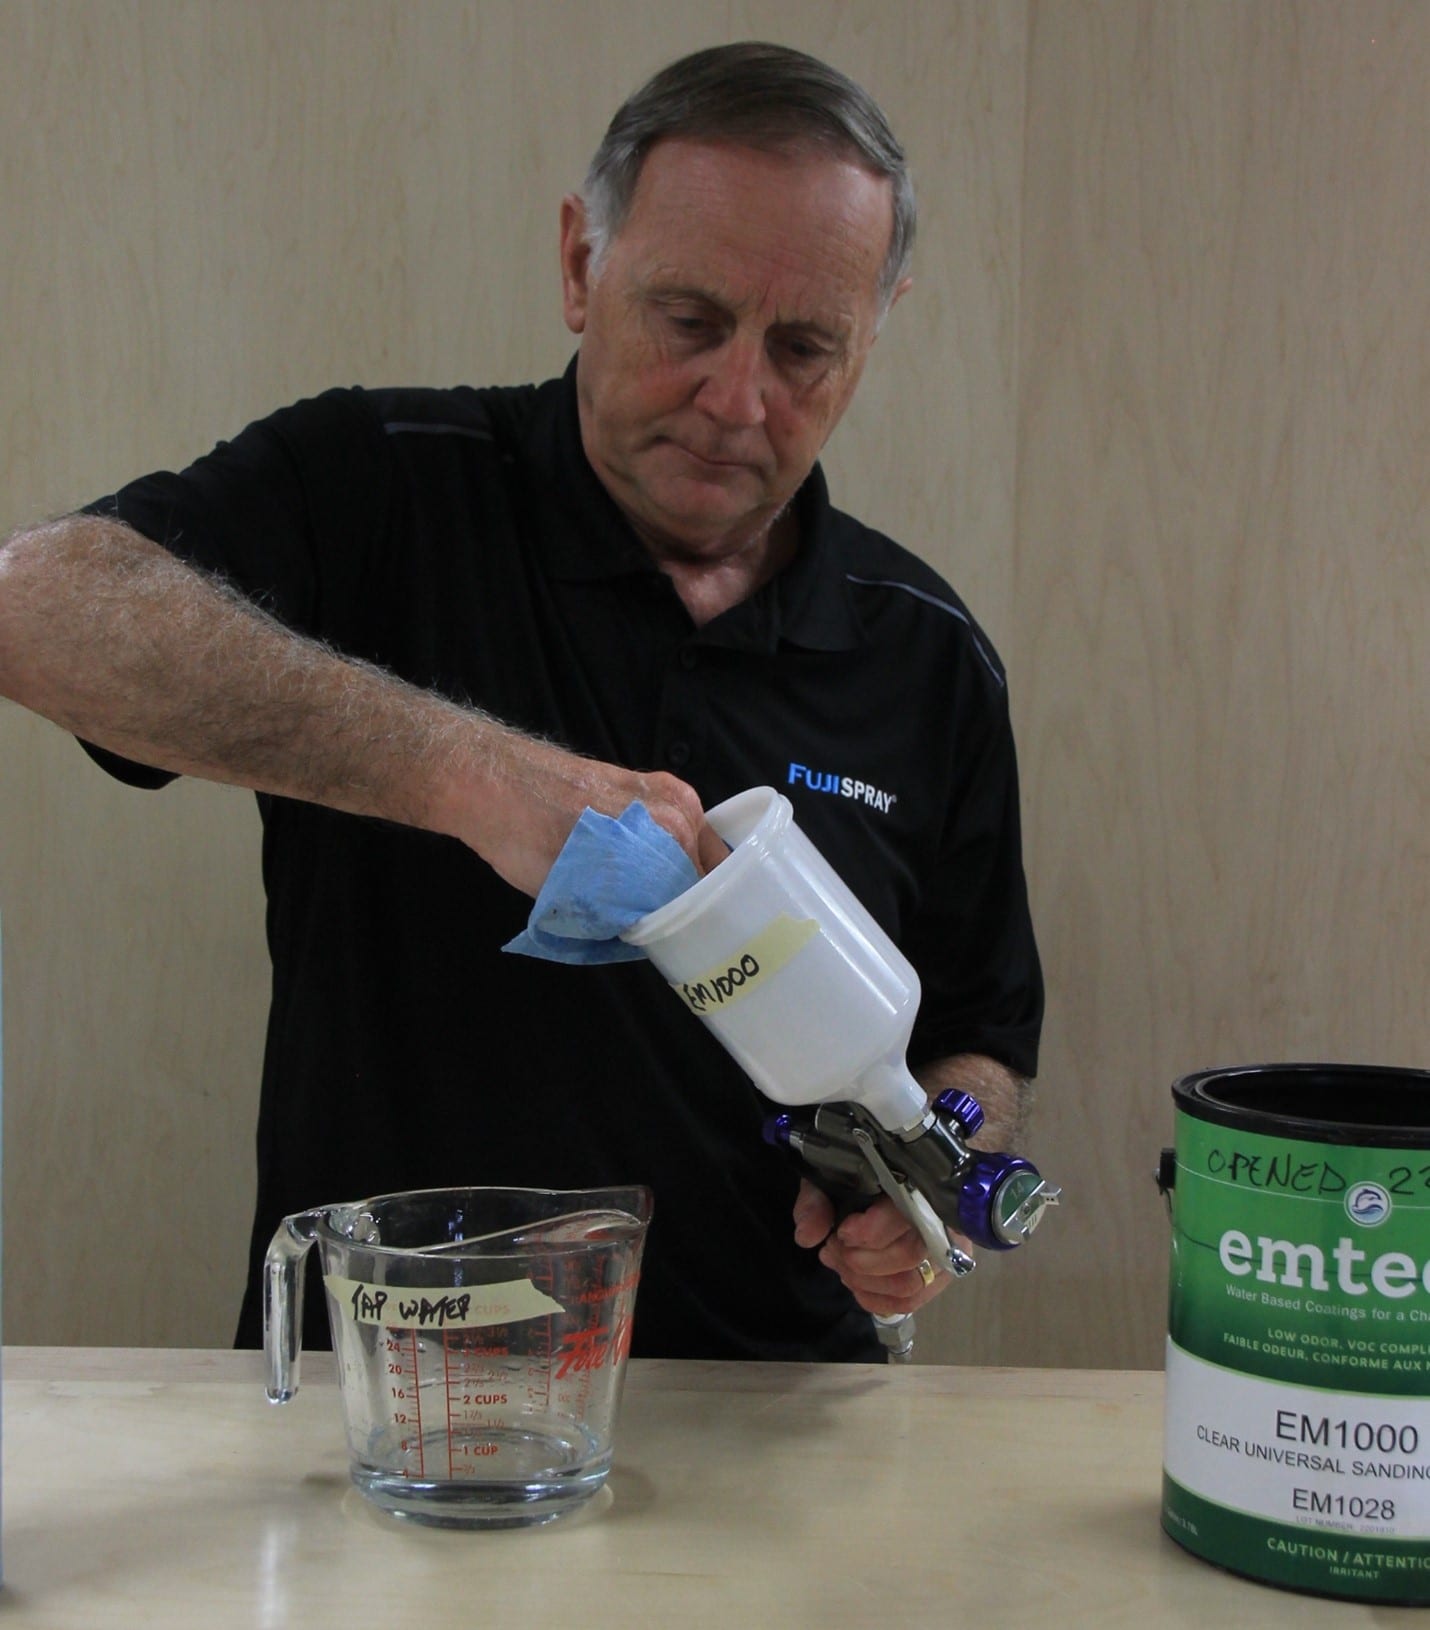
d. Wipe the aircap and tip of the needle and nozzle with the solvent-dampened rag. Dispose of the rag appropriately.
Level 2
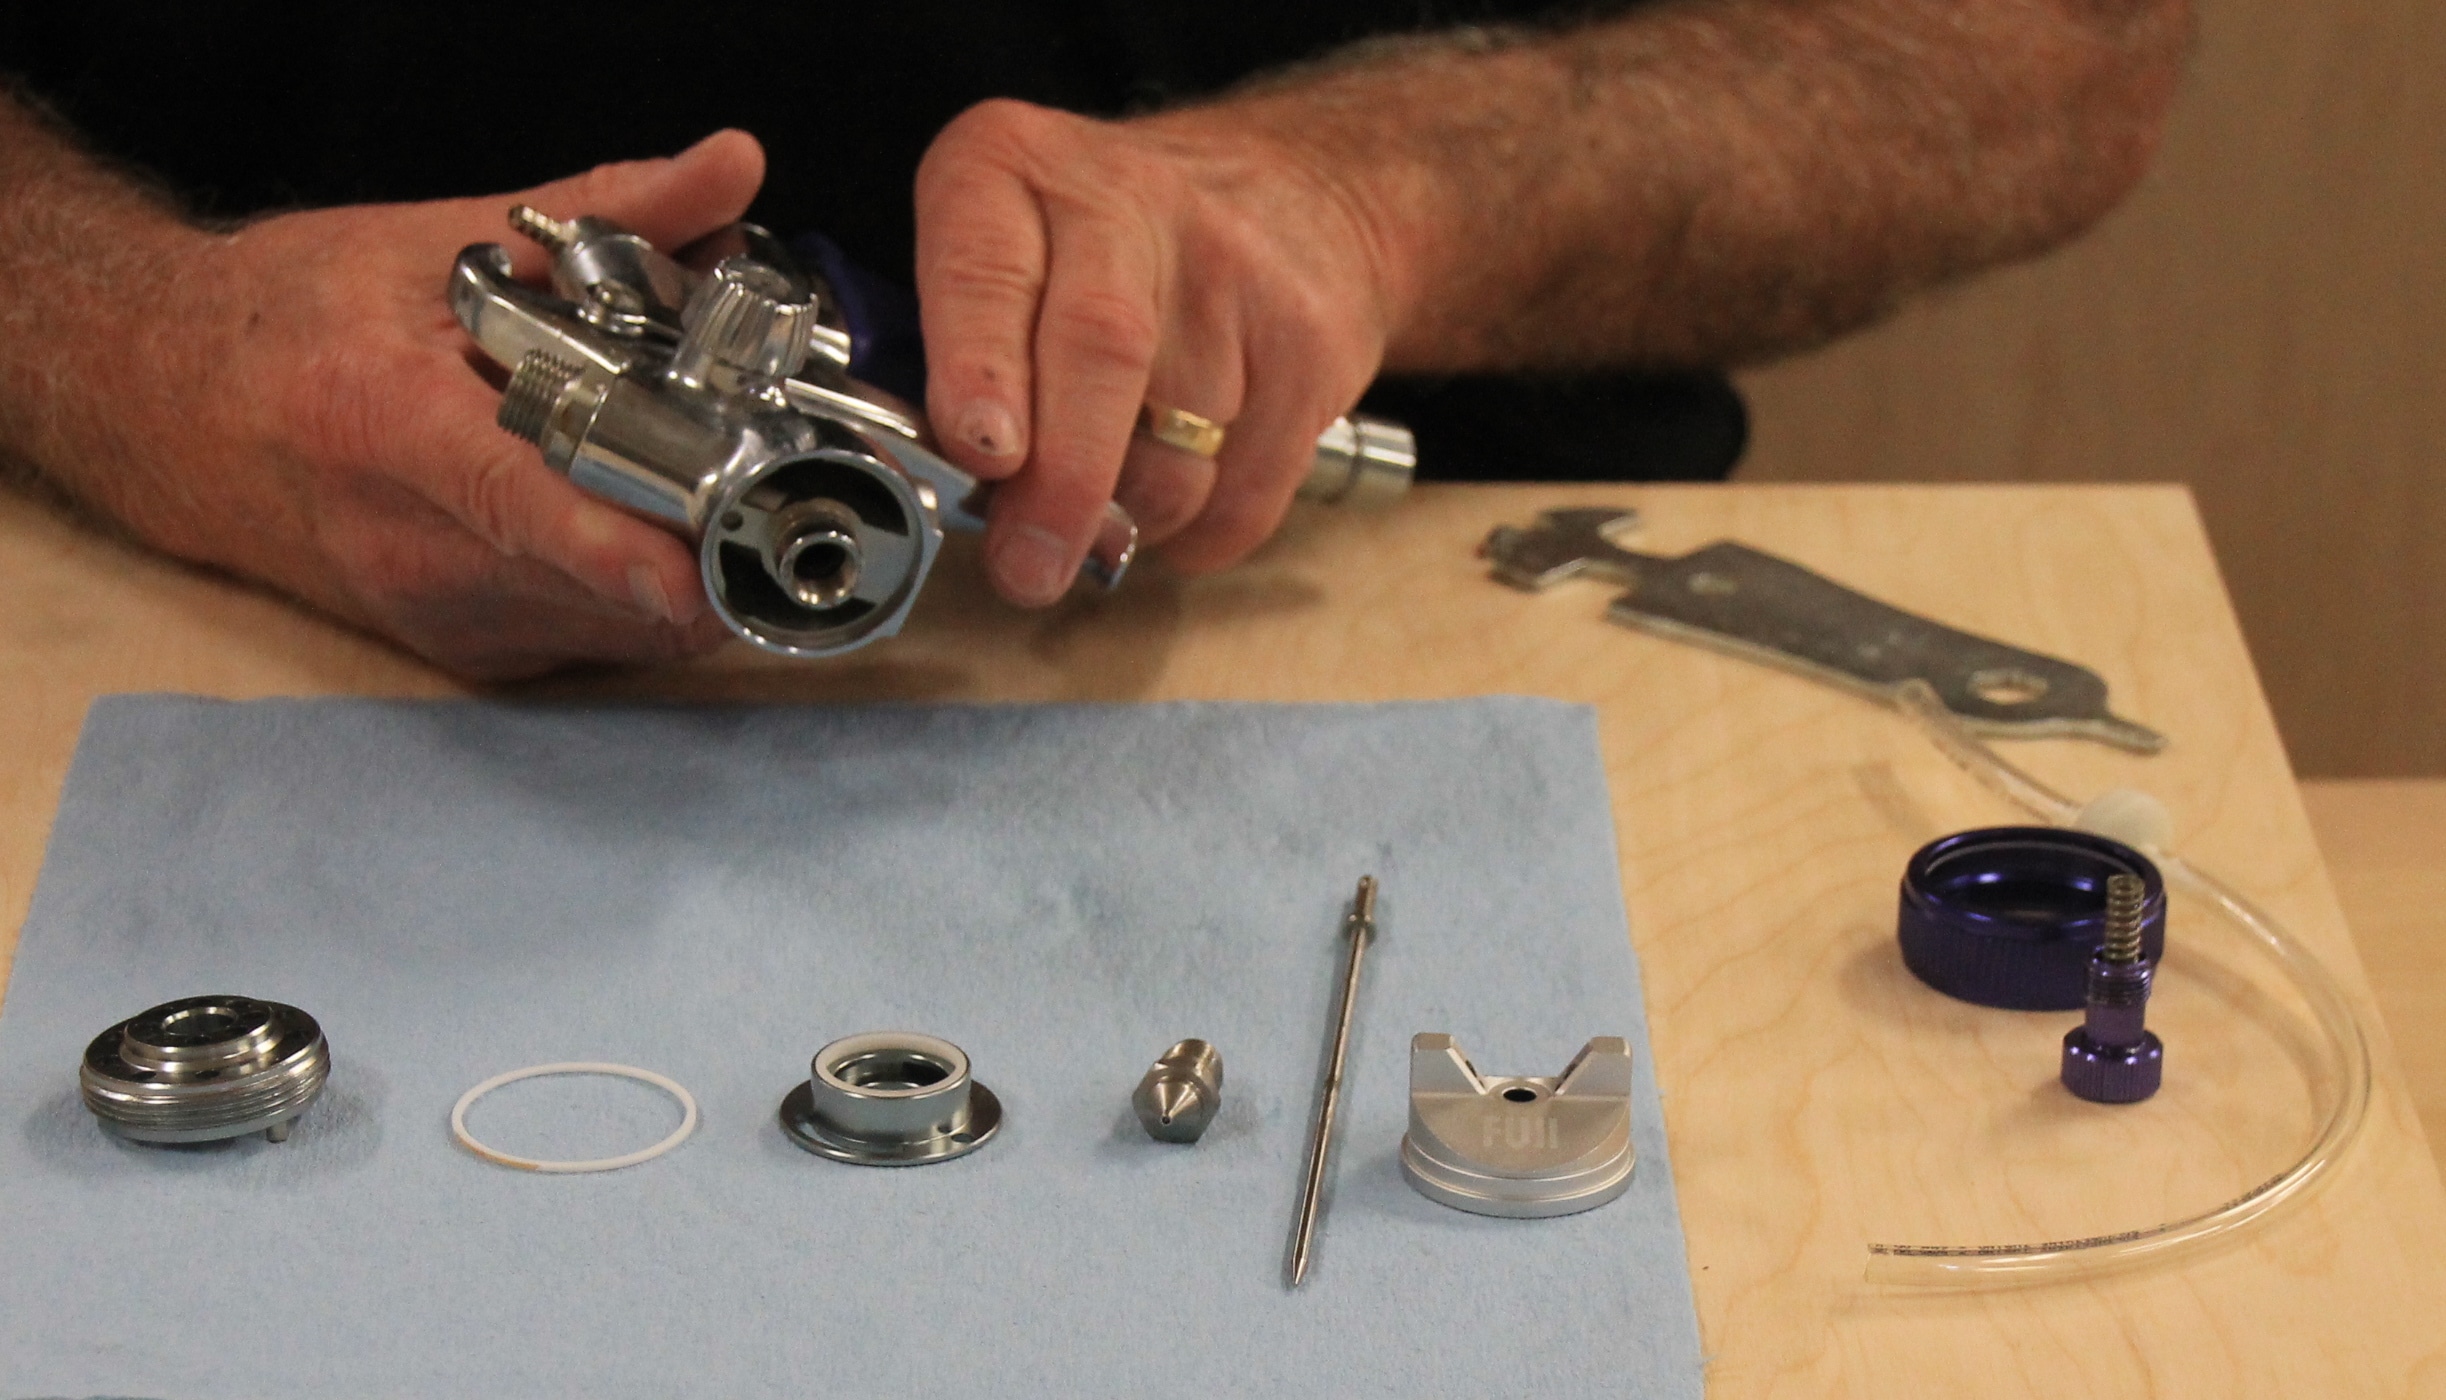
A thorough cleaning involving disassembling user-removable parts. This takes me 10 minutes to perform.
a. Conduct a Level 1 cleaning, then disconnect the air hose.
b. Fill a small cleaning tub with the appropriate solvent.
c. Unscrew the fluid adjusting knob and remove the needle and its spring. Set the spring and knob aside. Set the needle into the tub, being careful so as not to bend its tip.
d. Unscrew the aircap collar to remove the aircap. If the collar and aircap are connected, place them both into the tub of solvent. If they are separate parts, place the collar aside and the aircap into the tub.
e. Using the correctly sized wrench, undo the nozzle and place it into the tub.
f. Remove all user-removable air distribution parts and place into the tub. (Your manual will describe these parts).
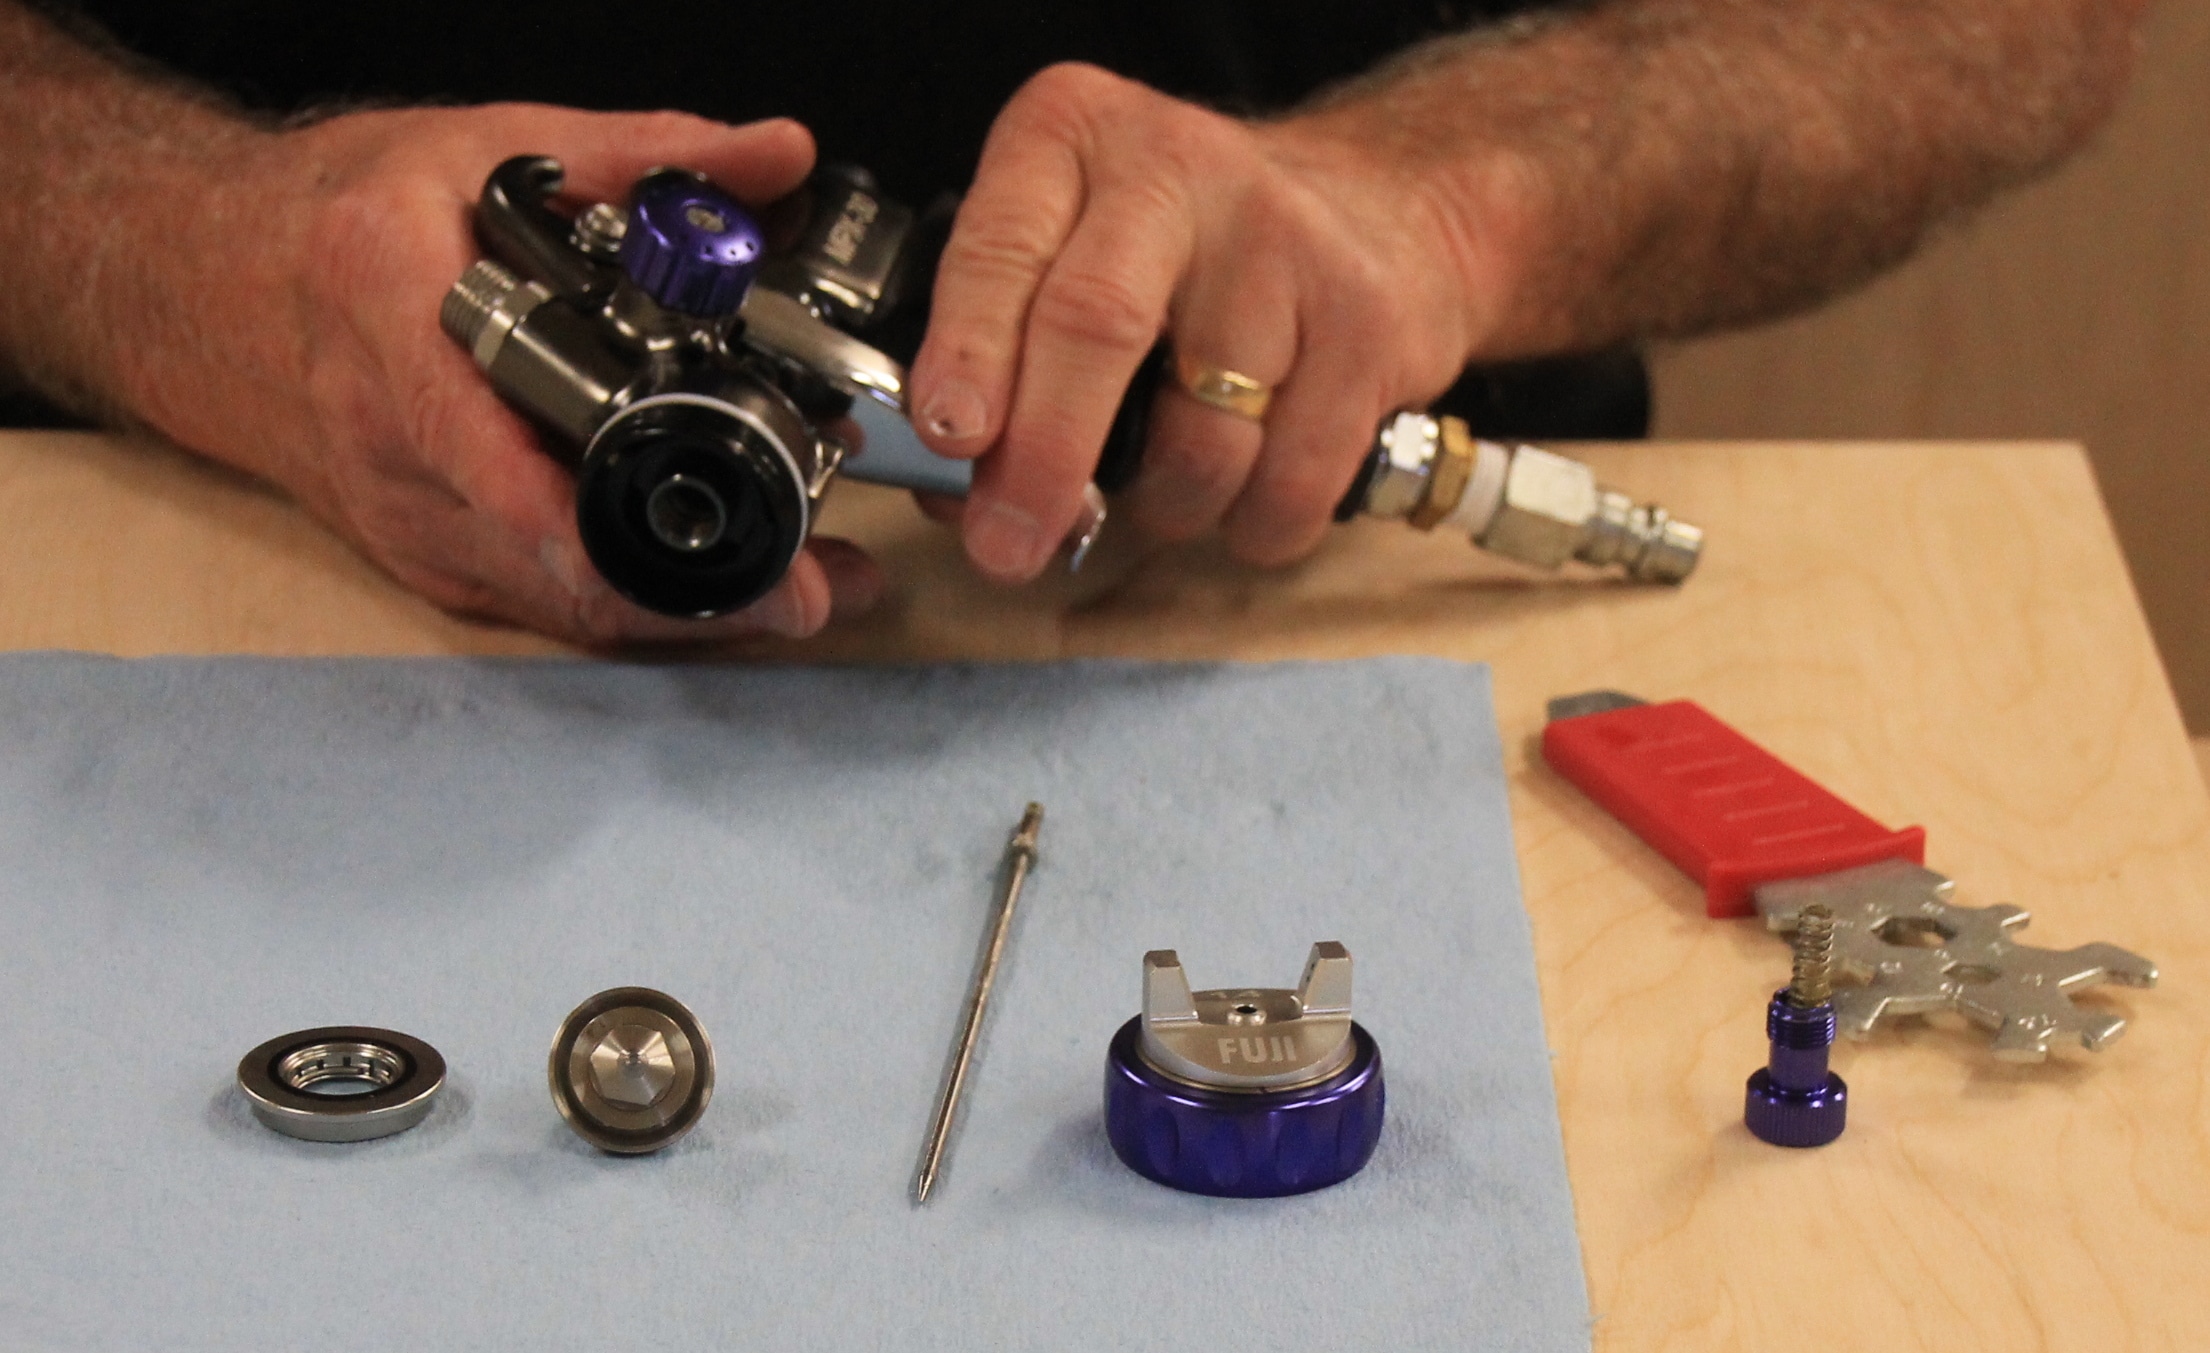
g. Invert the spray gun body into a separate tub of solvent to soak. There should only be enough solvent in the tub to cover just the fluid paths.
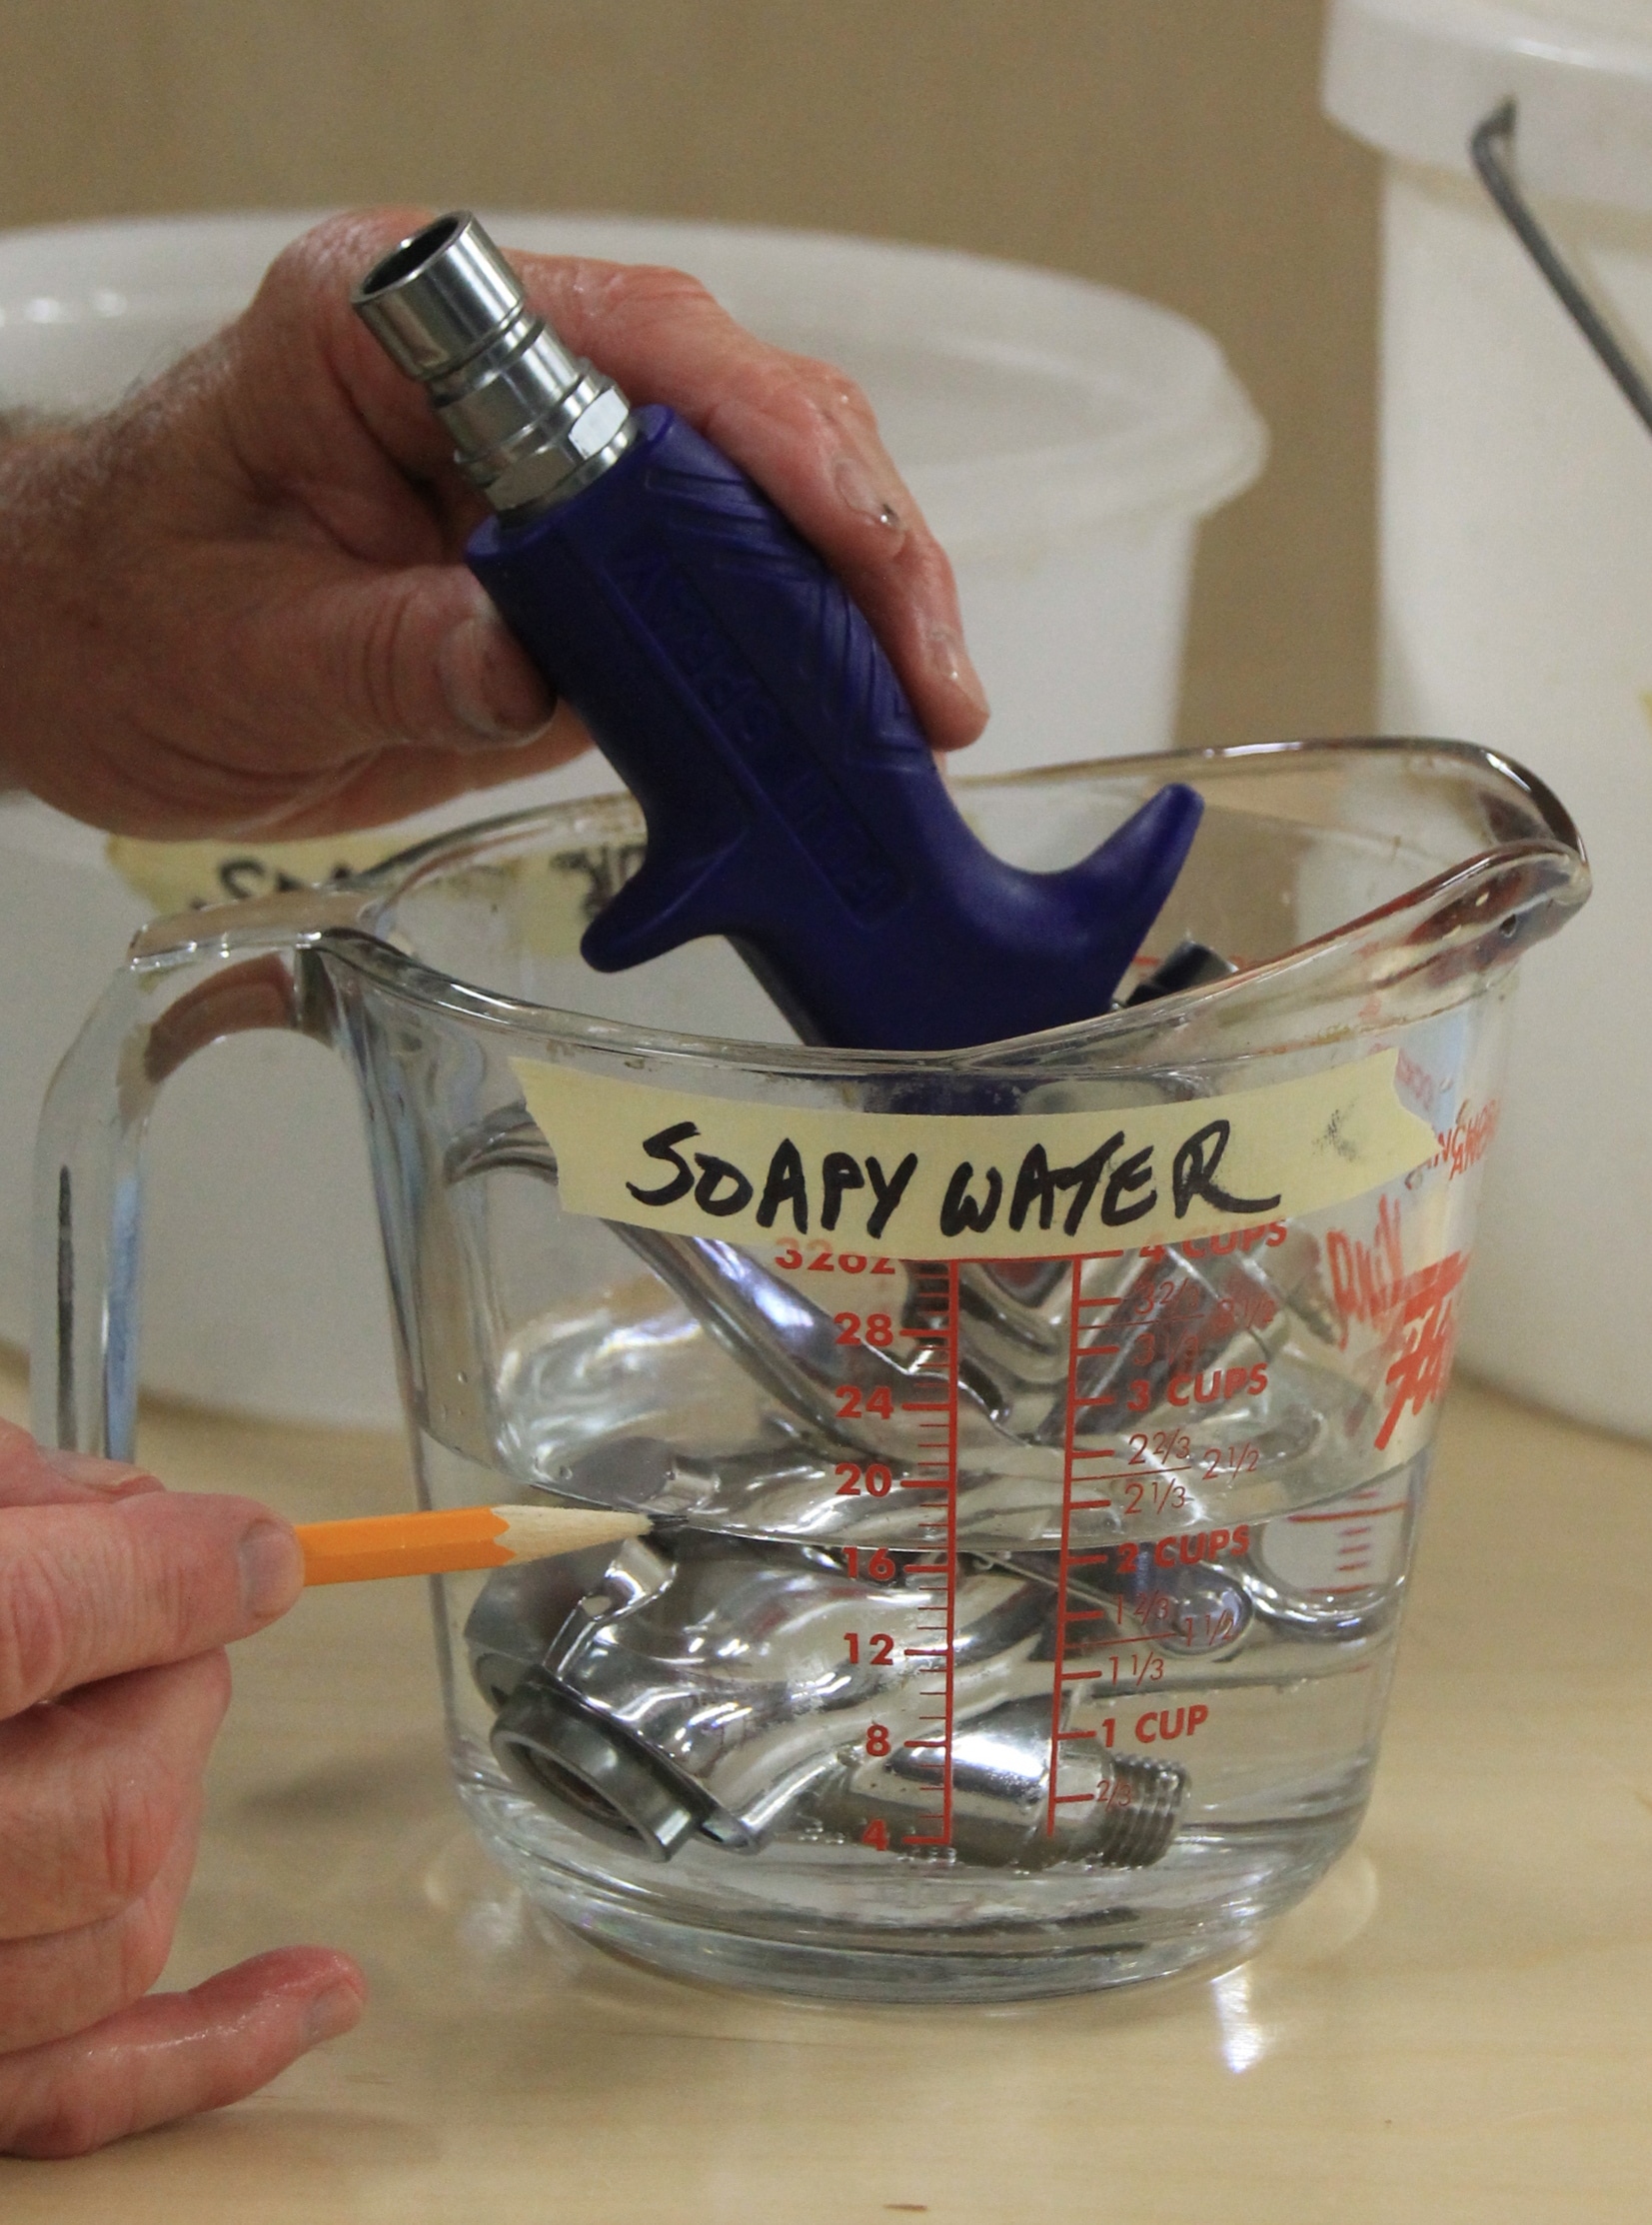
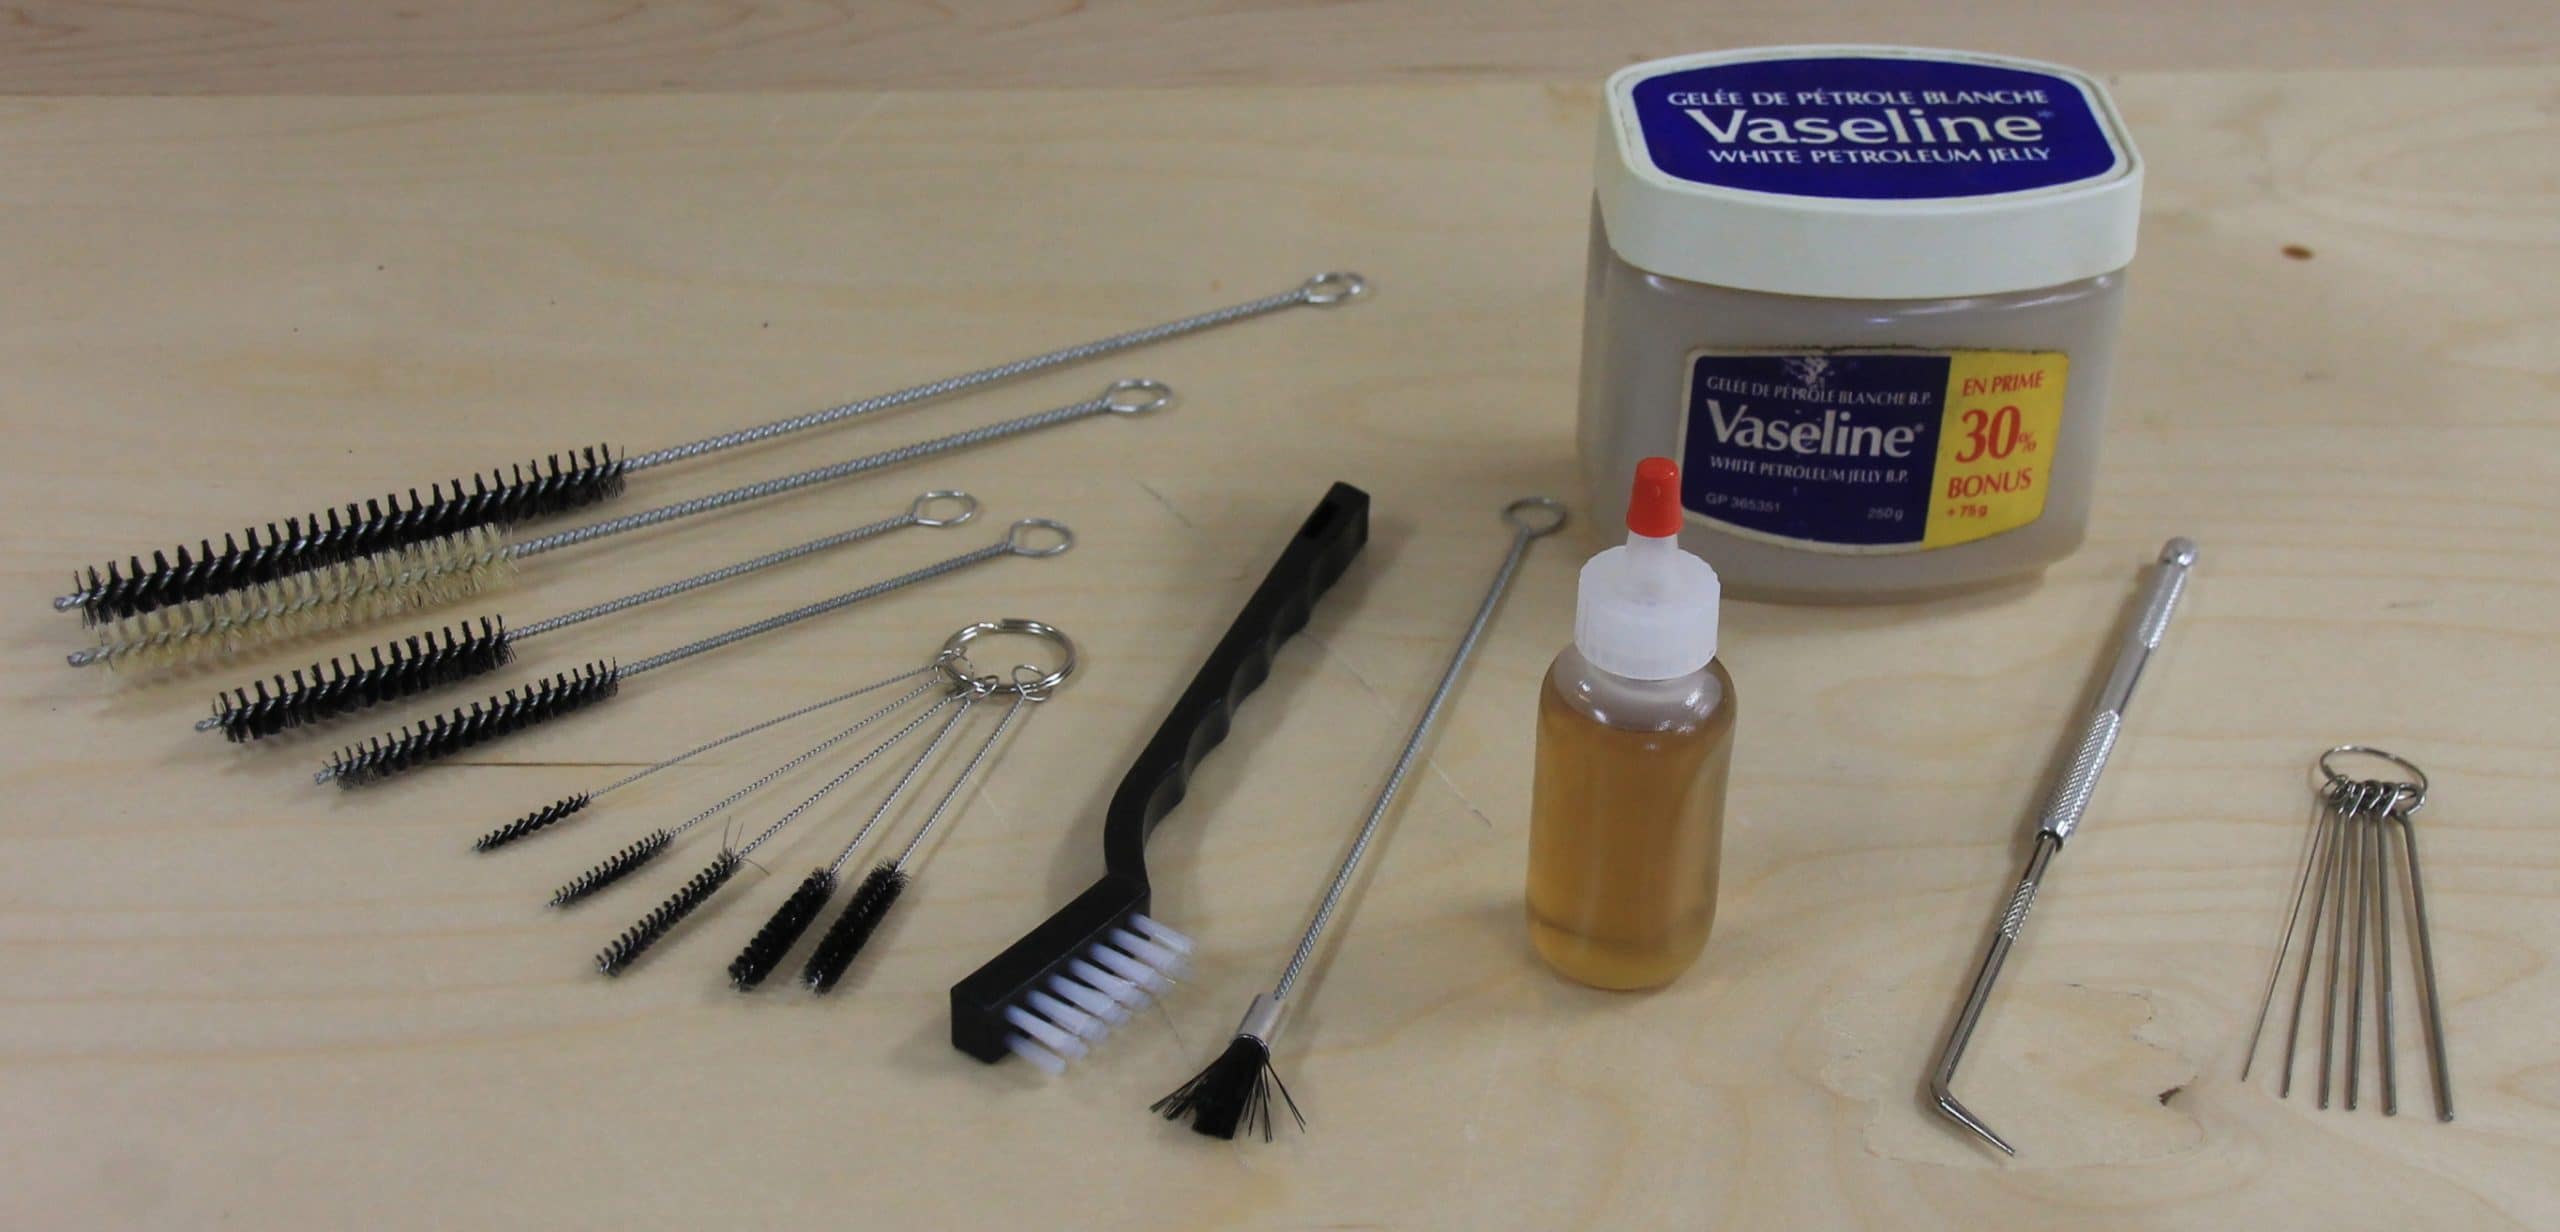
h. Using appropriate brushes, scrub all the separate parts which had been soaking – including the gun body.
i. Once they are clean – inside and out – rinse them with clean solvent. Again, for water-based finishes, this will be tap water.
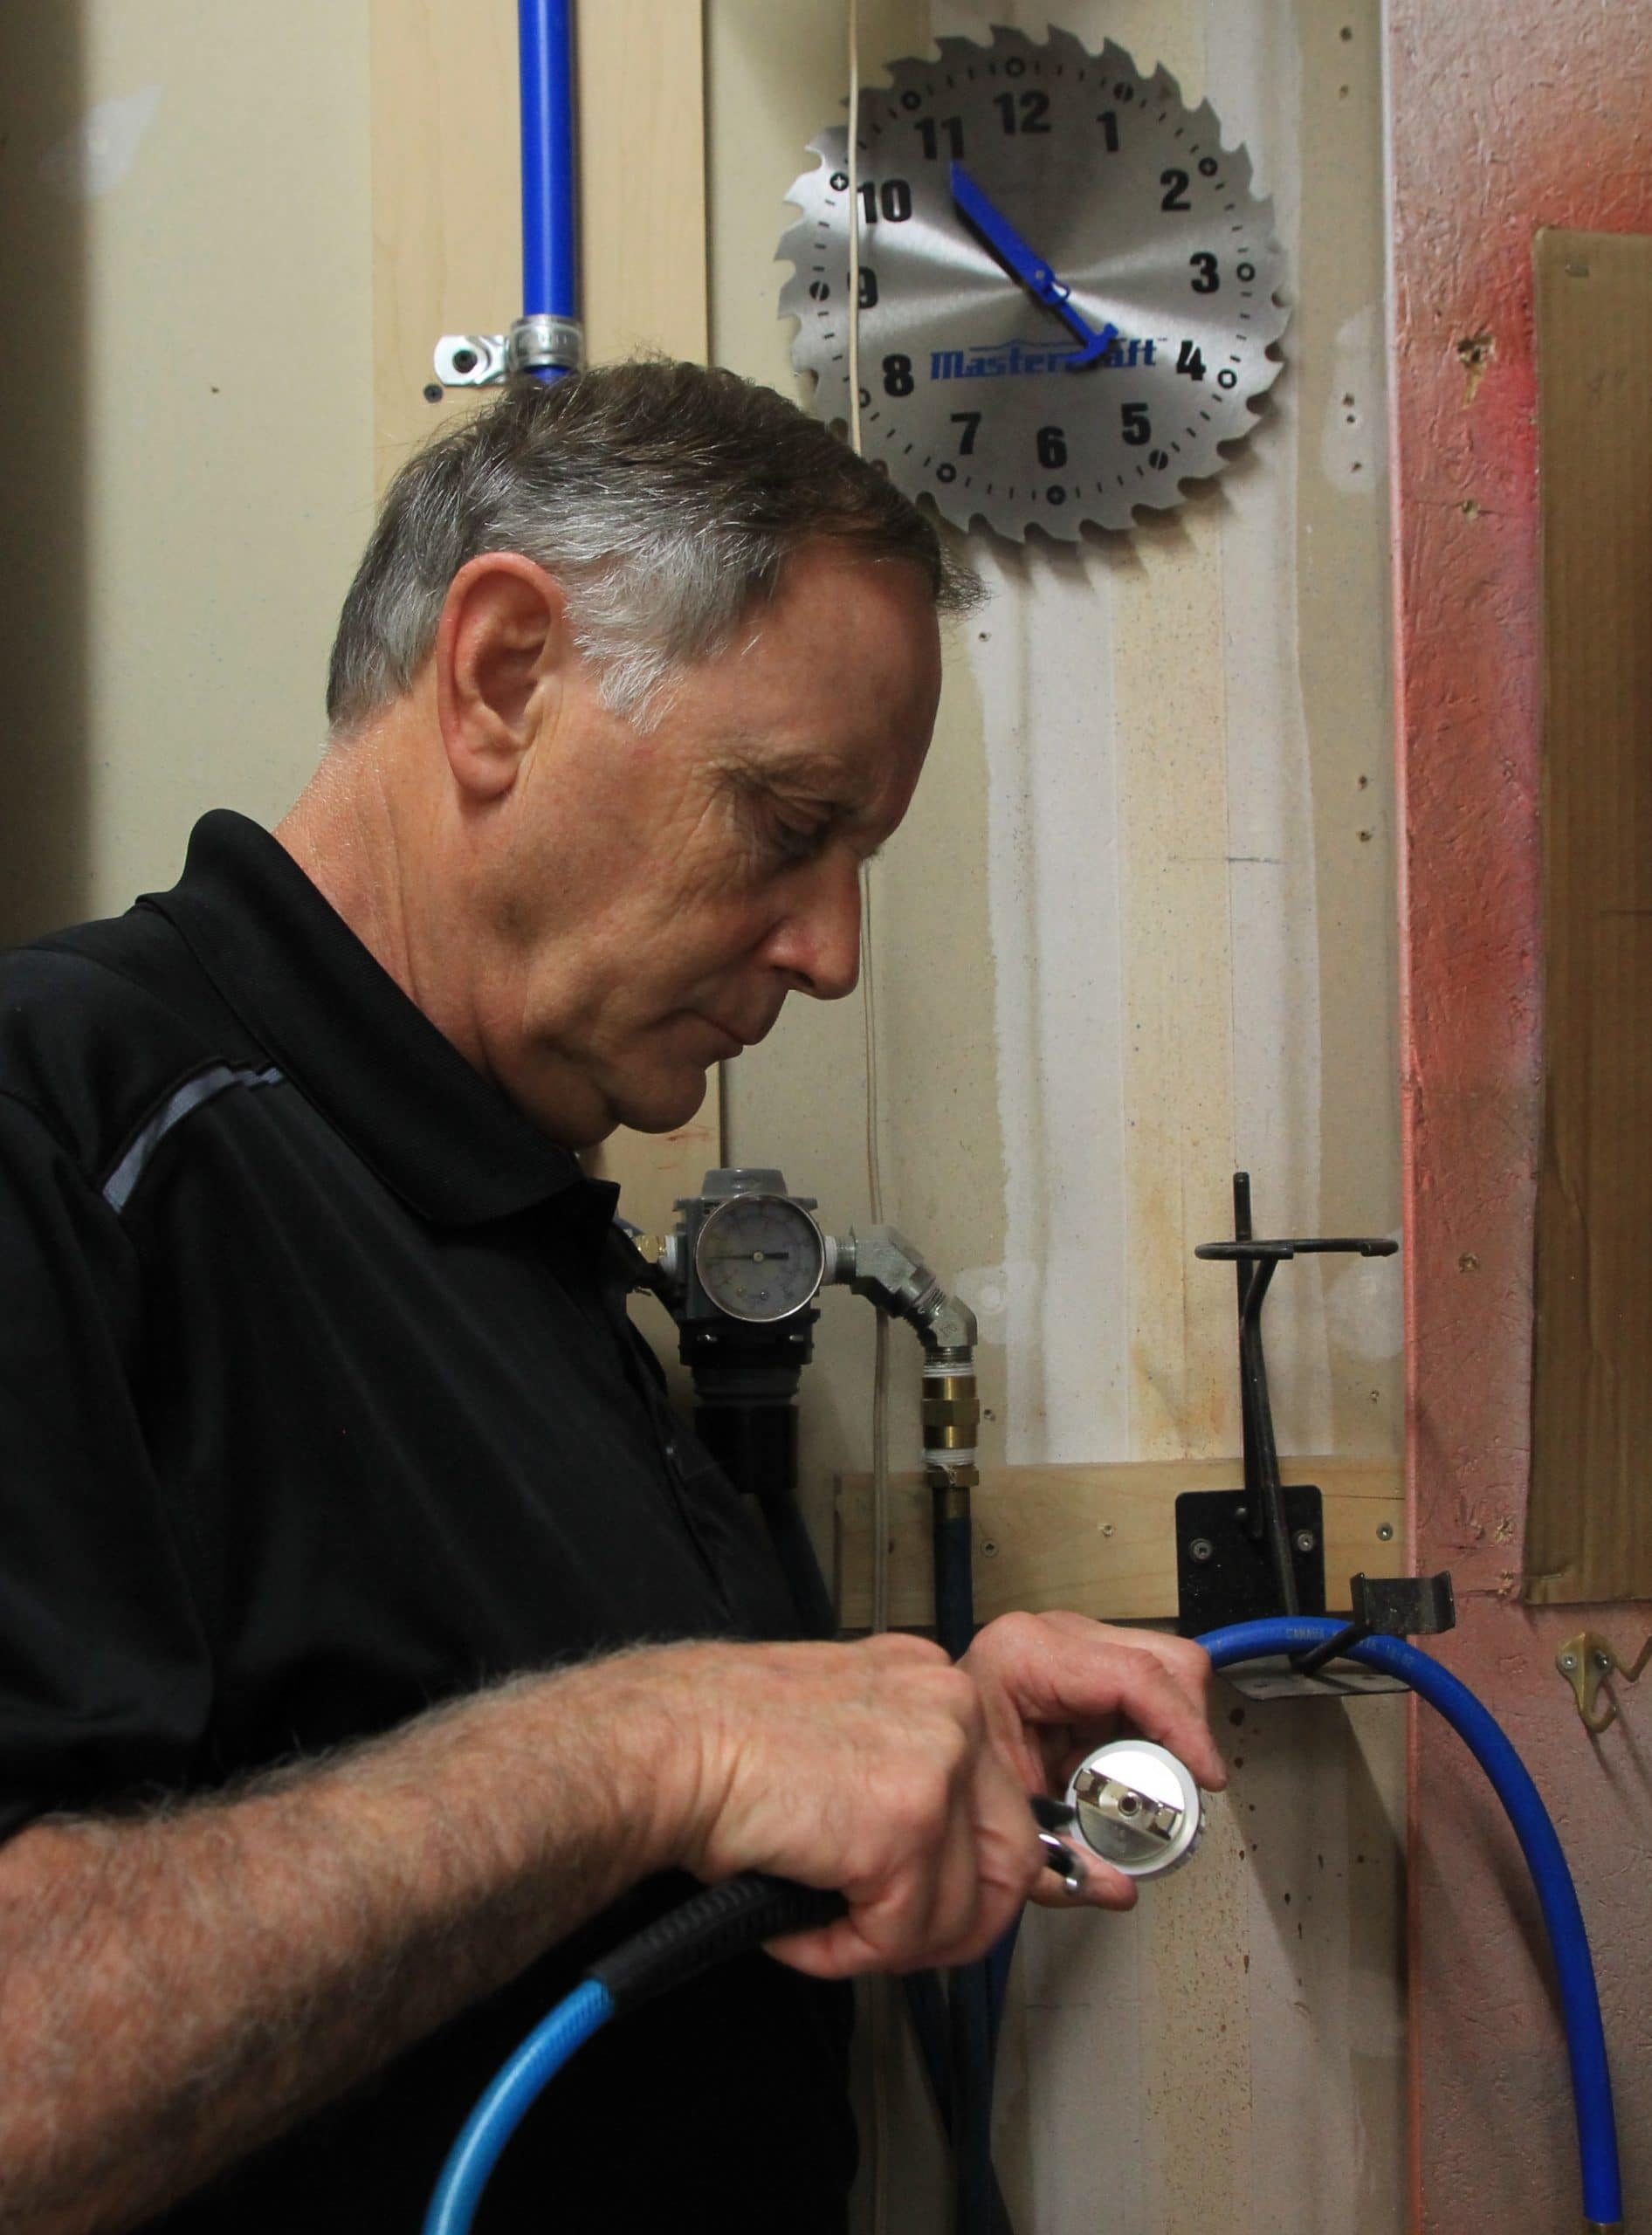
j. Dry the gun body and other parts thoroughly. You may use your turbine or low-pressure compressed air for this.
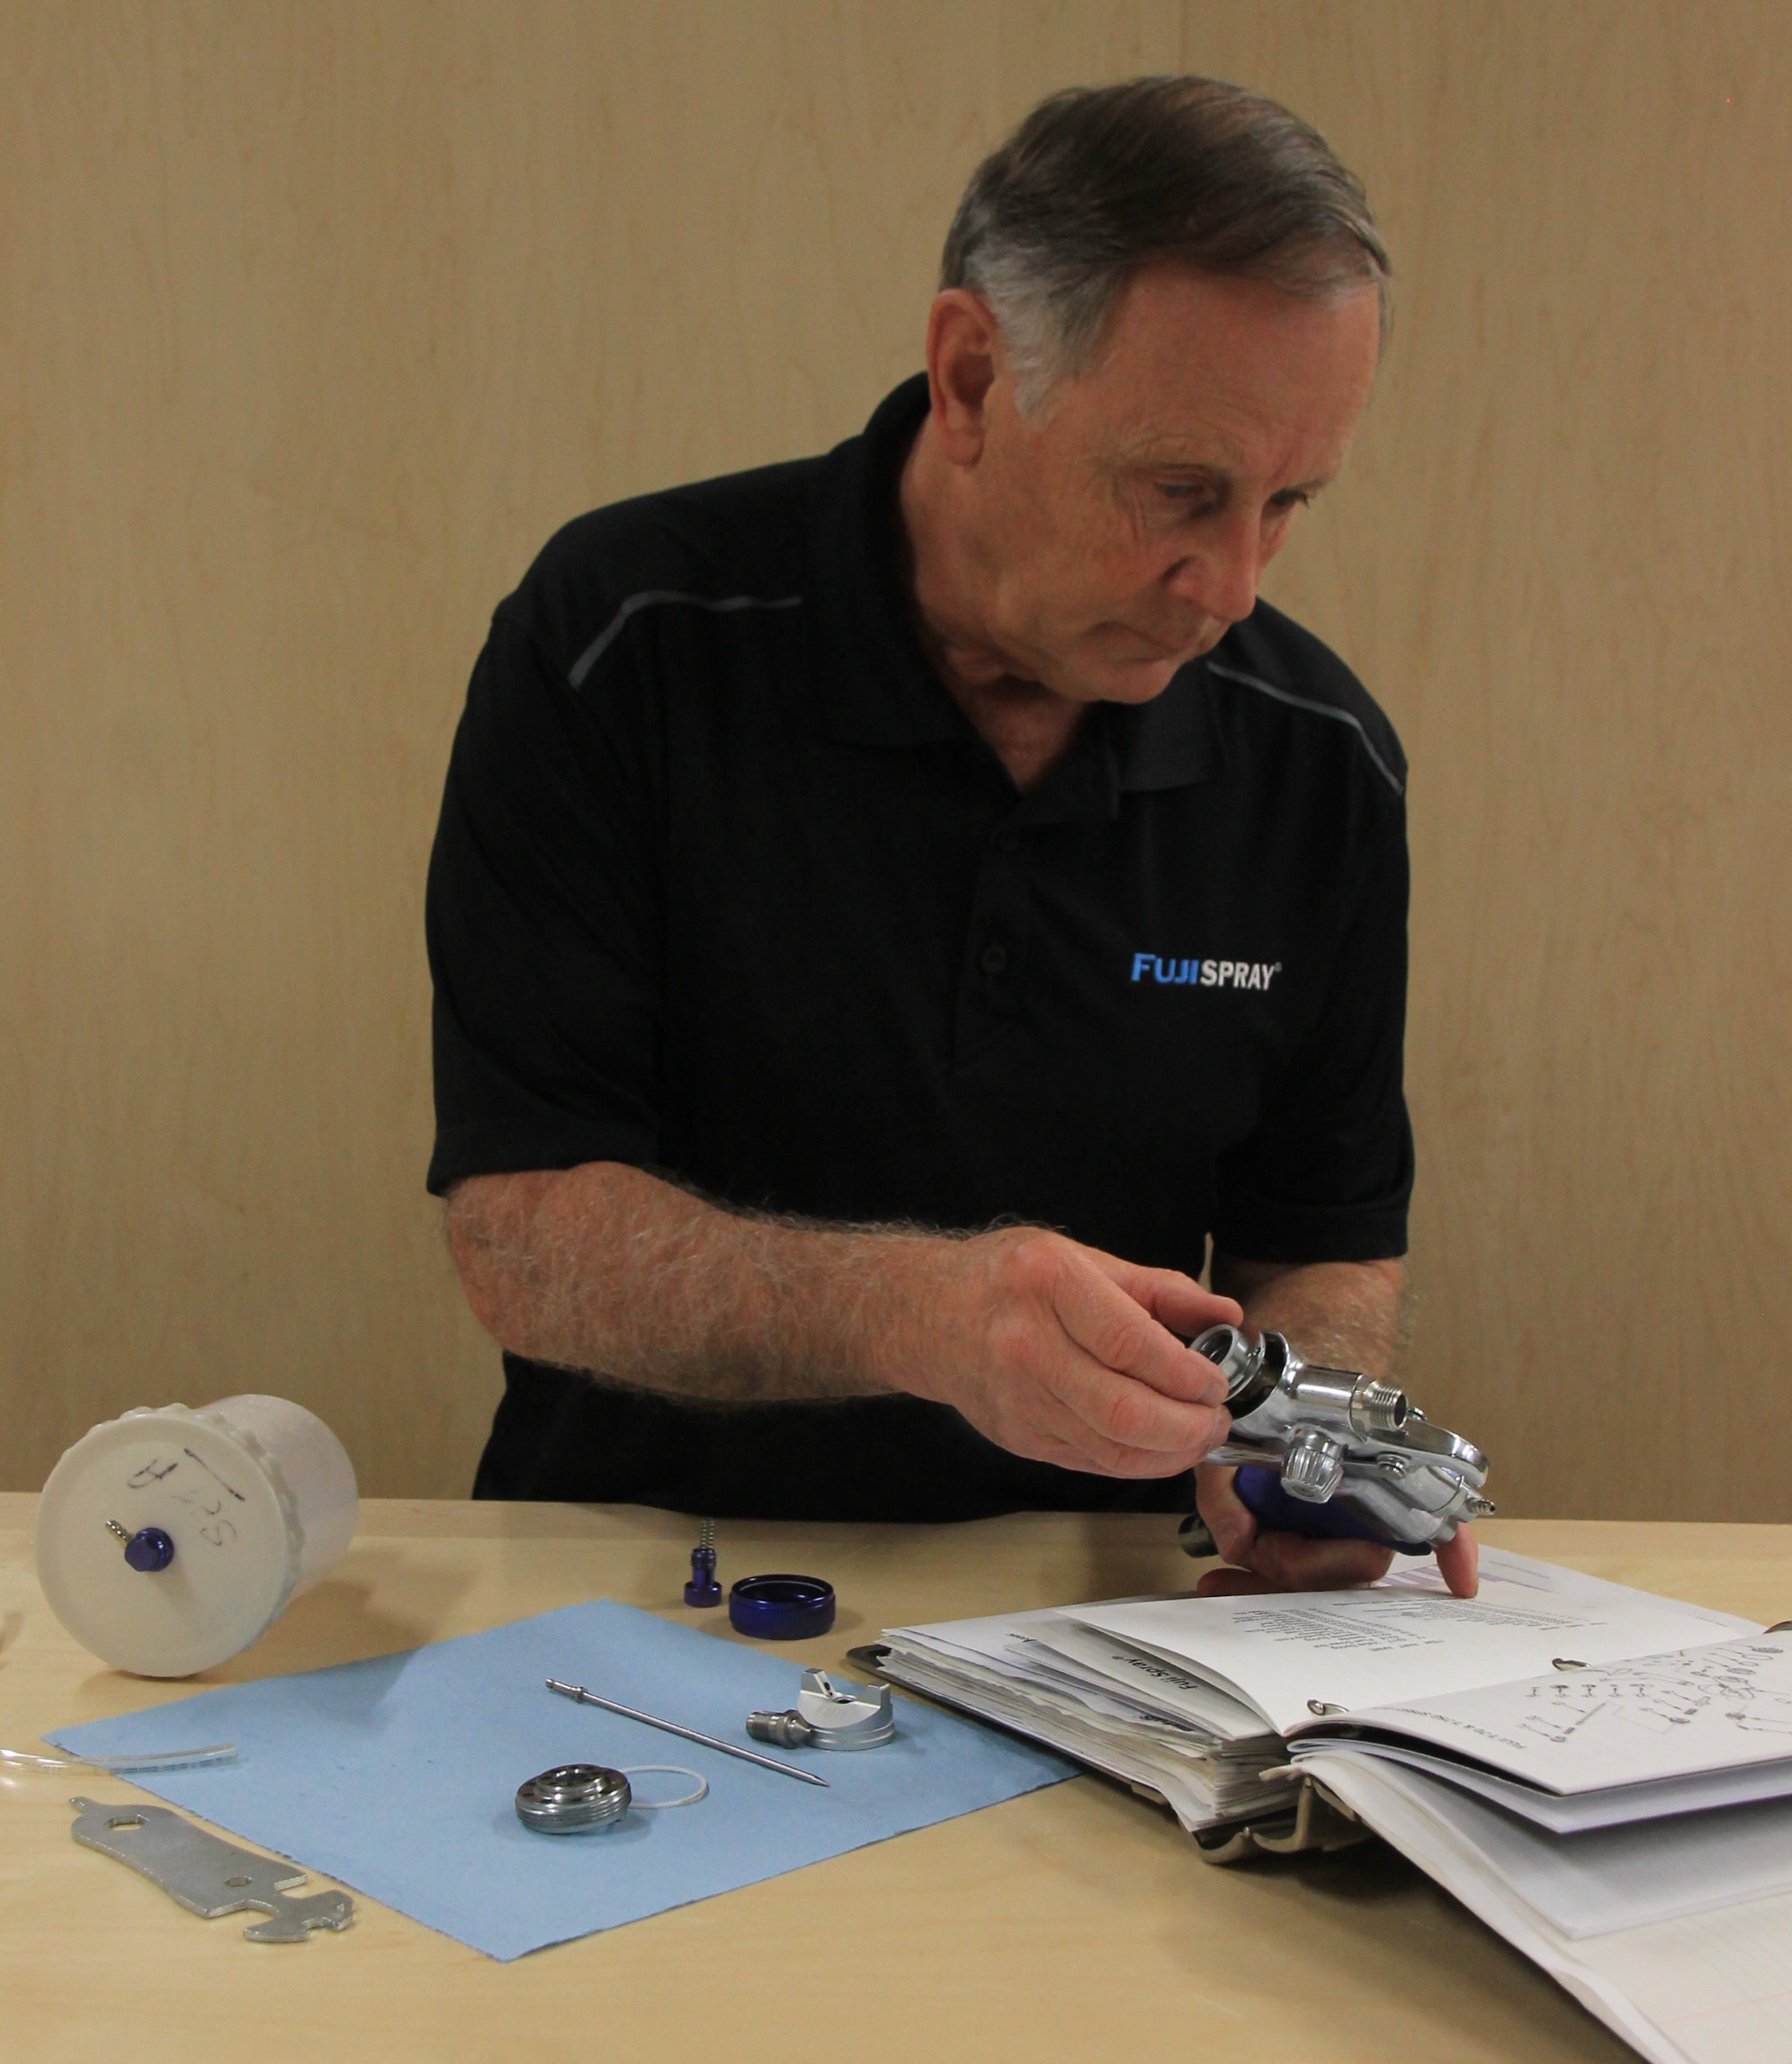
k. Following the instructions in the manual, reassemble the spray gun.
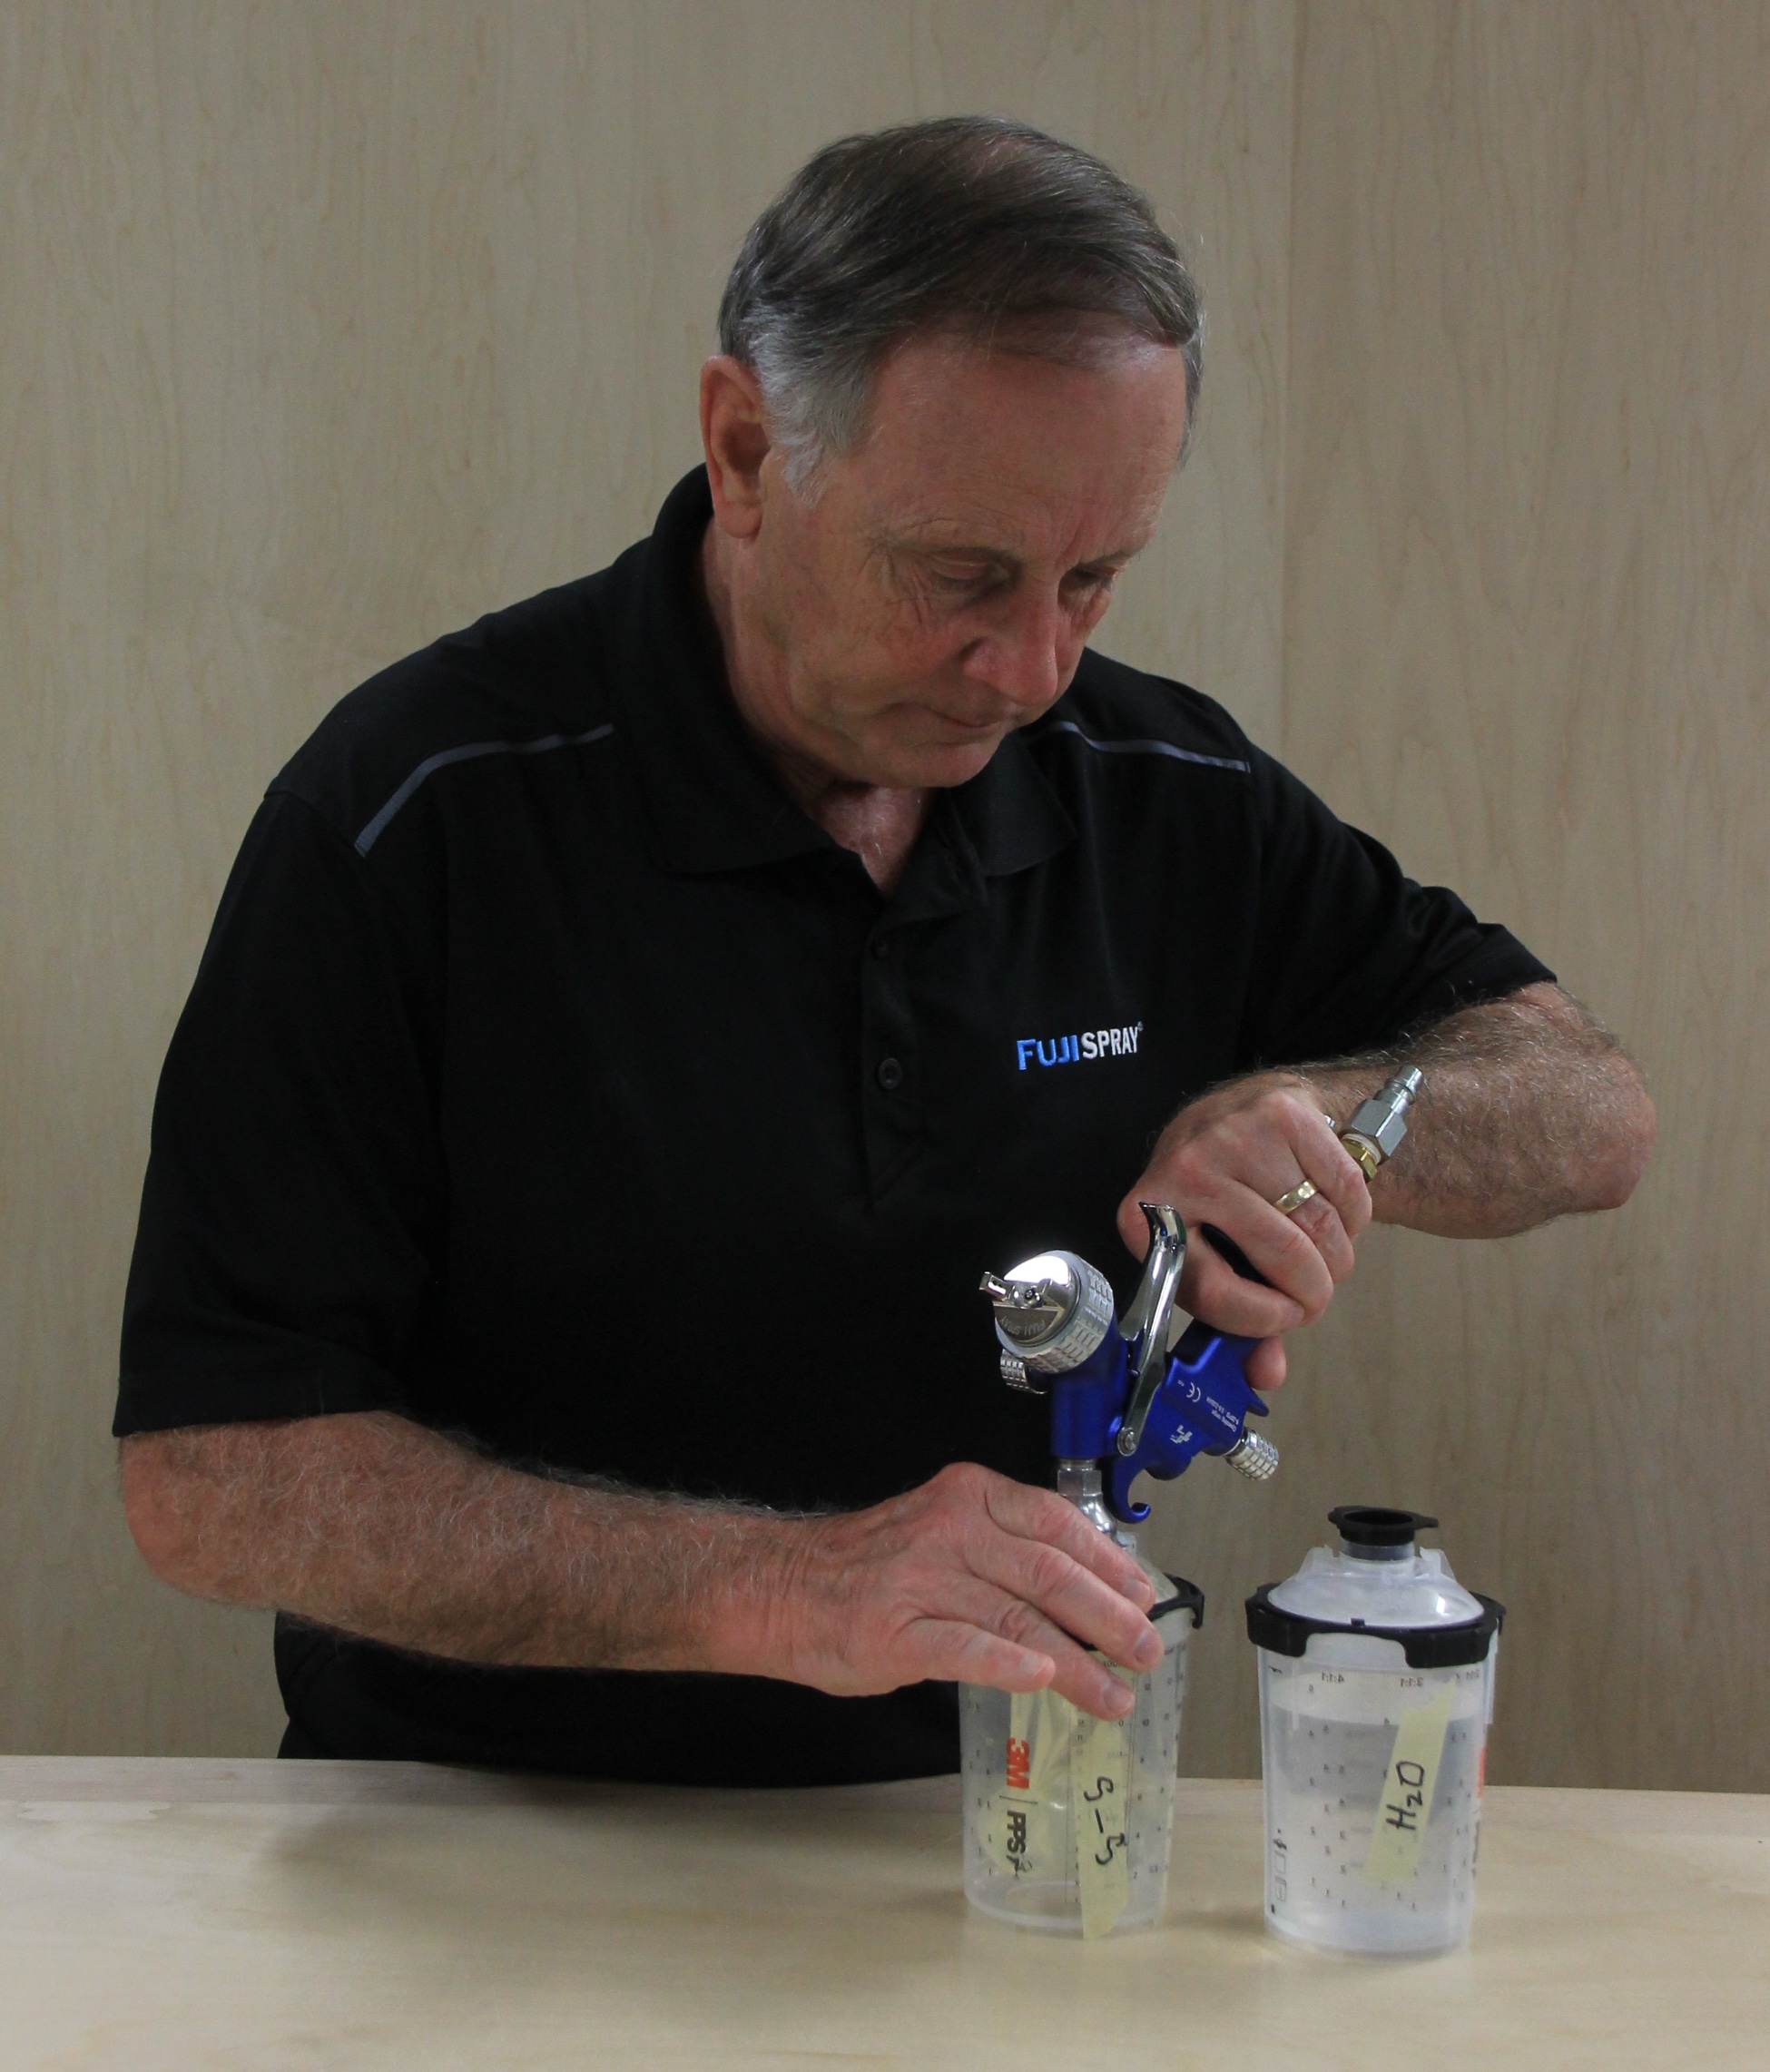
Level 3
A quick flush of the fluid passages with denatured alcohol. This only takes a few minutes. Note that this level is only required when changing your spray gun over to a different finish base (e.g. from spraying water-based finish to oil-based finish, or visa-versa.)
a. Perform the Level 1 steps, only this time use denatured alcohol as the solvent.
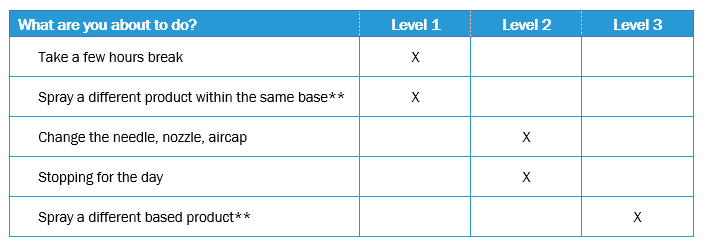
When is Cleaning Necessary? The following chart shows when to perform these cleaning levels:
Solvents
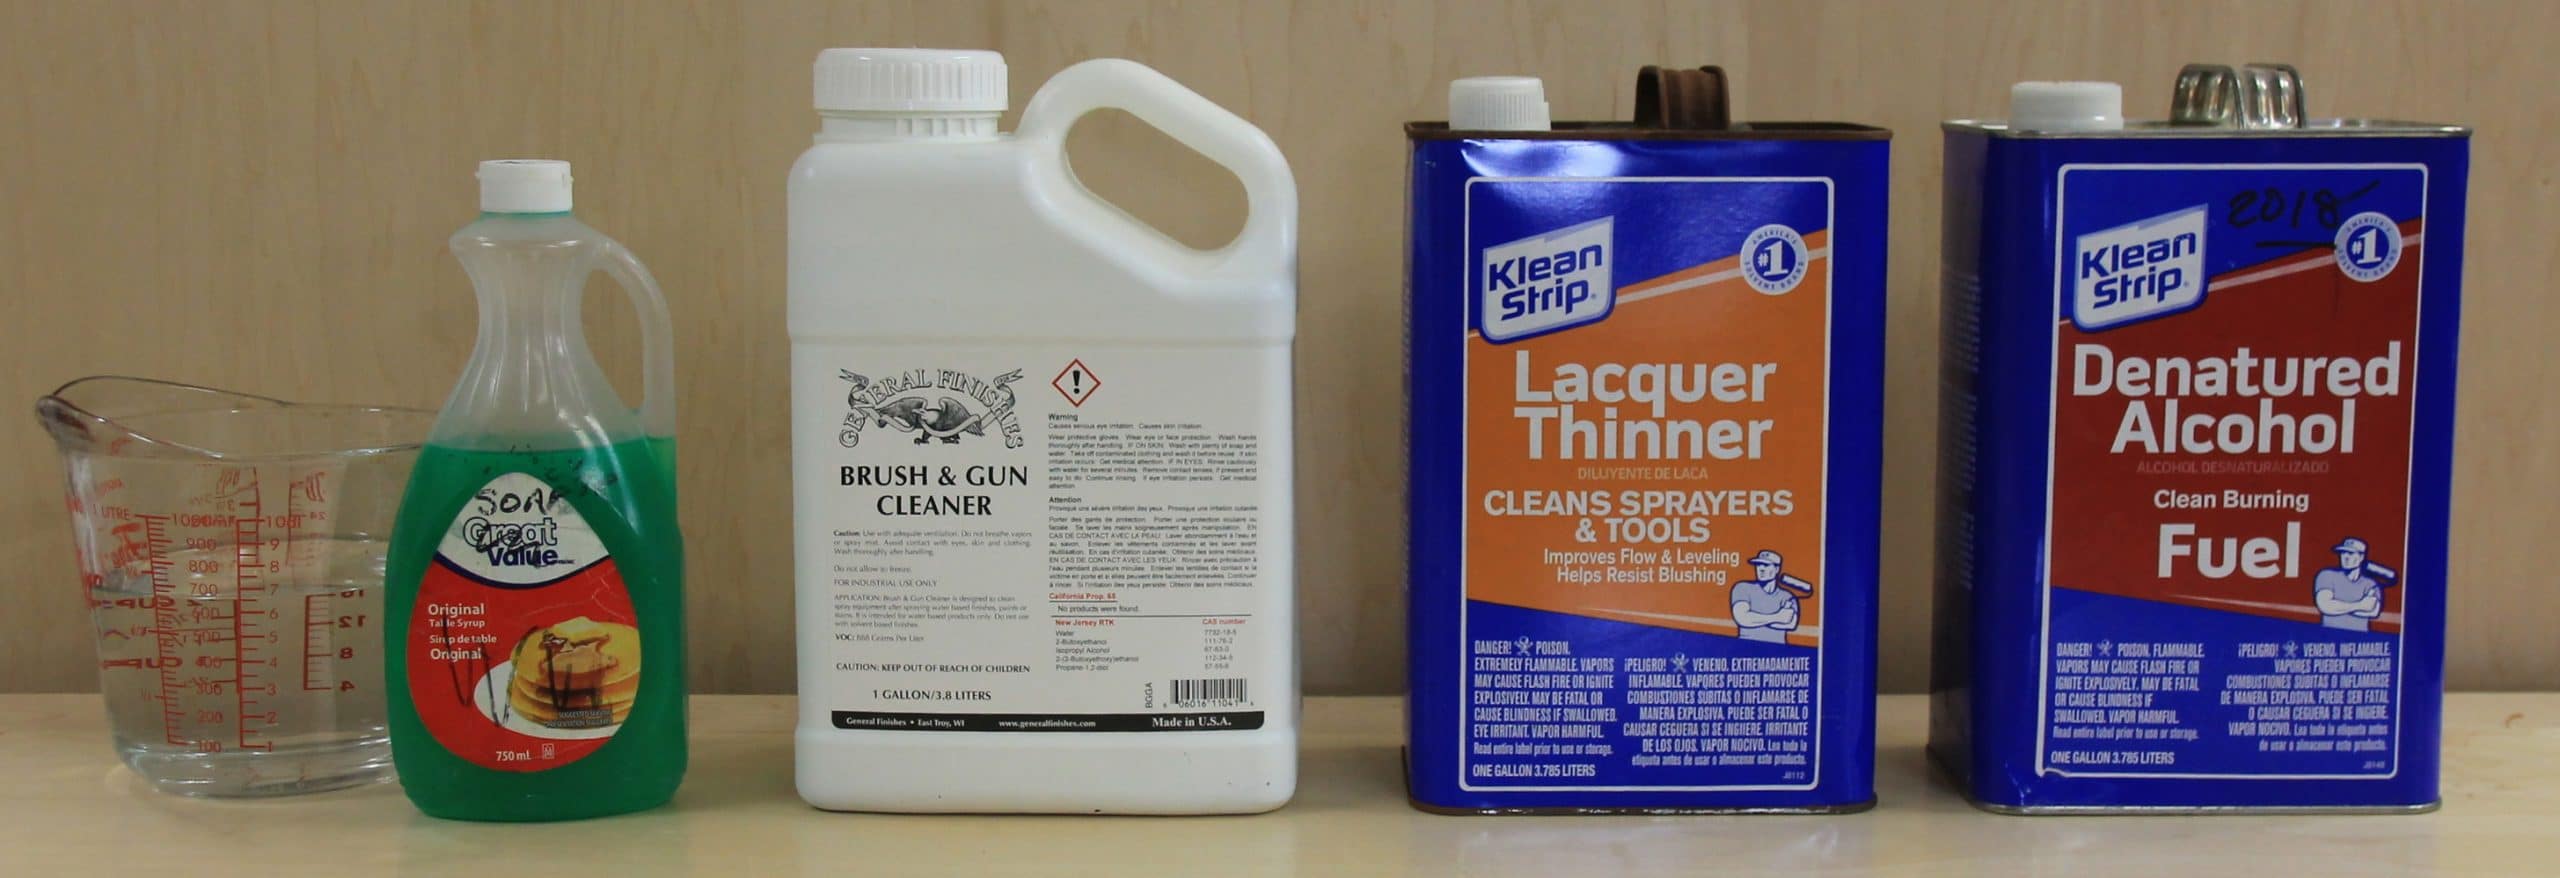
Now that you know when to clean your spray gun, as well as just how simple and quick it is, I’d like to pass along my tried-and-true rules on the use of cleaning solvents:
Rule 1. Use the least toxic solvent to get the job done. Using water-based finishes as an example, I start with a warm (not hot) plain tap water wash, to which a few drops per litre of liquid dish-washing soap are added. (Yes, water is technically a solvent). If this doesn’t do the trick, I move up to a water-soluble gun and brush cleaner. Then, if that product isn’t aggressive enough, only then will I use lacquer thinner. In all cases ensure you protect your eyes, lungs and skin appropriately.
Rule 2. Solvents (other than water) can be reused several times before they need to be discarded. Strain reusable solvent into an appropriate container, labeled with the product name and marked “Reusable”. Protect our environment by always properly disposing of non-reusable solvents.
Rule 3. If you need to use lacquer thinner, follow up by thoroughly rinsing with denatured alcohol.
Summary
I hope by now you’re convinced that by following my simple 1, 2 and 3 method of spray gun cleaning you’ll enjoy less downtime and save more of your time and hard-earned cash. More important, your equipment will perform at its optimum, allowing you to consistently move your finish quality to “Wow”.
I’m always interested in hearing from my readers, so please let me know if you have any questions or comments about this article. And watch for my follow-on article on how to lubricate your spray gun and maintain your turbine or air compressor. Take care!
– Marty Schlosser


