Seal Coats & Primers, Colorants and Topcoats II

Now that you’ve read Part 1 of this article, you hopefully have a good appreciation and understanding of seal coats & primers and have been introduced to colorants. In this second of the 2-part article on finishes I’ll pick up where we left off on stains. Oh, and for those of you who haven’t yet read Part 1, I’d suggest you do so before tackling this one.
How to Apply Stain
The two stain types each have their own idiosyncrasies when it comes to application:
Dye Stain
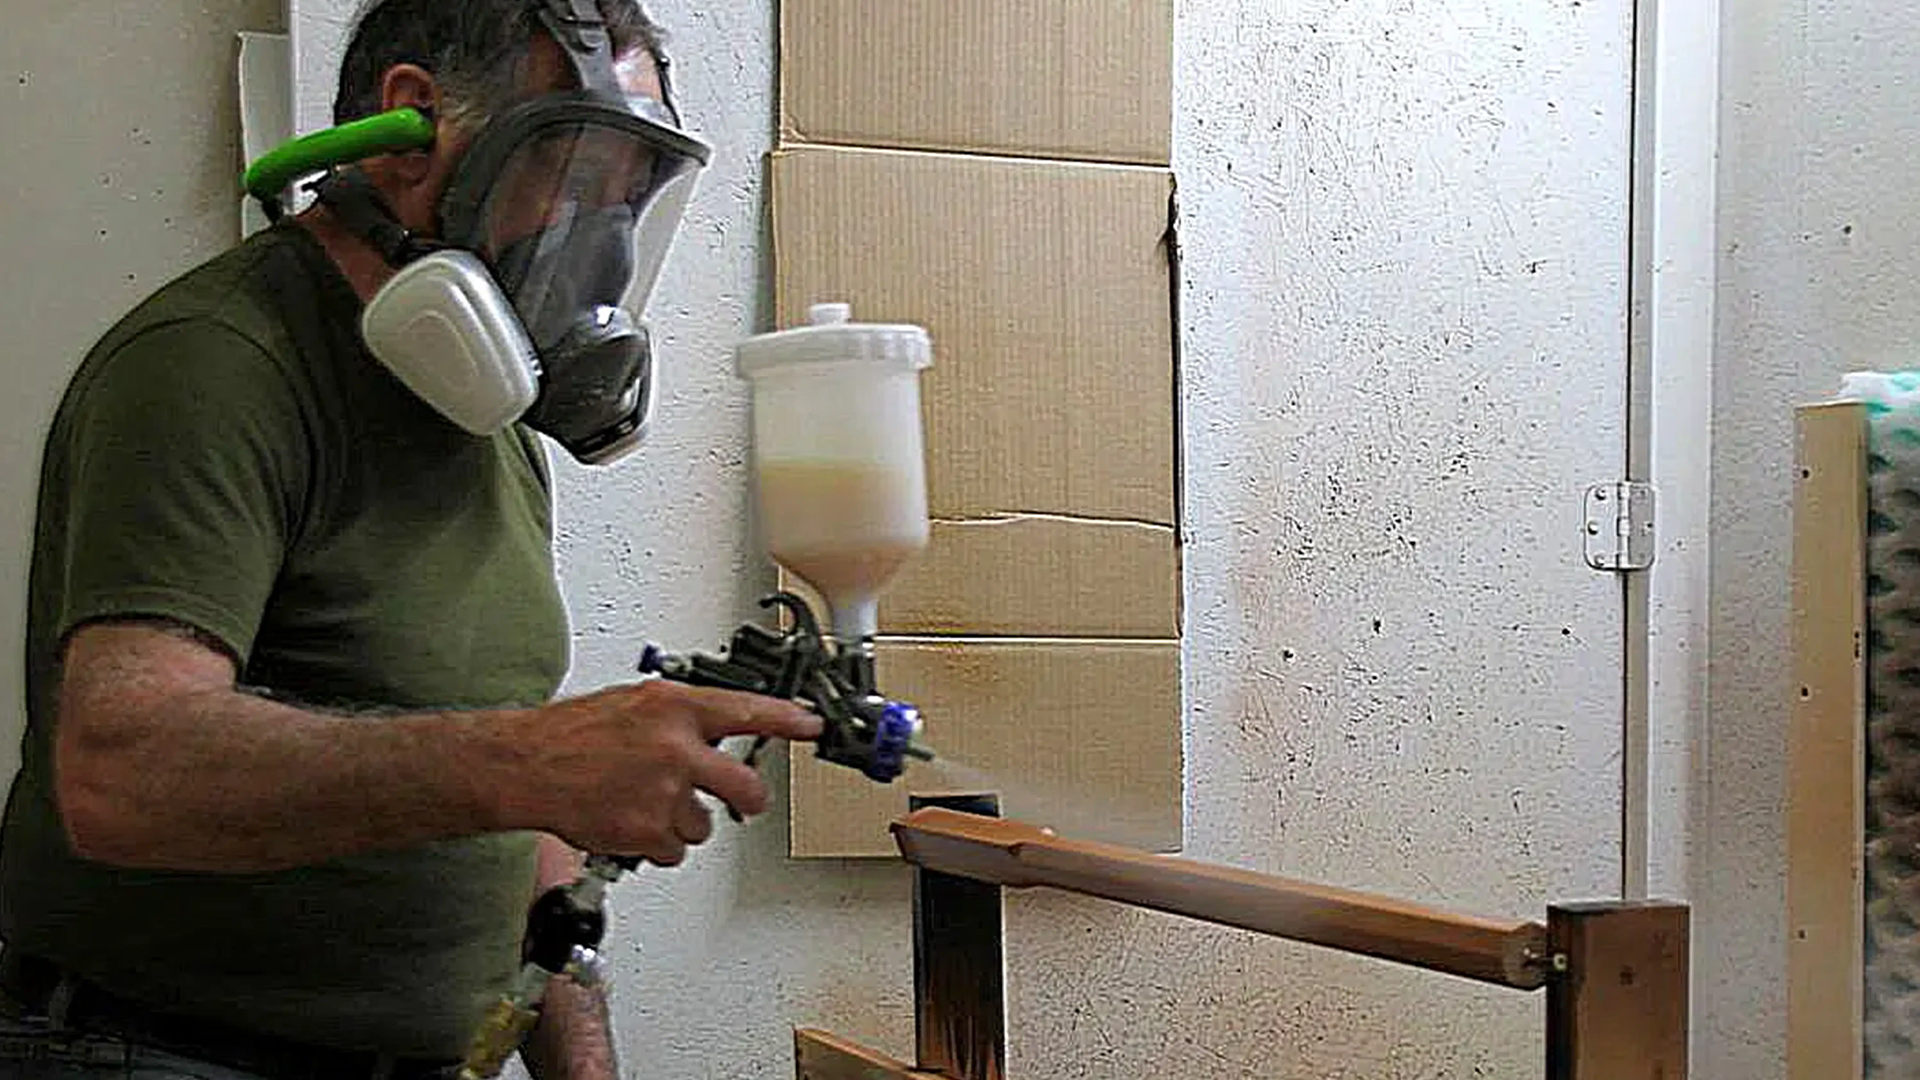
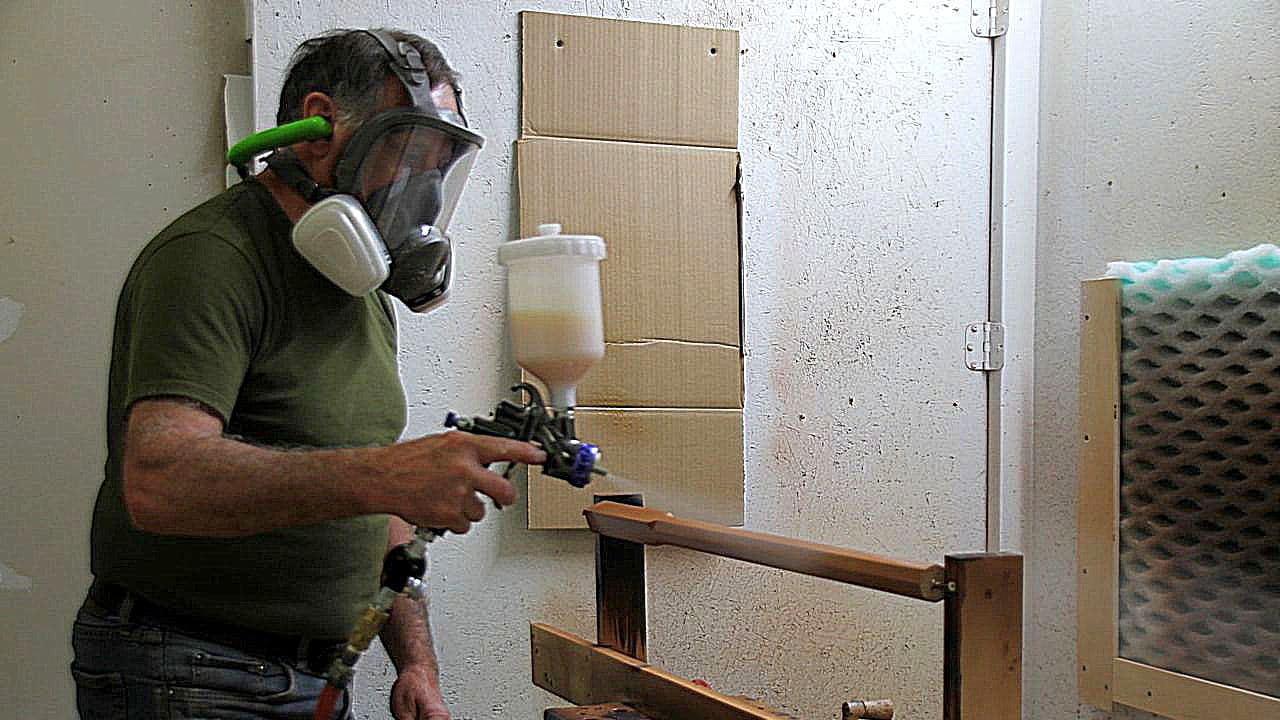
- In most cases, dye stain is liberally applied to the bare wood, either by hand (rag or brush), or sprayed. For spraying with HVLP guns (turbine or air compressor systems) I use either a .8mm or 1.0mm needle/nozzle and air cap set. I use a 1.0mm set with mid-pressure guns. Once applied and depending on the effect you’re after and the degree of penetration, any stain that doesn’t quickly soak into the wood is usually wiped away with a rag. And don’t forget that because dye stains contain no binder, they can be layered to achieve innumerable shades and tones; let your artistic side take command!
Pigmented Stain
- Although pigmented stains can be applied either by hand or spray systems (using the same needle/nozzle and air cap sets as per dye stain), you should always wipe off any excess stain. For that reason, they are often referred to as wiping stains. And I would caution you against applying more than one coat of pigmented stain to a piece – and in all cases never more than two coats – because pigmented stains don’t contain the right type of binder to bond very well to previous pigmented stain coats. But like everything in the world of finishes, there are exceptions, so when selecting a pigmented stain, read the manufacturer’s supplied information carefully to ensure you know what application procedures and performance to expect. And one final note: if you’re staining a blotch-prone wood (e.g., maple,cherry, pine…) first apply a seal coat (see the section on Seal Coats & Primers) to help control blotching.
Paint
Let’s now take a look at the final colorant: paint, and most specifically, water-based paint. (I won’t be discussing oil-based paints as they are no longer widely available on the consumer market due primarily to environmental concerns.) At the sake of over-simplifying things, here’s what you need to know about this unique family of colorants:
- Not all water-based paints (or what most refer to as latex) are created equal. Most standard quality interior wall paint uses less expensive formulations than those designed for furniture and cabinets, simply because the wear and tear walls receive will be that much less. So if you’re planning to use latex paint for coloring cabinetry or furniture, make sure the paint is formulated specifically for that application… and expect to pay accordingly.
- One of the wonderful characteristics of latex paint is that it is designed to be completely opaque. But if you wish to have a semi-transparent finish, heavily thinned latex can do the trick. Now how’s that for flexibility?
- Pigmented Water-based Finishes. In addition to using latex paint for coloring fine furniture and cabinets, you could consider its cousin, pigmented lacquers or polyurethanes. These products have an advantage over latex because they are self-protecting and unless you need to adjust the sheen, require no additional top coating.

How to Apply Latex Paint and Pigmented Lacquer or Polyurethane
These two paint types are both applied in much the same manner:
- Apply a Primer. To enhance bonding of the product to the bare wood, first apply a primer (see the section on Primers and Seal Coats).
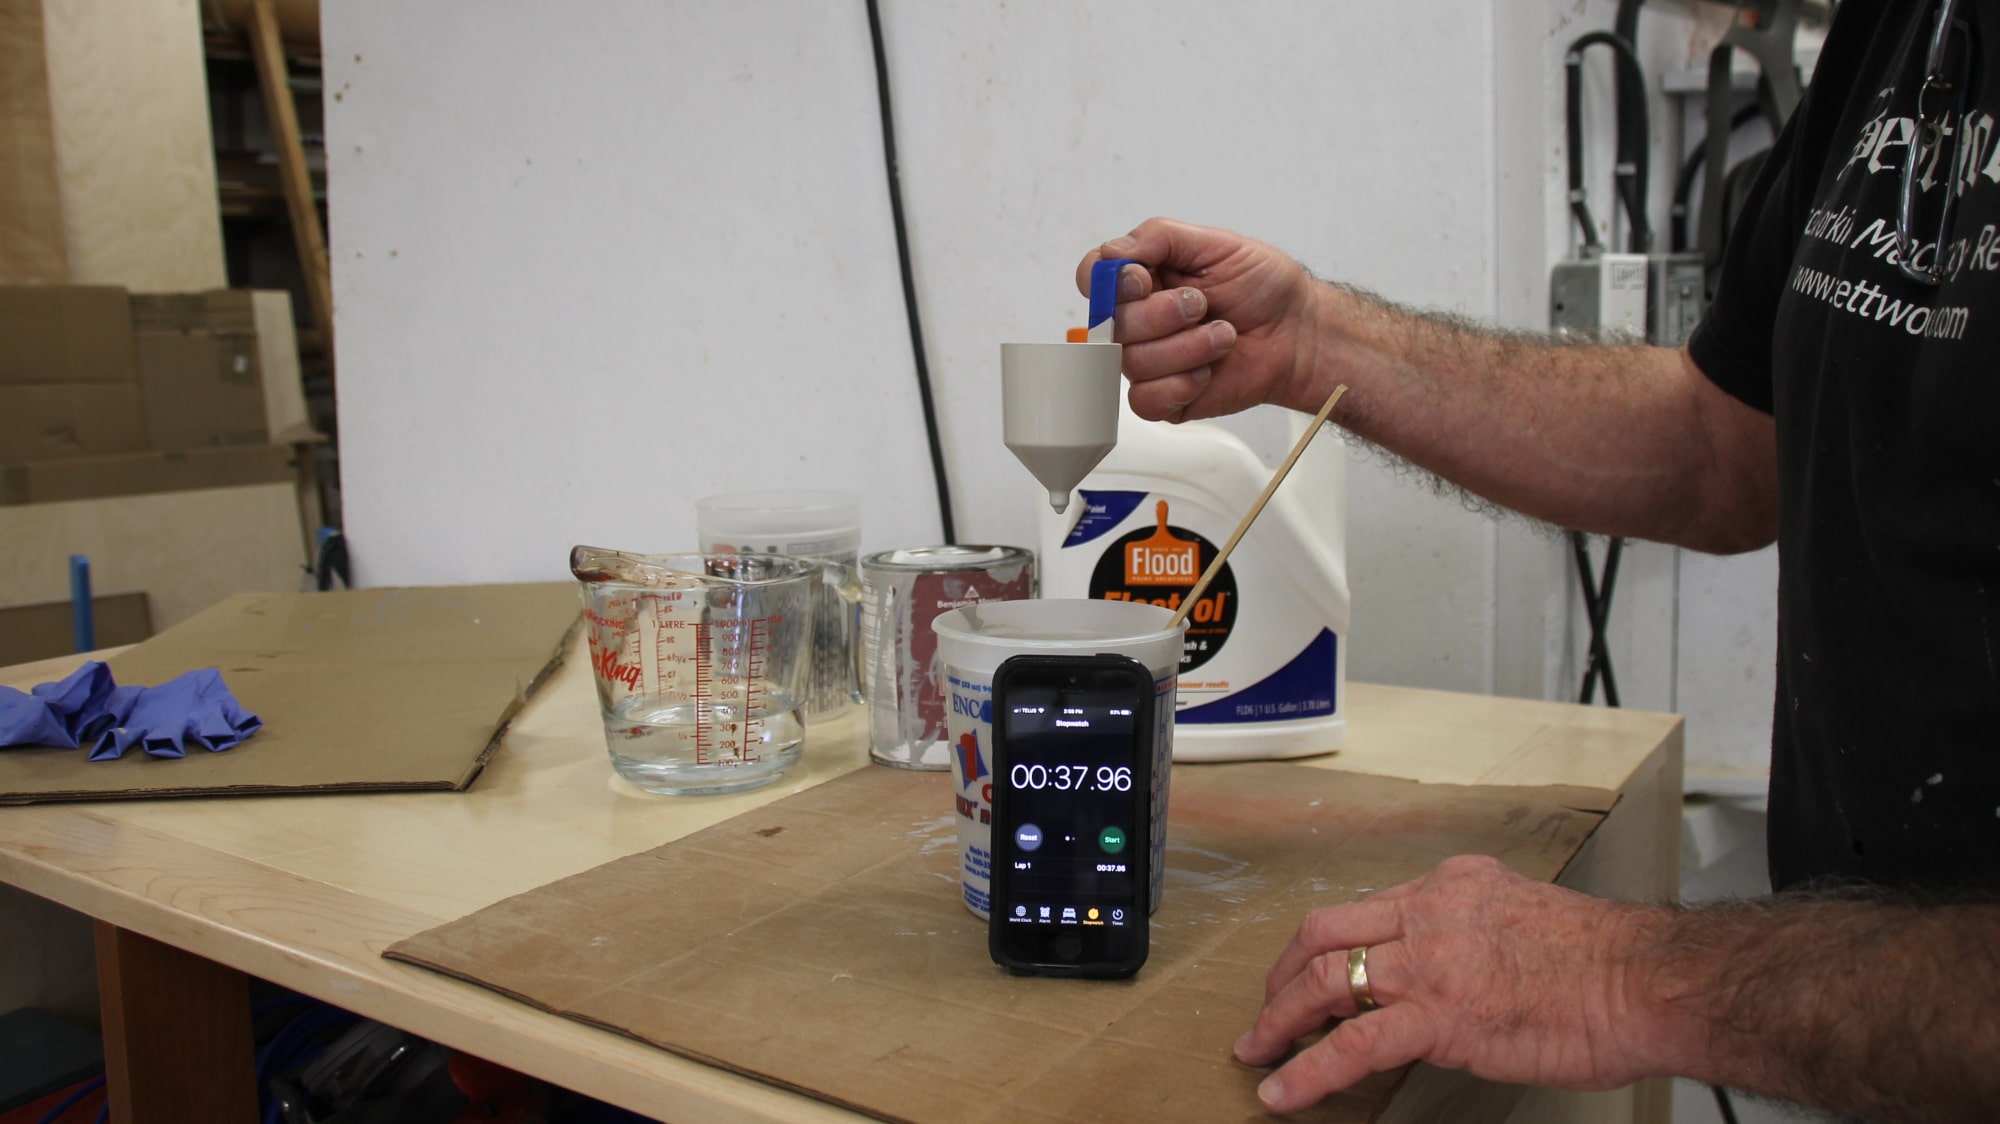
- Proper Viscosity Essential. Because many of these products are highly viscous (read: “thick”), to be sprayed they may require thinning. As a rule, aim to have your finish thinned with tap water (bottled water if your tap water contains unusually high percentages of minerals or iron) to around 40 seconds measured with a Ford 4 viscosity cup. With most latex paints that is achieved by a 6:1:1 ratio of paint to water to Floetrol (which I find “stiffens” the paint to reduce runs). For pigmented lacquers or polyurethanes everything I’ve mentioned above applies, except that you should leave out the Floetrol and such additives. The amount of thinning required also depends to a large extent on the amount of air pressure your system can generate. Generally speaking, a 5-stage turbine unit requires approximately 10% less thinning than a 3-stage unit. And for air compressor gun users, a mid-pressure spray gun will usually require 10% less thinning than an HVLP spray gun. Regardless, in all cases, thin only as little as possible.
- Recommended Needle/Nozzle/Air cap Set. I usually recommend all HVLP guns be outfitted with a 1.8 or 2.0mm needle/nozzle/air cap set, and a 2.0 or 2.2mm set for mid-pressure guns.
- Wet Film Thickness & Number of Coats. As is the case with all finishes, you will need to know and follow the manufacturer’s recommended wet film thickness. (If you don’t have a wet film gauge, I’d strongly recommend you get one and learn how to use it). Because most latex paint is called to be sprayed 4 – 5mils wet per coat, a trick I use to achieve this is to set the fan width slightly narrower than for most other finishes (i.e., those which require 3 mils wet coats) but proceed at the same speed and overlay each pass by 50% as you traditionally would. For pigmented lacquers or polyurethanes, which usually call for a 3mil wet coat, maintain a standard fan width. It goes without saying that you also need to follow the finish manufacturer’s recommended drying time between coats, as well as their recommendation on the number of coats.
- Protection. Depending on the paint, a protective topcoat (see the section on Topcoats) may be necessary. And should you need to adjust the sheen, a top coat is the way to go.
Top Coats
These are the final, protective layers of finish to be applied. Also known as film finishes, once cured they form an extremely durable and protective coating, of the desired thickness. They are considered the most protective finish available today. And each different type brings something different to the table because of their own formulation.
You may recall me mentioning at the beginning of my article, that naming conventions don’t seem to be standardized in the finishing industry. Unfortunately, it is in the area of top coats that most of the confusion exists. With that in mind, I will endeavour to use the most broadly accepted terminology in vogue today.
Let’s look now at the three different topcoats in use today: lacquer, urethane and varnish.
Lacquer
This has to be one of the simplest and most flexible topcoats every formulated, and therefore the first one I’ll introduce. Lacquer can be used as the protective covering for many of the finishing products already described: seal coats, stain and paint. You will find it used on all sorts of cabinetry because it’s a durable product very well suited to vertical surfaces (think: kitchen and bathroom cabinets). How about guitars? Yep, lacquer is very commonly used for them, too. Here’s some things to understand.
-
- Lacquer with the catalyst (an additive to control the curing process) pre-mixed at the factory is known as “pre-cat” lacquer. As you may have guessed, “post-cat” lacquer requires the user to mix in the catalyst at time of use. All water-based lacquers are pre-cats.
- Many of today’s lacquers “melt into” (the industry term is: burn-in) preceding coats, forming one, unified coat rather than requiring sanding between coats to ensure proper bonding. Be sure to read the manufacturer’s product info to see if their product provides this important feature.
- And please don’t confuse catalysts with other additives such as those which impart special cross-linking characteristics, as they’re a whole different kettle of fish.
Urethane
Today’s urethanes are among the most durable of topcoats. Polycarbonate urethanes, a variant of urethanes, provide even higher durability. These particular urethanes are engineered for exterior applications, where superior UV protection is a requirement, and that is what really makes them unique among topcoats.
Varnish
These topcoats are formulated to provide exceptional durability and protection beyond that which lacquers and varathanes provide. Two noteworthy variants stand out, the first being a water-based alkyd resin varnish, which I admire for the warm tone it imparts. And the other variant, conversion varnish, has been receiving increased interest among finishers for its more exceptional surface hardness, water and chemical resistance – which may be fortified even further by adding cross-linkers at the time of use. I will use these on projects such as bar tops or coffee tables (think: grand-children proofing!) where extreme durability and chemical resistance is required.
(Note that some manufacturers’ fortifying additives are so highly toxic that special personal protective measures, including the use of positive ventilation masking, is an absolute necessity. You are urged to carefully review manufacturers’ product information before using such products).
I’m hoping my two-part article has given you a much better appreciation of the various finishing products on the market today. Perhaps more important, I hope that I have encouraged you to reach outside of your finishing comfort zone to embrace all the products I’ve outlined here. Please let me know what you think of this topic and, as always, feel free to pose any questions you may have. All the best with your finishing projects!
– Marty Schlosser


