


Fuji Spray’s 2 Qt. Pressure Pot Backpack – A Winner!
For those of you working on big finishing jobs such a kitchen’s worth of cabinets or large boardroom or dining room tables, you’ve most likely started using a pressure pot. And for those who aren’t familiar with pressure pots, I’ll give you two reasons for their popularity:
- Speed. A pressure pot’s reservoir holds much more finish than the cup mounted to your spray gun, meaning you won’t have to stop as frequently for refills.
- Comfort. The pressure pot’s reservoir – and not the spray gun itself – is holding the finish. I guarantee you that as you reach across that w-i-d-e tabletop or when deal with multiple cabinet doors and cabinet boxes, your arm muscles will thank you.
I’ve been using Fuji Spray’s new 2 Qt. pressure pot backpack in my shop for quite some time, and I’ve got to say that I’ve been very impressed. Follow along as we get into the nitty gritty, for as they say, the devil’s in the details.
Freedom of Movement
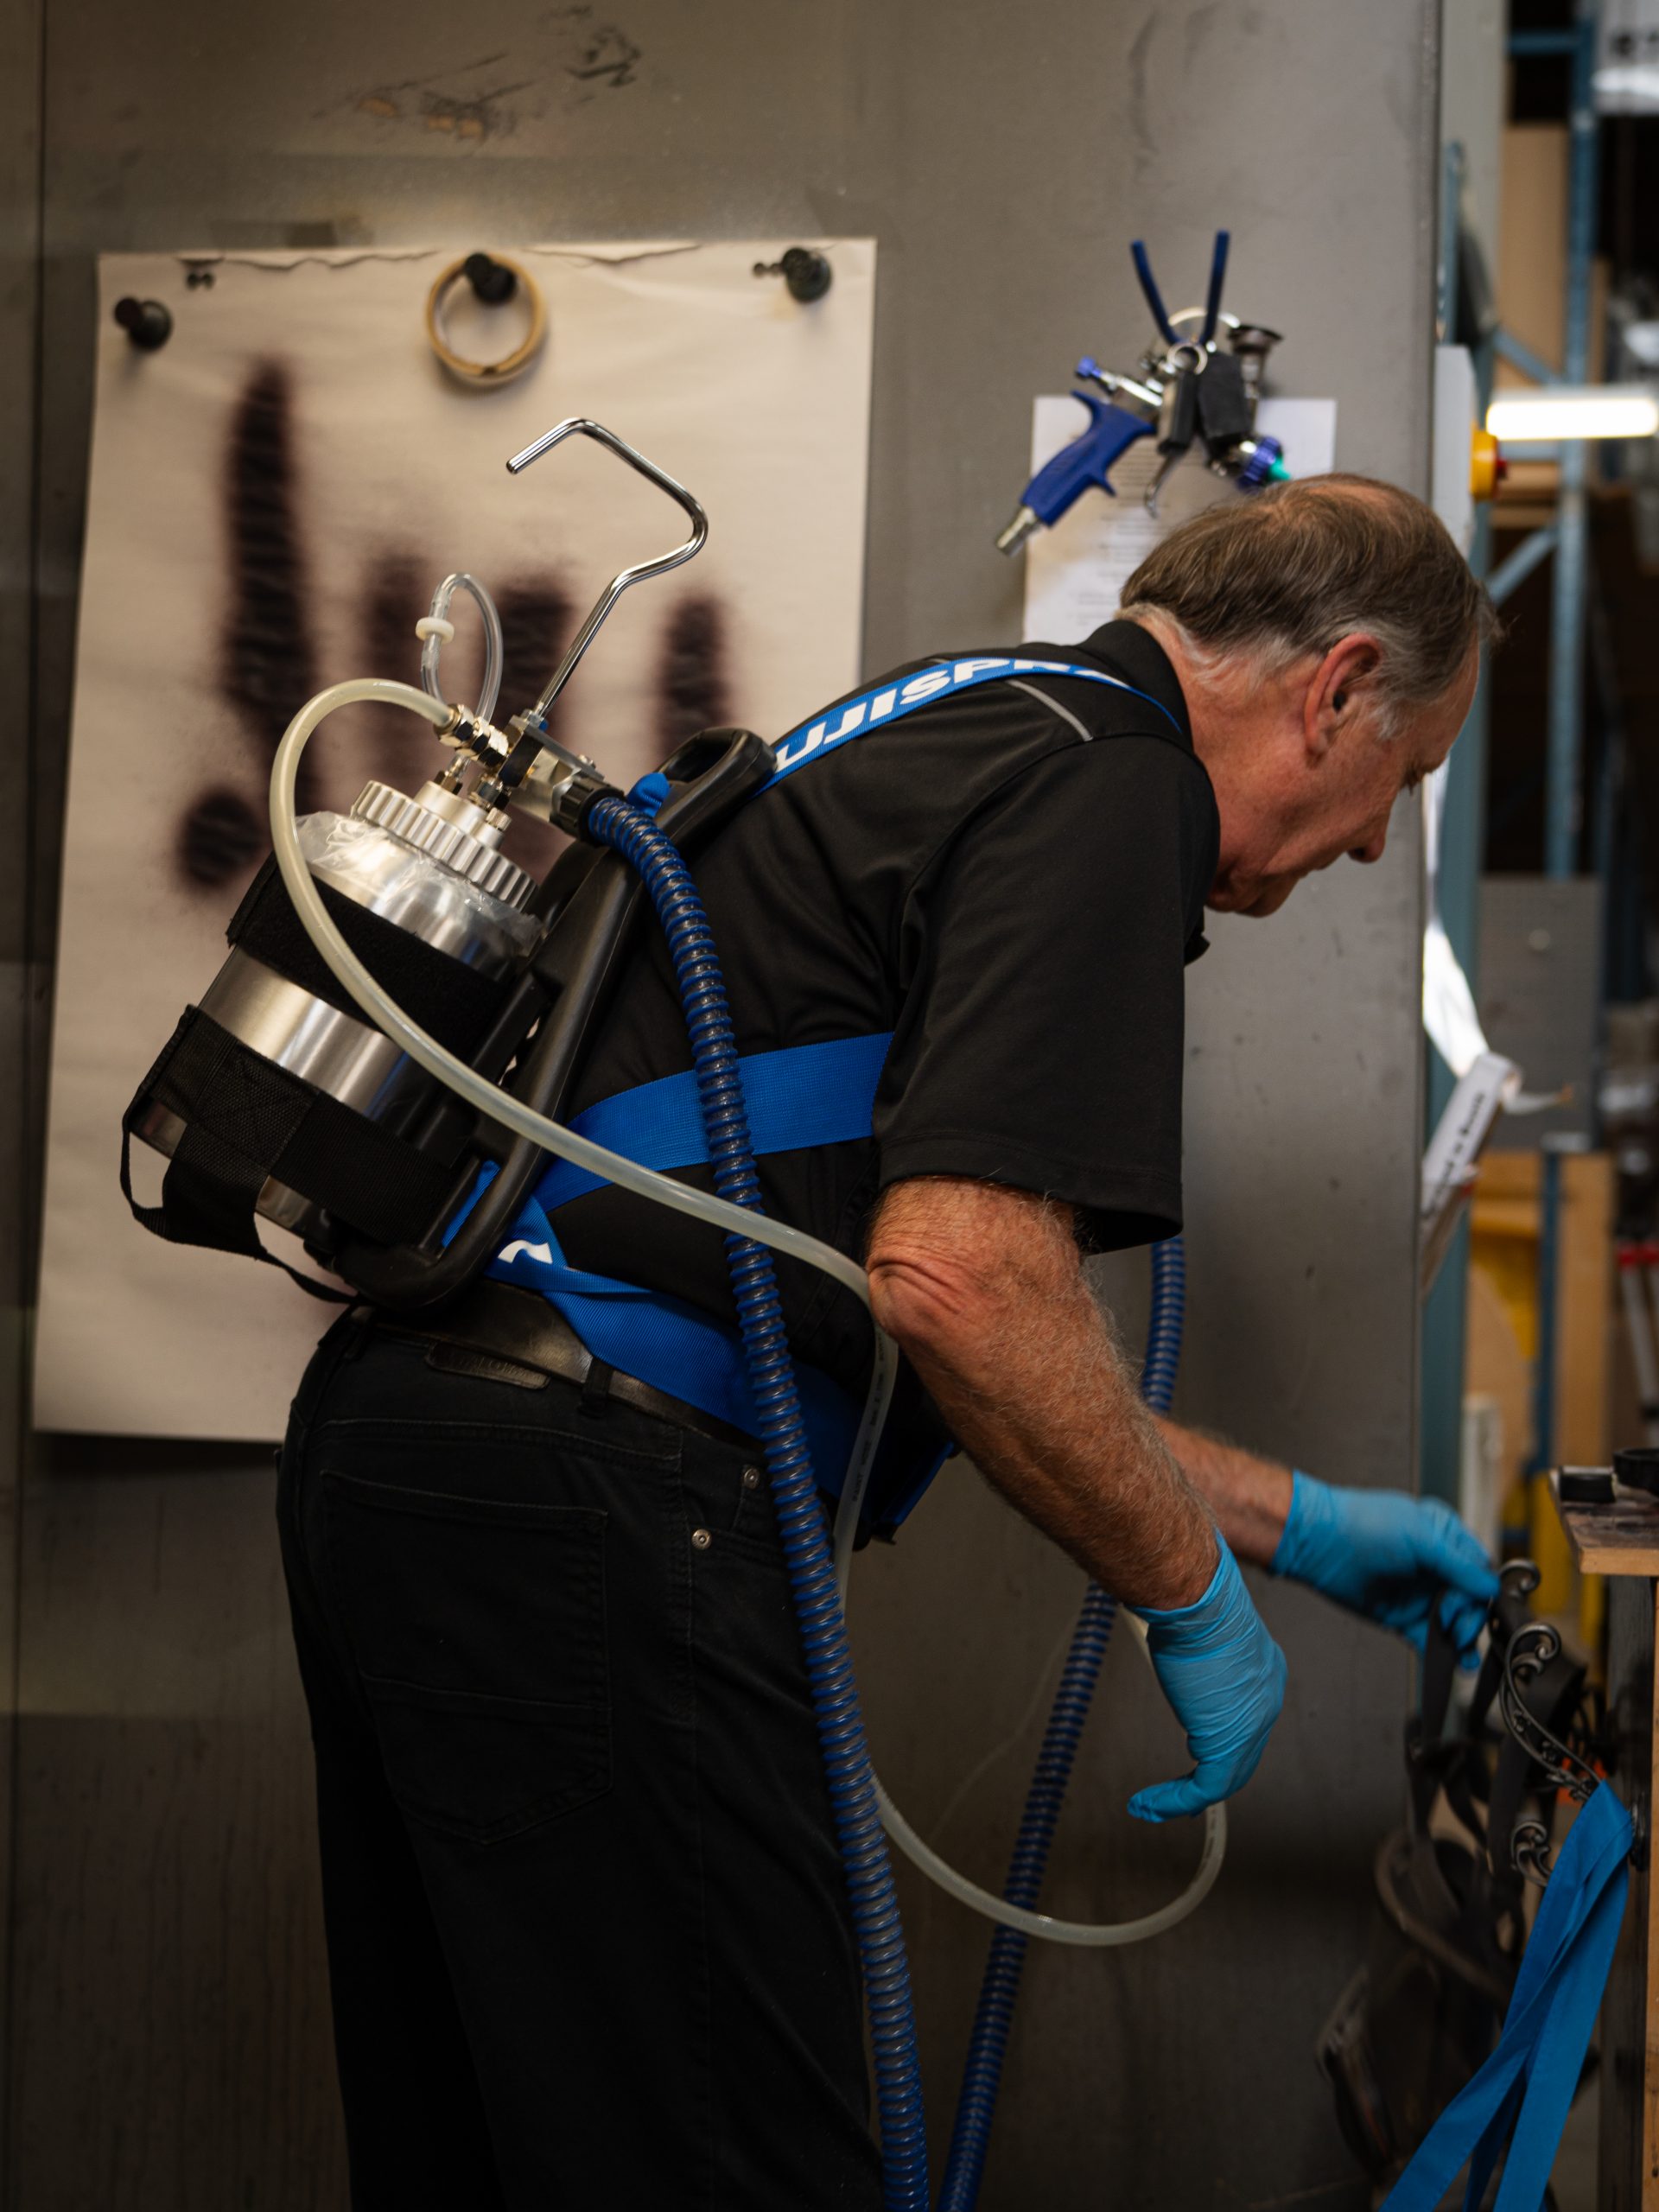
With the pressure pot located on your back as compared to sitting on the floor or being held by your free hand, it’ll allow you much greater freedom of movement. Gone are the days of having to carry around the pressure pot by its handle or worrying about knocking it over if you’d set it on the floor. And because it’s strapped to your back, you don’t have to worry about dragging it along with you as you move about.
Comfortable to Wear
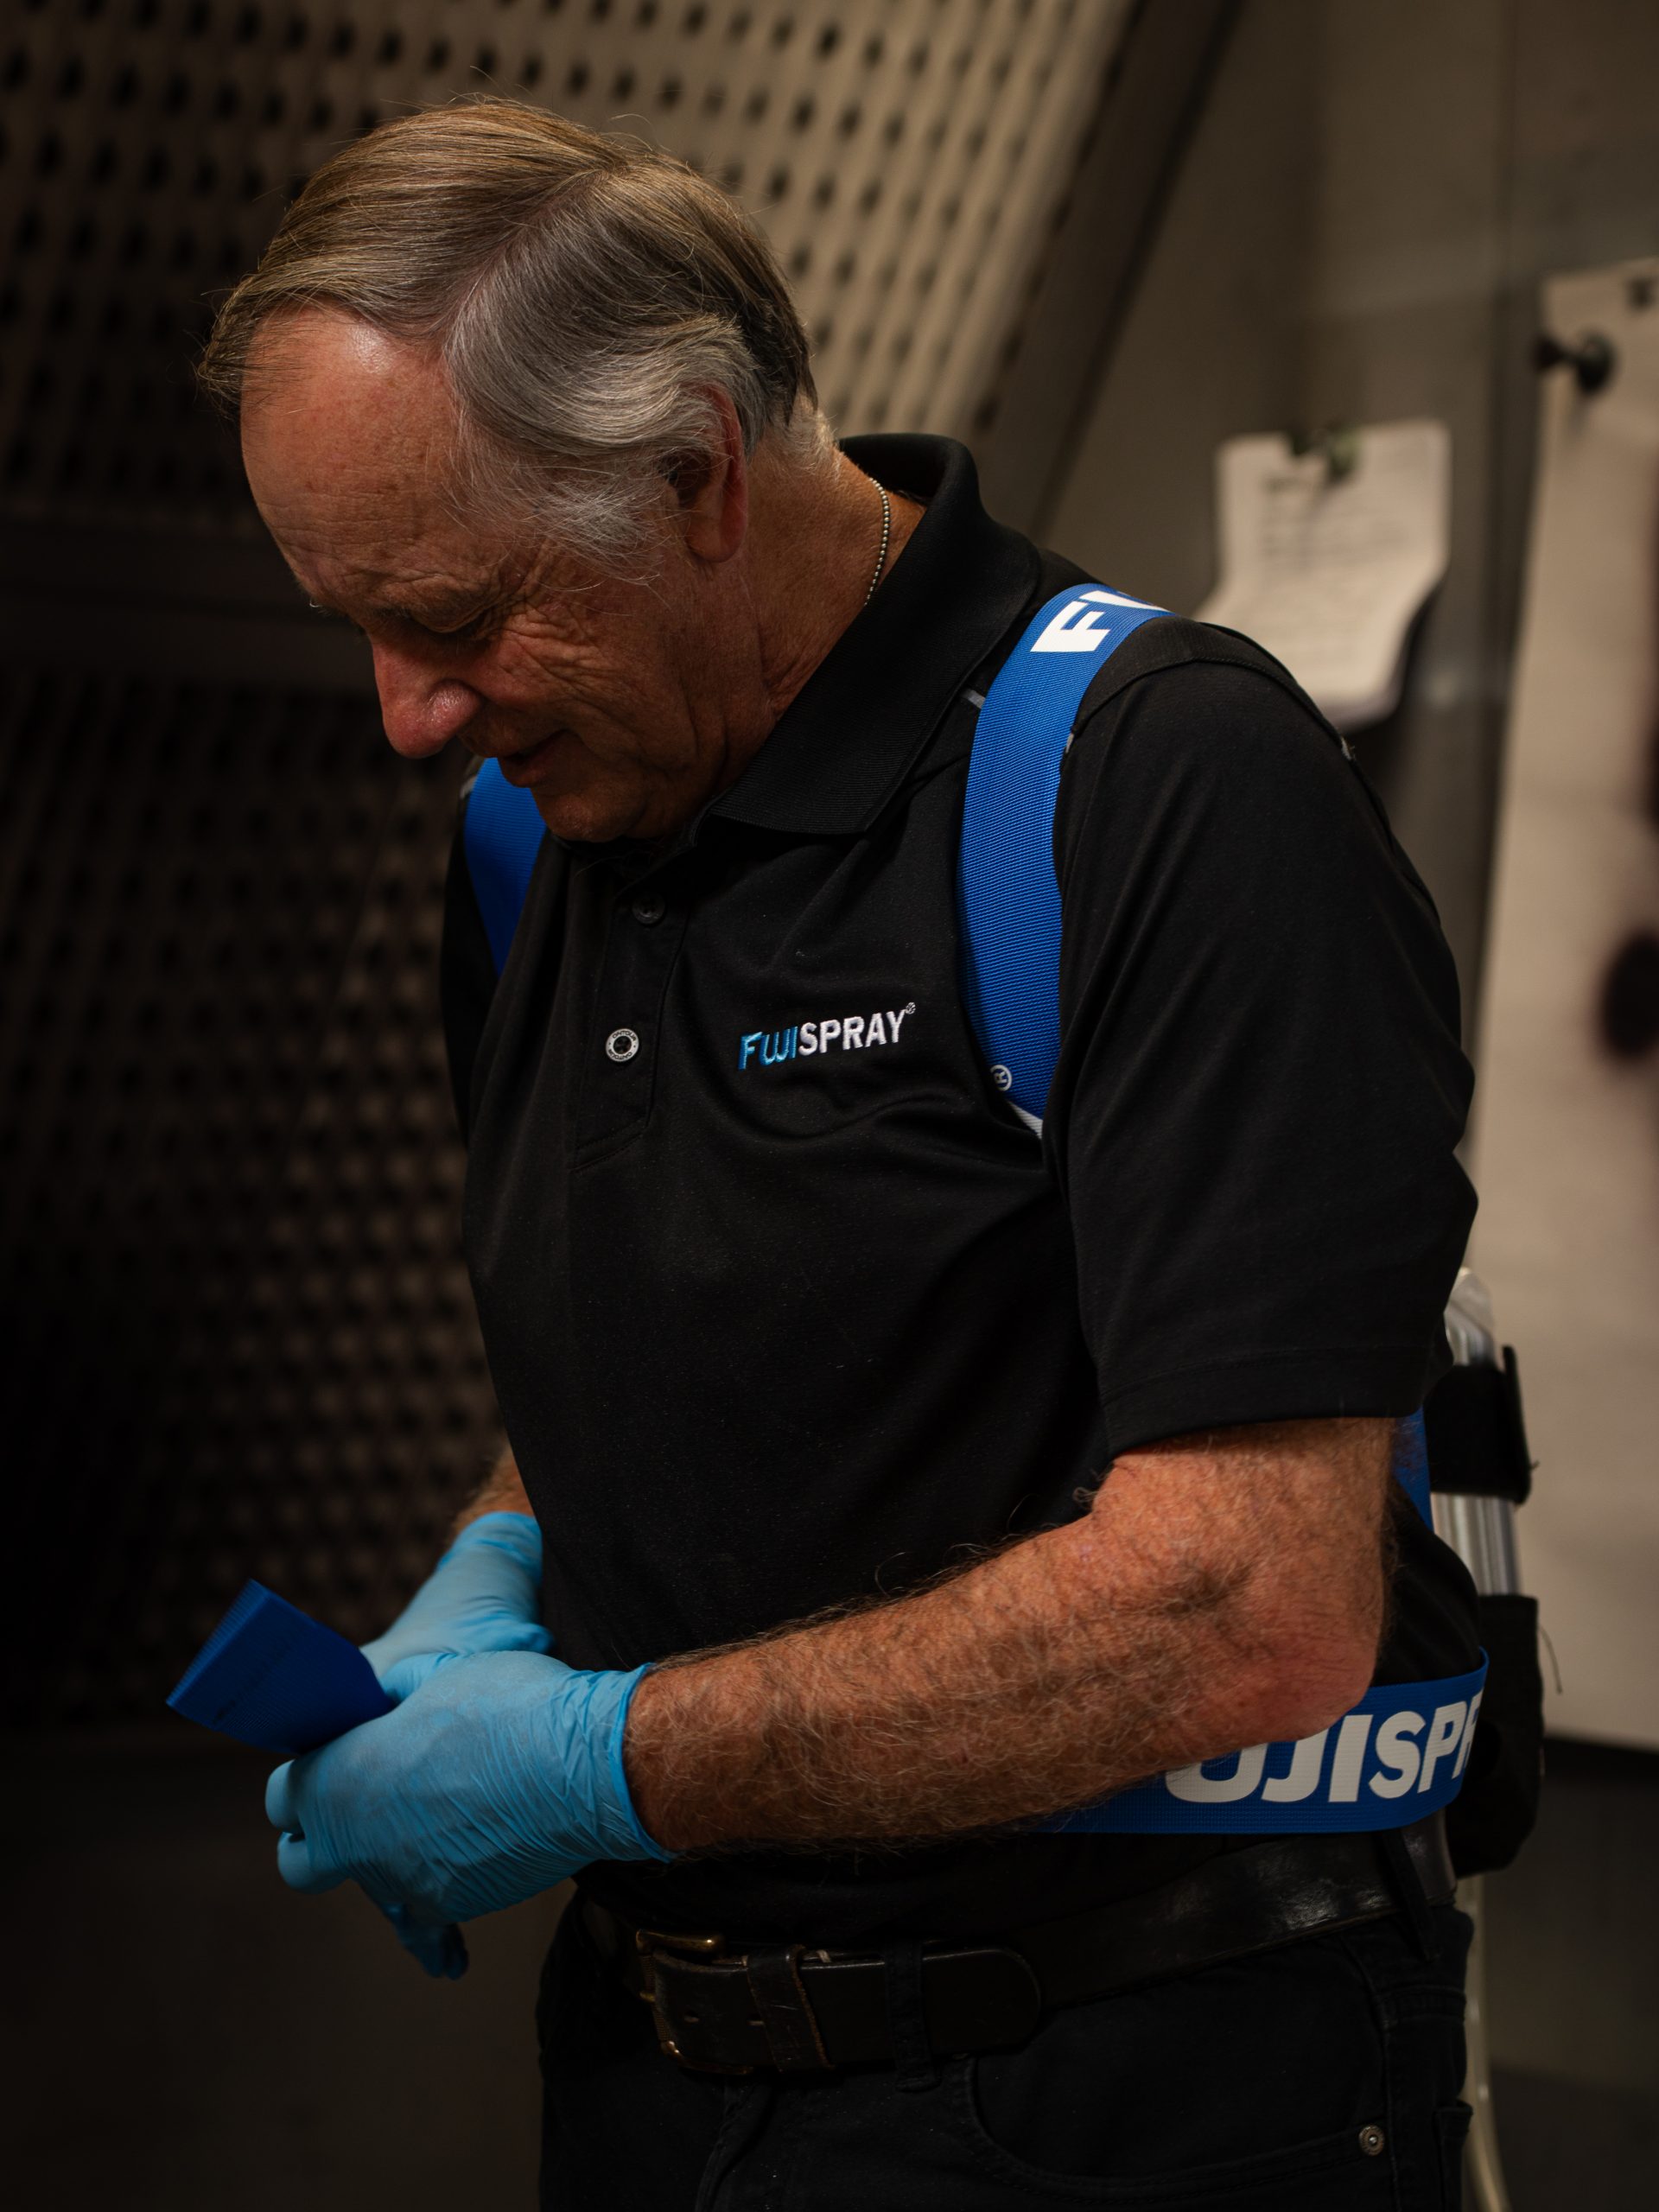
I’ve got to say that it was very comfy to wear, even for extended periods of time. In fact, once I had the straps properly adjusted to fit my back, I hardly noticed it was there. And as someone who’s done his fair share of volume spraying, that’s quite compelling.
Extended Range
And for those finishing jobs which require reaching across large surfaces or deep into the bowels of cabinets, having the pressure pot located so close to the action allowed me to reach that much further than if the pressure pot had been sitting on the floor or worse yet, held in my other hand.
Fluid & Air Lines Control
By not having to contend with holding the pressure pot in my hand, I always had my other hand available to help control the fluid and air line to keep them from being dragged into freshly finished surfaces.
Drawback?
Now that I’ve explained the many advantages of this backpack, you’re probably thinking to yourself, surely there has to be at least one drawback. And there is… albeit it’s a relatively simple one: getting in and out of the backpack. But as with all things in life, if you know the tricks and take but a few stabs at it, it’ll become second nature to you. Let’s start with the tricks.
Trick #1 - Proper Strap Routing and Adjustment
I’ve been an avid backpacker for years and know from experience that to be comfortable, a backpack needs to fit closely to your back. Additionally, the straps need to be firmly fixed and unable to change from their positions once properly adjusted. And both of those points are covered by routing the straps correctly through the backpack’s frame.
Before you get going, note the following:
- In the instruction photos that follow, you’ll note that the black bottle straps had been removed to make it easier for you to see what I was doing. Only take them off if you think it’ll be easier to follow my instructions.
- You’ll need to take off the moveable buckle and set it aside now, as you’ll be routing that free end of the strap through the backpack frame to form the shoulder and belly staps.

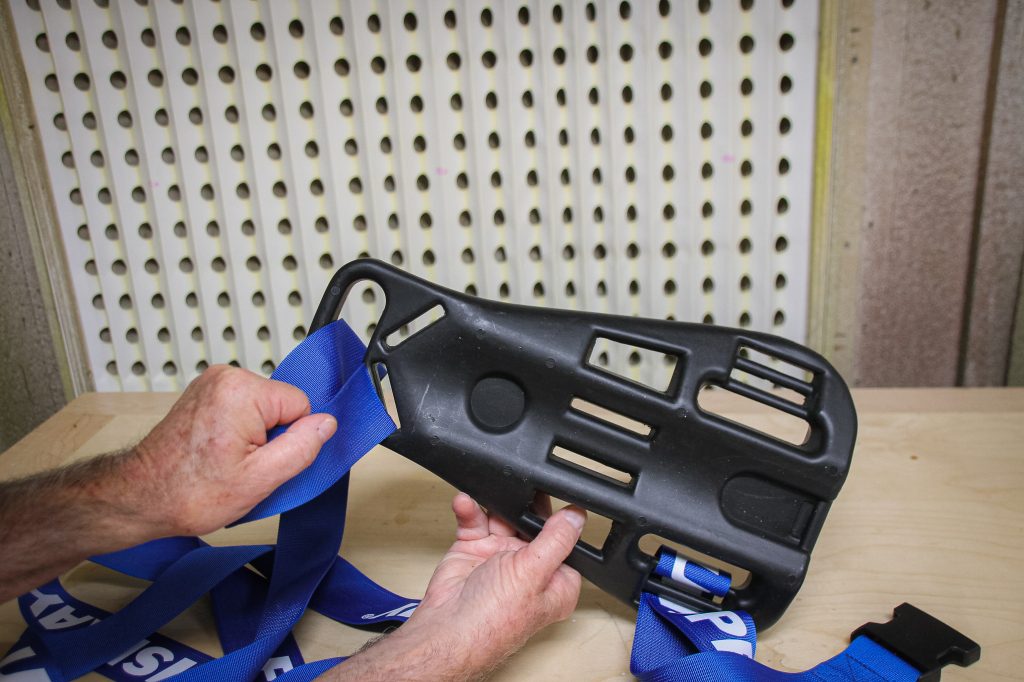
Step 1.
Follow the above sketch to route the free end of the strap through the bottom left (as viewed from when you’re wearing the backpack) set of openings. Pull the strap through the openings and snug things up once the distance between the fixed buckle and the outermost post is about 50cm (20”).

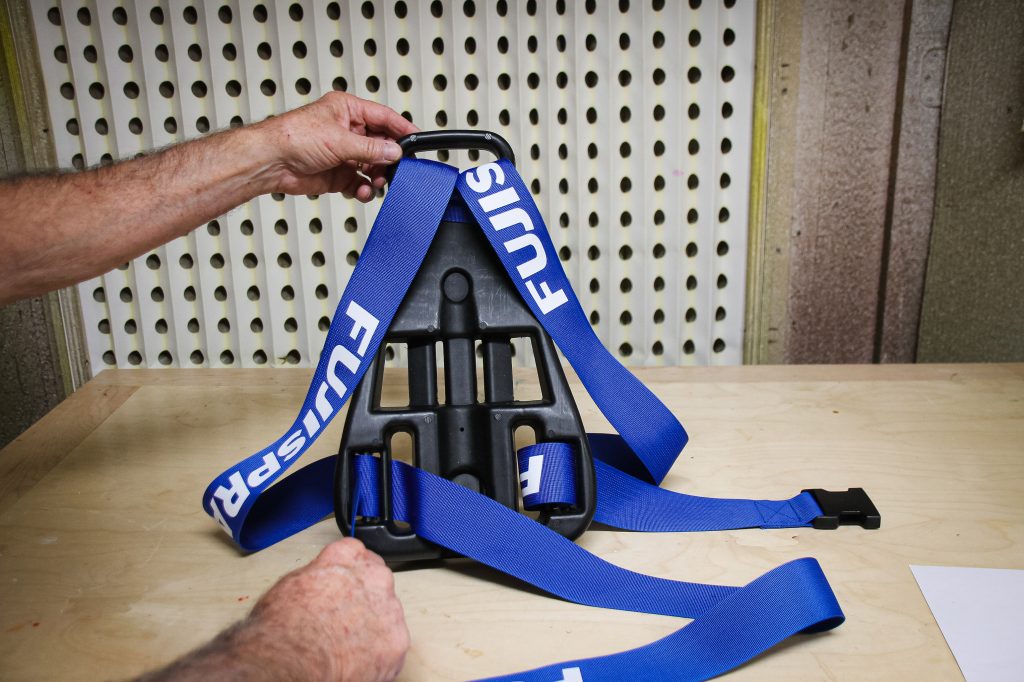
Step 2.
Bring the free end of the strap up and into the handle hole. Then go ahead and pull enough of the strap through to the bottle side of the backpack frame so that you’d be able to slide your arm through the strap loop formed between the bottom and the top of the backpack frame. That loop forms the left shoulder strap.
Step 3.
Route the free end of the strap into the angled slot located on the same left side of the backpack frame.
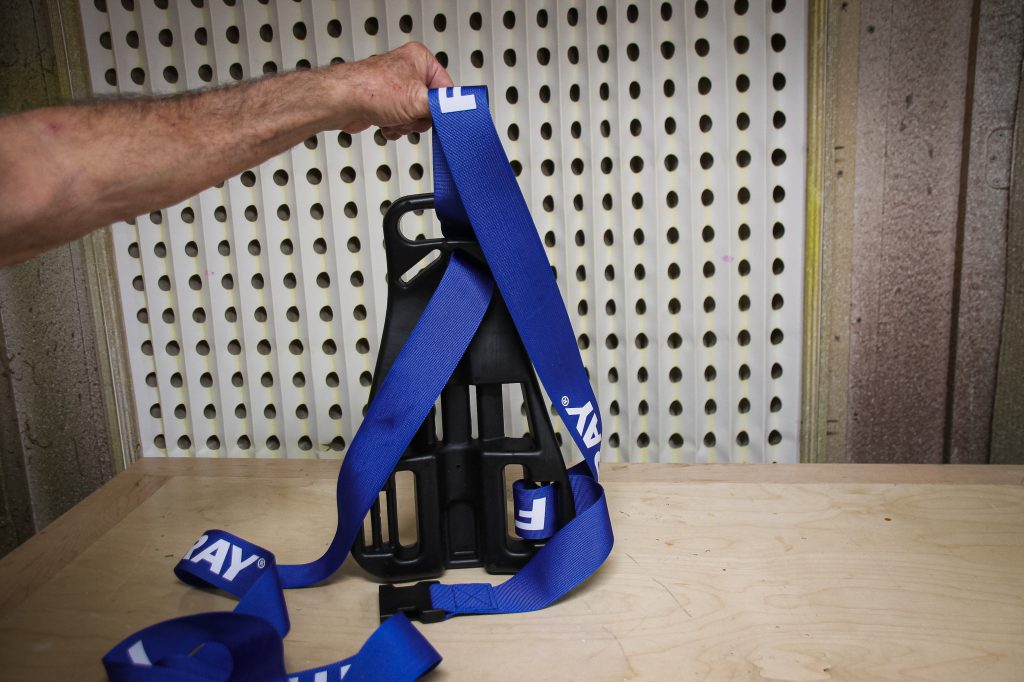
Step 4.
Keep pulling the strap through the angled slot until the left shoulder strap that is formed, is long enough to enable you to easily slip it over your shoulder. In my case, the shoulder loop is 65cm ( 25”) in total length.
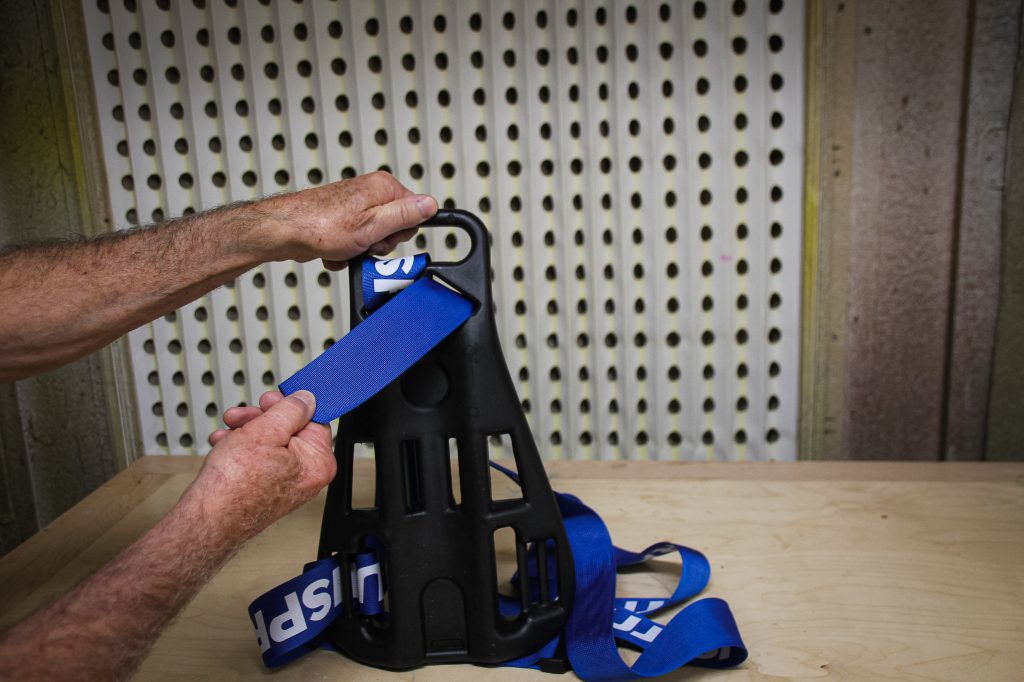
Step 5.
Now we’re going to start forming the right-hand shoulder strap. Route the free end of the strap through the other angled slot and start drawing it through. It should look like the above photo. Pull all of the loose strap through that slot.
Step 6.
Route the strap through the handle hole, as shown in the above photo and draw it tight. This routing and tightening fixes the shoulder straps at the top of the backpack frame, ensuring their lengths will remain constant.
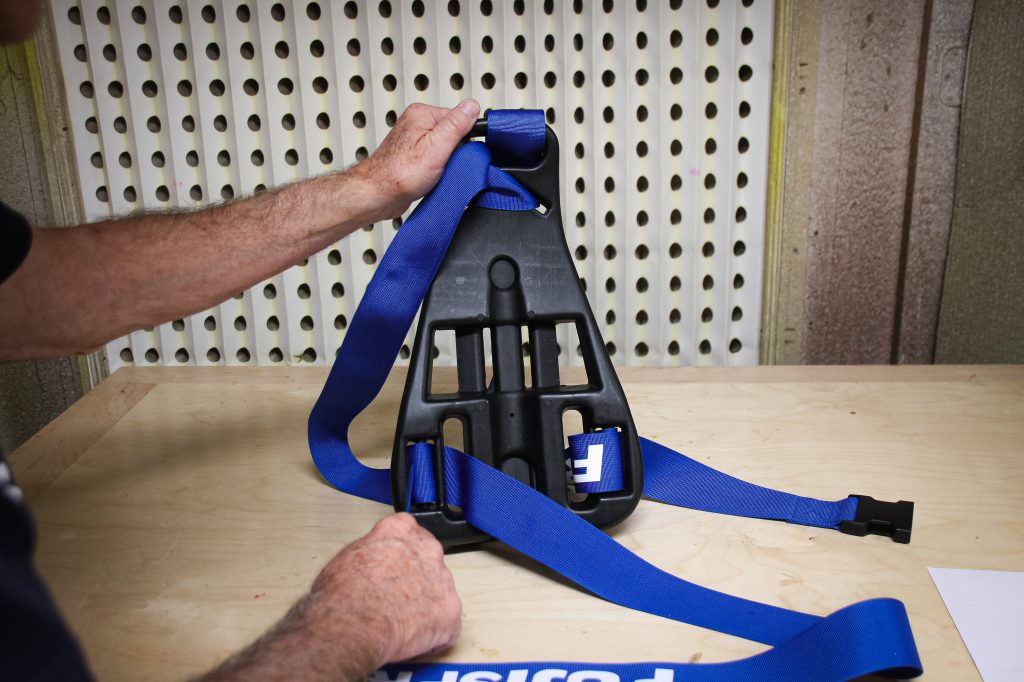
Step 7.
Bring the free end of the strap down to the other corner of the backpack frame then route the strap through the remaining open holes, following the routing shown in the sketch at Step 1 in inverse order (as we’re doing the other side now). The above photo shows me getting ready to insert the free end into the final slot. Once you’ve finished routing the strap correctly through those slots, adjust the length of the shoulder loop you’ve just formed until it’s the same as the other one. We’re almost there…
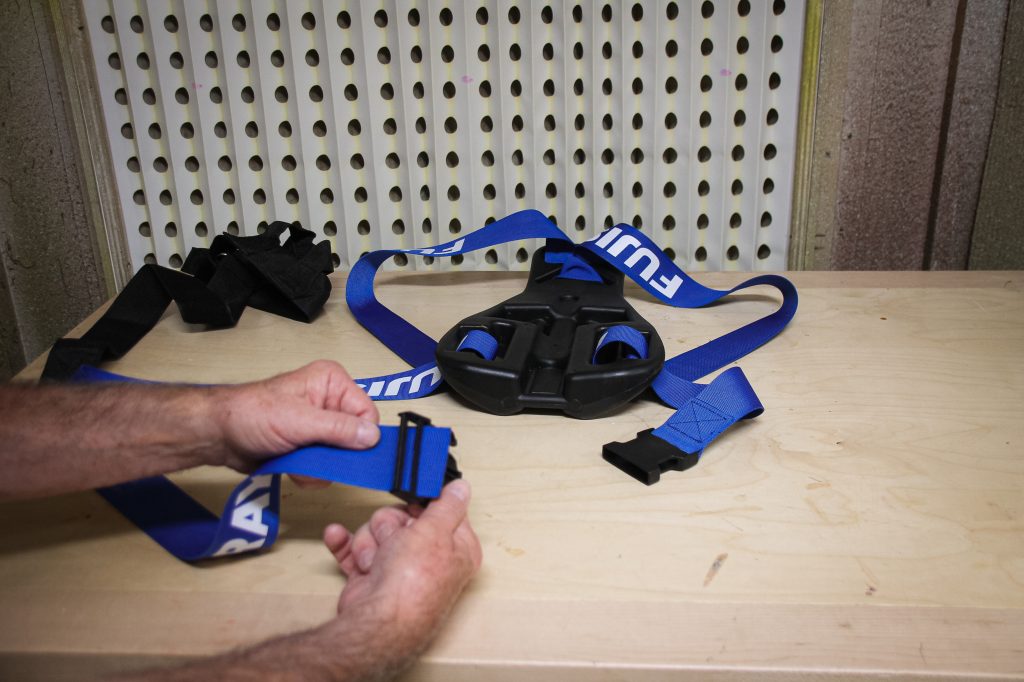
Step 8.
Instal the adjustable buckle by routing the straps through the first slot, as shown in the above photo.
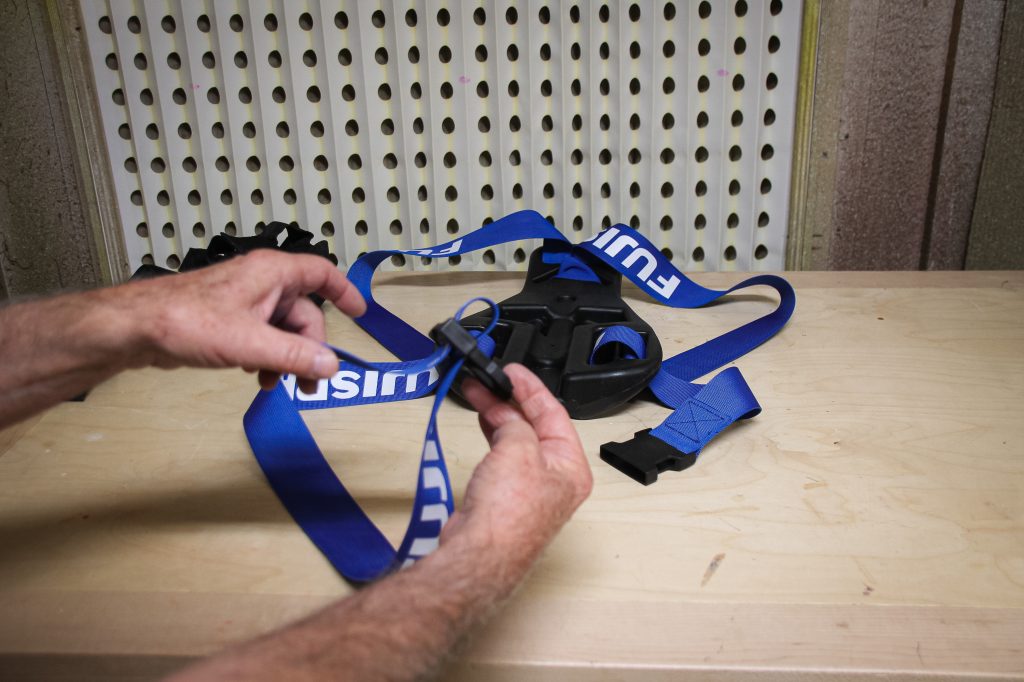
Step 9.
Route the free end of the strap through the buckle as shown above. Because we’ll adjust the positioning of the adjustable buckle once we’ve donned the backpack, don’t bother to do any adjusting until then.
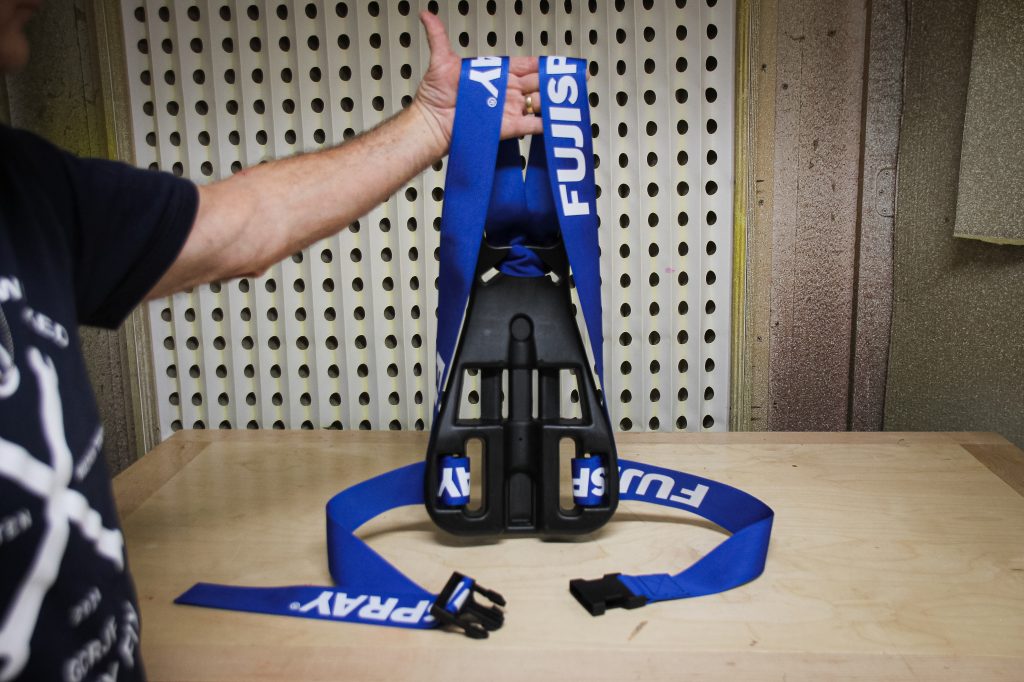
Step 10.
Here’s how it should look like with the straps correctly routed. Give yourself a pat on the back, as you’ve now completed “Backpack Strap Routing 101”!
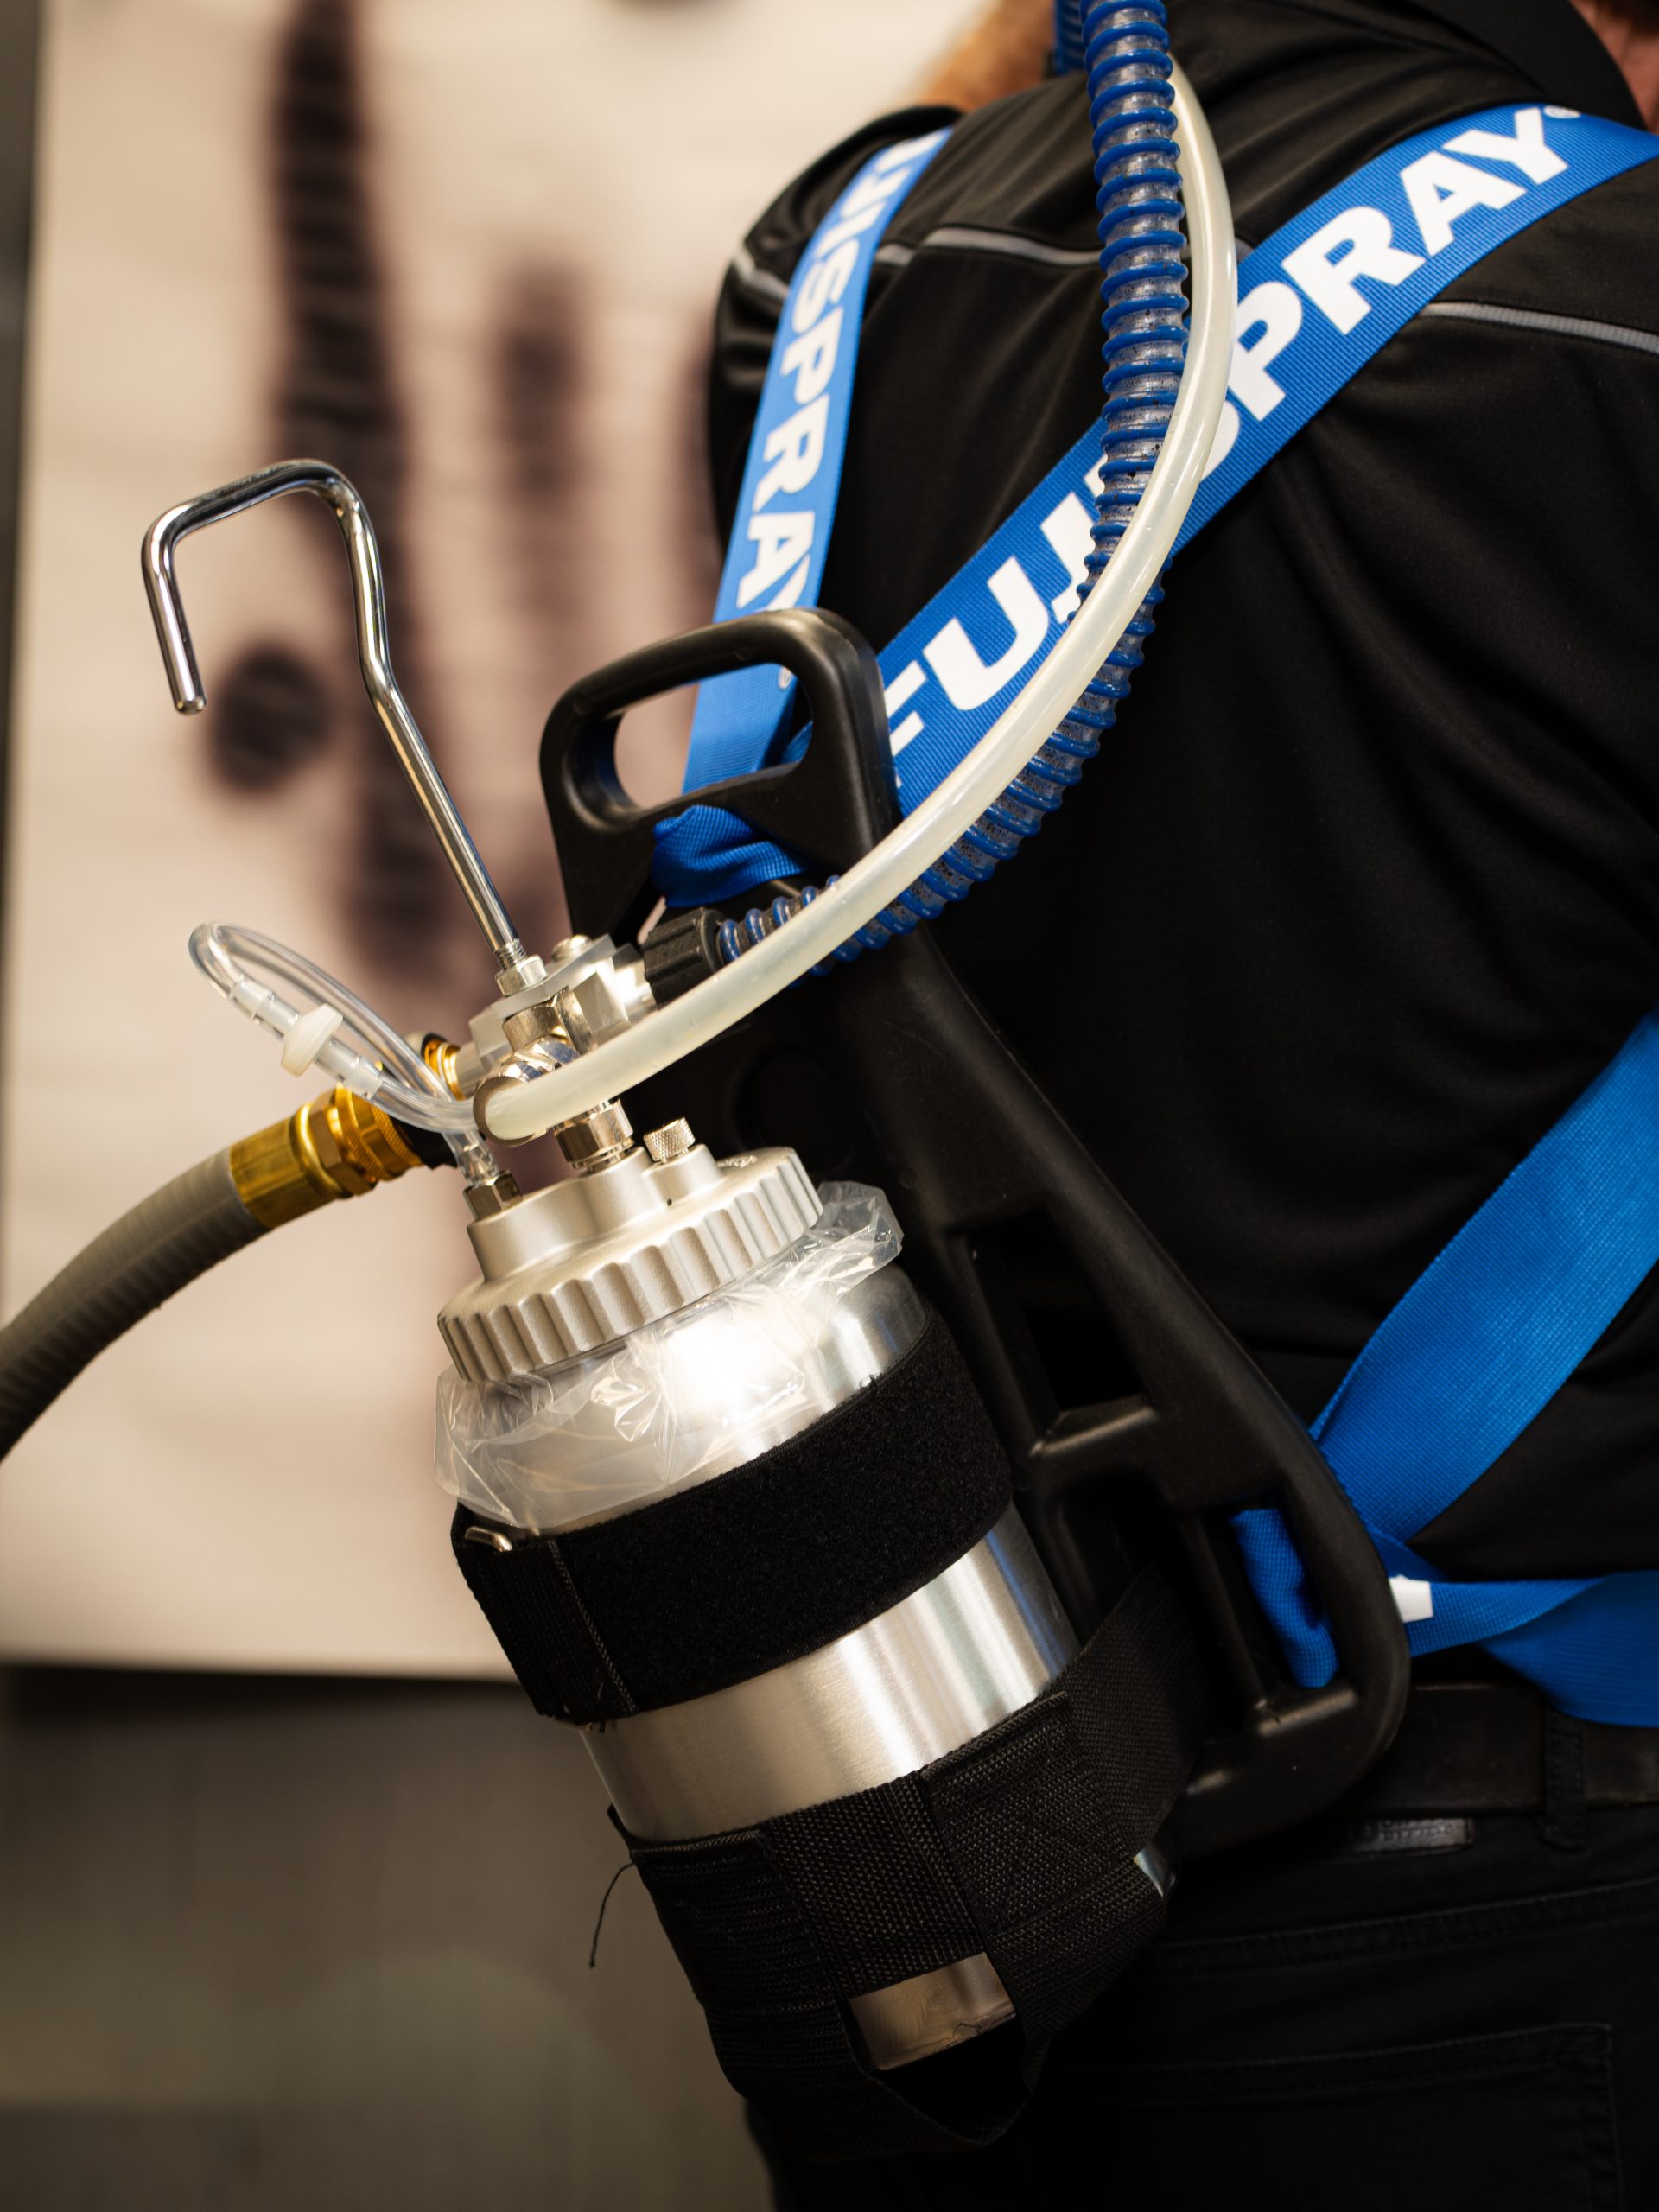
Donning the backpack. Let’s do a trial run first to get acquainted with the backpack. Fill the pressure pot with tap water, then after screwing the top on tightly, close the air relieve valve fully. Mate the spray gun to the pressure pot by connecting the air hose and fluid line. Leave the turbine air supply hose off for now. Install the pressure pot onto the backpack by placing it into the lower set of black straps first, then tighten the upper strap around the pressure pot. You’re now ready to don the backpack.
Trick #2 - Backpack Fitting for Comfort
Although you could simply slip one arm through each shoulder strap, one at a time, for this trial run, move over to a table and place the pressure pot and backpack upright on the edge of the table, with the shoulder straps facing outwards. With your back to the backpack, slip first one arm through a shoulder strap, and then the other. Tighten the adjustable belly strap until it’s sized correctly for you and snap the two buckle sections together. Stroll around the shop to see how everything feels. You’ll most likely have to do a few adjustments to the straps, as everyone has a different body shape. you want to make sure the backpack fits you well.
Pro Tip
You’ll notice that Fuji Spray has been more than generous with the strap length… so once you’re happy with how it fits, cut it to proper length using your soldering iron to sear the fibers and keep it from fraying. (But don’t forget to allow a bit of extra length for those times when you’ll be wearing a Tyvek suit, or during the festive season when you’ll probably put on a few inches. Just saying!) nd you’ve probably noticed there’s a small black Velcro strap available for keeping the free end of the belly strap held into place. So after you’ve folded the loose strap over itself, hold it in place with the Velcro strap. Voila, you’re ready for action!
Fuji Spray’s 2Qt Pressure Pot Backpack really covered all the bases. It securely holds the pressure pot in place, allowing you to comfortably get on with finishing large pieces, efficiently. If your project list includes such work, then this backpack may be just the ticket for you. It certainly was for me.
Please let me know what you think of this topic and, as always, feel free to pose any questions you may have. All the best with your finishing projects!
Marty Schlosser
martyschlosser51@gmail.com
Woodworking expert Marty Schlosser has been designing, making and finishing furniture for nearly 50 years. Before retiring, Marty served as the president of the Ottawa Woodworkers Association, to which he received their prestigious Danny Proulx Memorial Award. He is also a founding member of Kingston Wood Artisans, the local woodworking club in Kingston, Canada. When you don't see Marty sharing his woodworking knowledge through neatly written articles, you may find him conducting Fuji Spray's annual spray finishing workshops in Toronto, Canada - where people all over North America wait for, every year.